1Your role
The Front Desk role runs the schedule and the counter. You book visits, check patients in and out, take payments, and get forms signed.
You see each patient’s contact details, not their medical record, and you don’t see the clinic’s revenue.
3Start the day
- 1The numbers at the top are Appts Today, Check-ins Today and Refills Due.
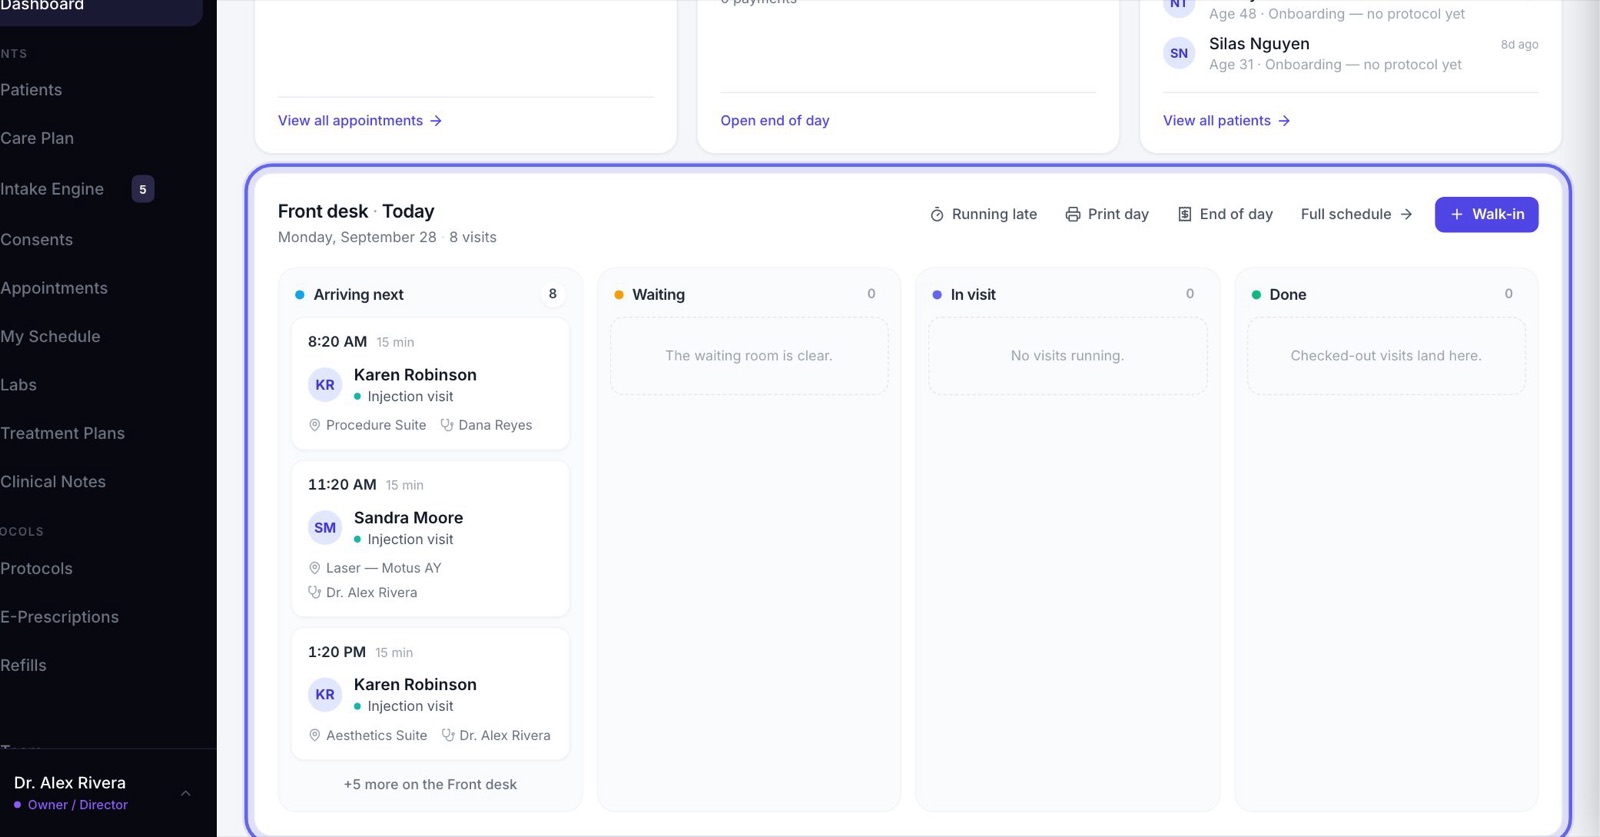
- 2Front desk · Today shows the day in four lanes: Arriving next, Waiting, In visit and Done.
- 3Click a patient to move them along, or drag their card to the next lane.
- 4Walk-in books someone who just came in. Running late tells a provider’s patients they’re behind. Print day prints the day sheet.
4Book a visit
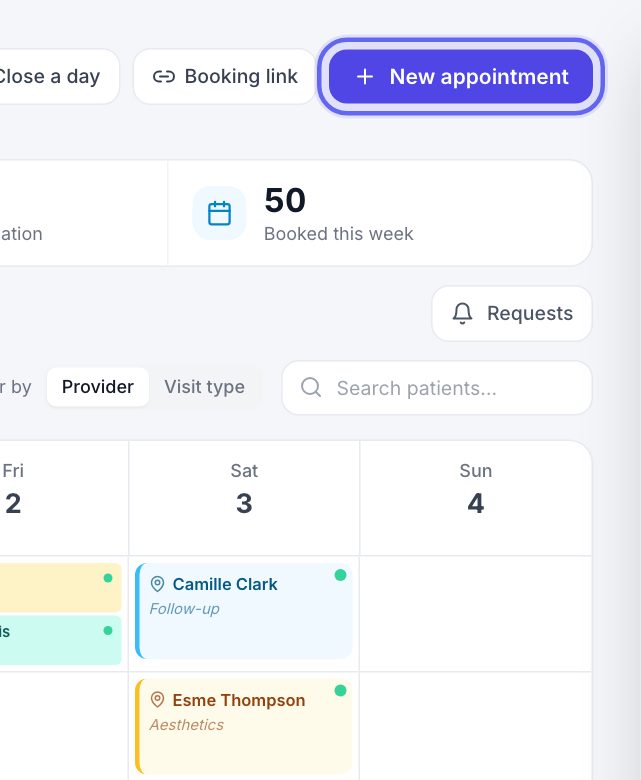
- 1On Appointments, click New appointment.
- 2Pick the category, then the kind of visit.
- 3Pick the patient and a time. Only times the provider is really free are shown.
- 4Book it. The visit’s forms, prep and deposit go out on their own.
5Requests and closed days
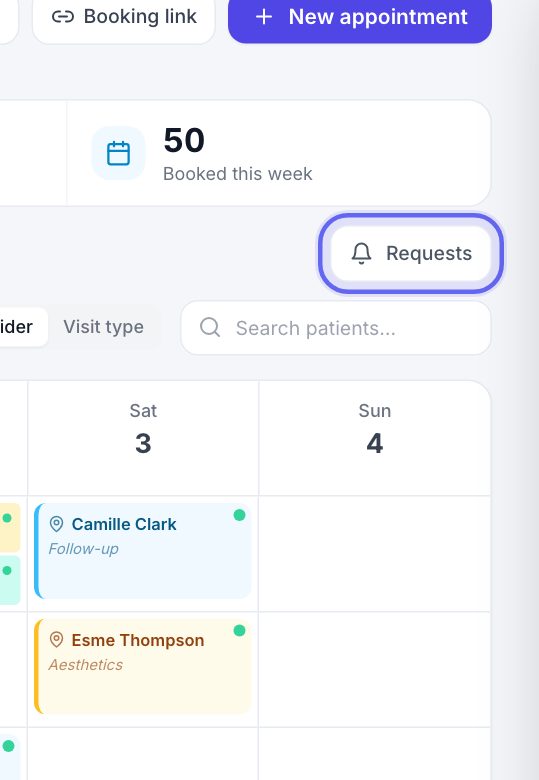
- 1Visits patients asked for online land under Requests. Approve one, or offer another time.
- 2Close a day blocks new bookings for a holiday. Visits already booked stay put, so you decide about each one.
- 3Booking link lets you copy the clinic’s link for a patient. Only an owner or manager can turn it on or change it.
6Check in, check out
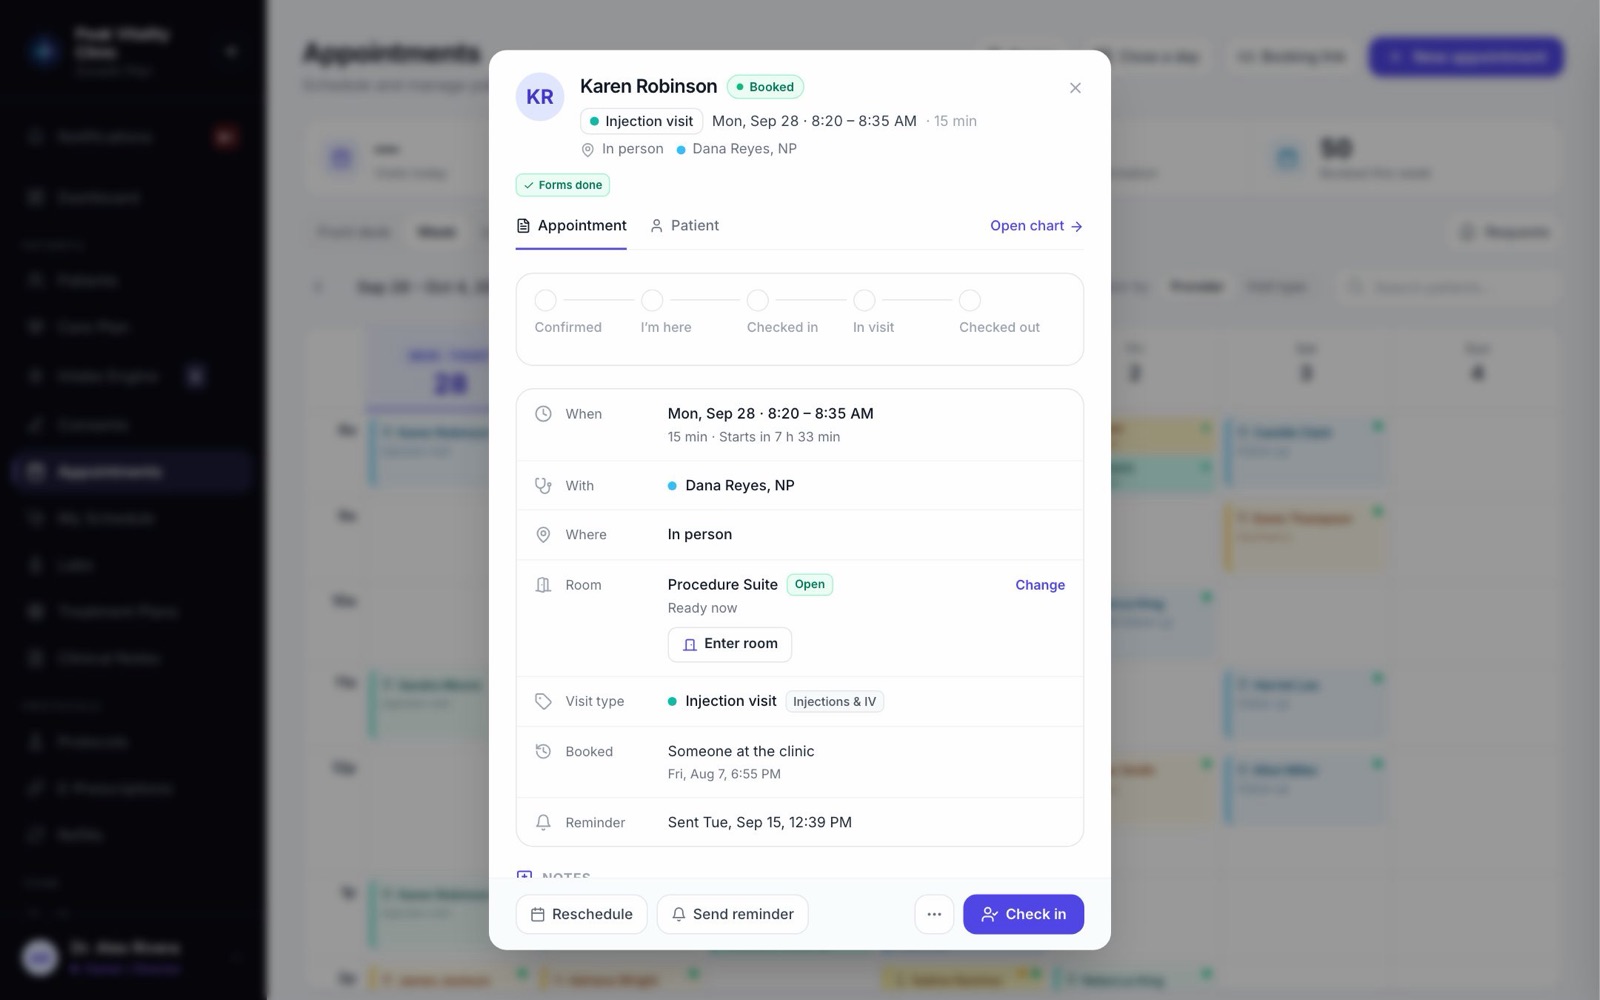
- 1Open the Front desk tab on Appointments, or click the visit anywhere it shows.
- 2The main button changes as the visit moves along: Confirm, Check in, Check out, then Charge.
- 3Allergies show as a red tag at the top of the visit.
- 4No-show and cancel are in the … menu. Reschedule moves the visit.
7Take a payment
- 1Press Charge on the visit. The visit’s services and products are already in the basket.
- 2Add or change lines, and add a saved discount if one applies.
- 3Choose Card on file, Terminal, or Something else… for cash, a check and other ways.
- 4Take the payment, then pick Print, Email, Print & email, or Skip — no receipt needed.
Refunds and the day’s takings belong to people who can see the clinic’s money. Ask an owner or manager.
8Get forms signed
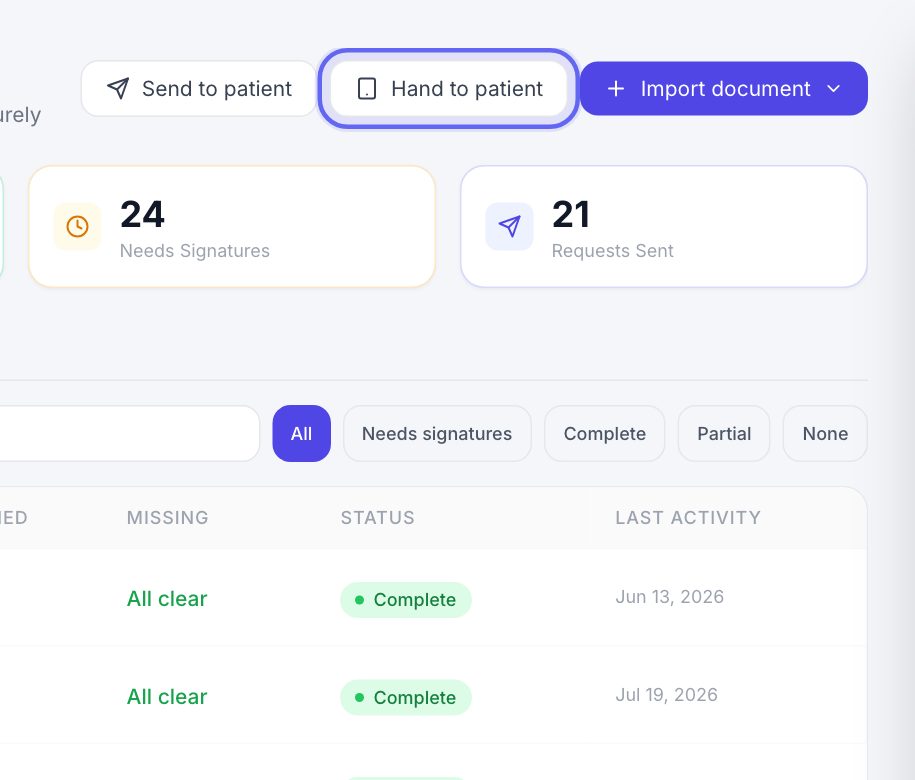
- 1On Consents, Send to patient sends forms to the patient’s portal to sign.
- 2Hand to patient lets them sign on a tablet at the desk.
- 3Open the patient’s visit to see which of their forms were sent and which are signed. What they signed stays in the chart, for clinical staff.
Practice patients never get emails, texts or bills, so they’re safe to send forms to.
9Find a patient
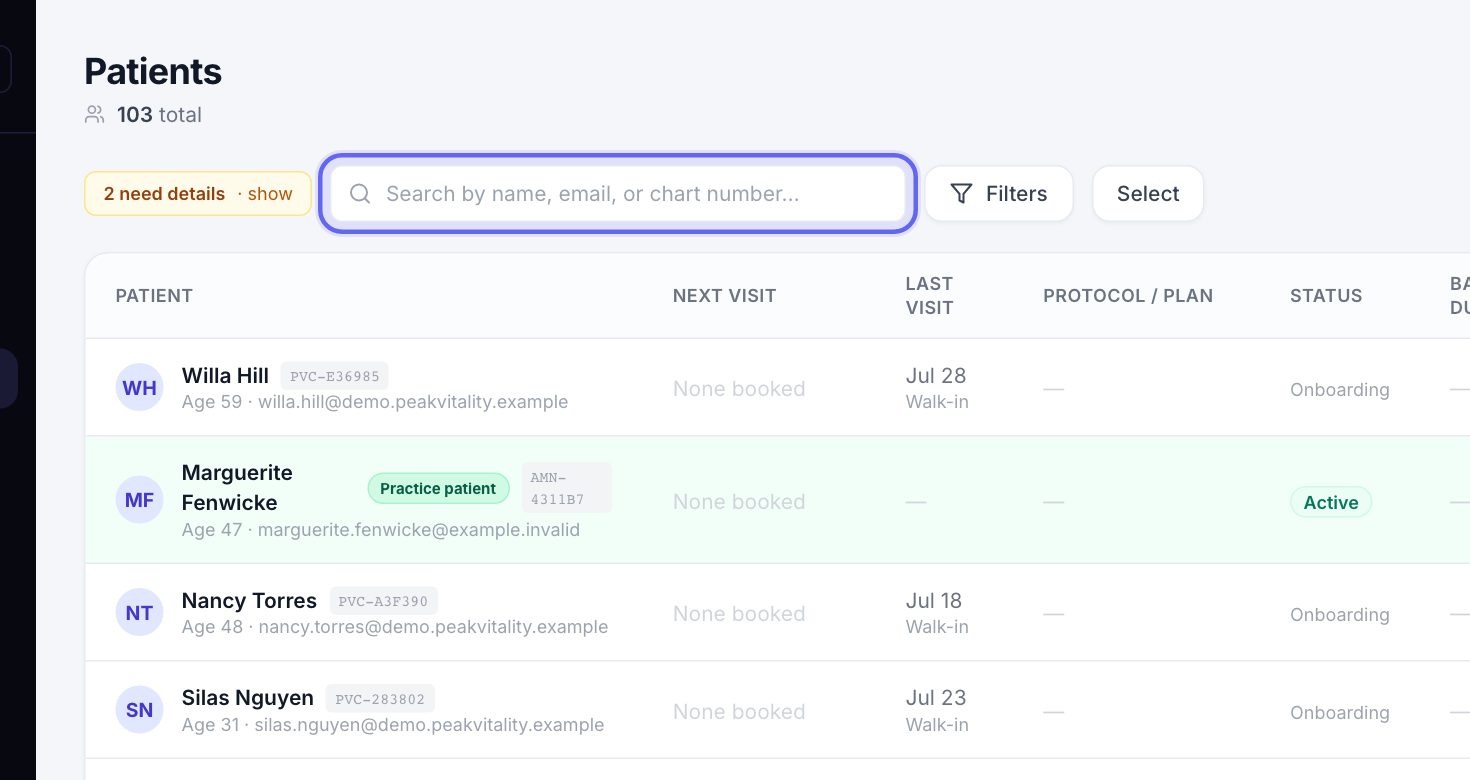
- 1On Patients, type a name, email, chart number or portal ID. The page says Demographics view: each row shows the phone, status and next appointment.
- 2Click a patient to open their contact card: allergies, date of birth, phone, email, preferred pharmacy and emergency contact.
- 3Tap the phone number to call. You’re then asked how the call went, so it’s logged.
10Messages
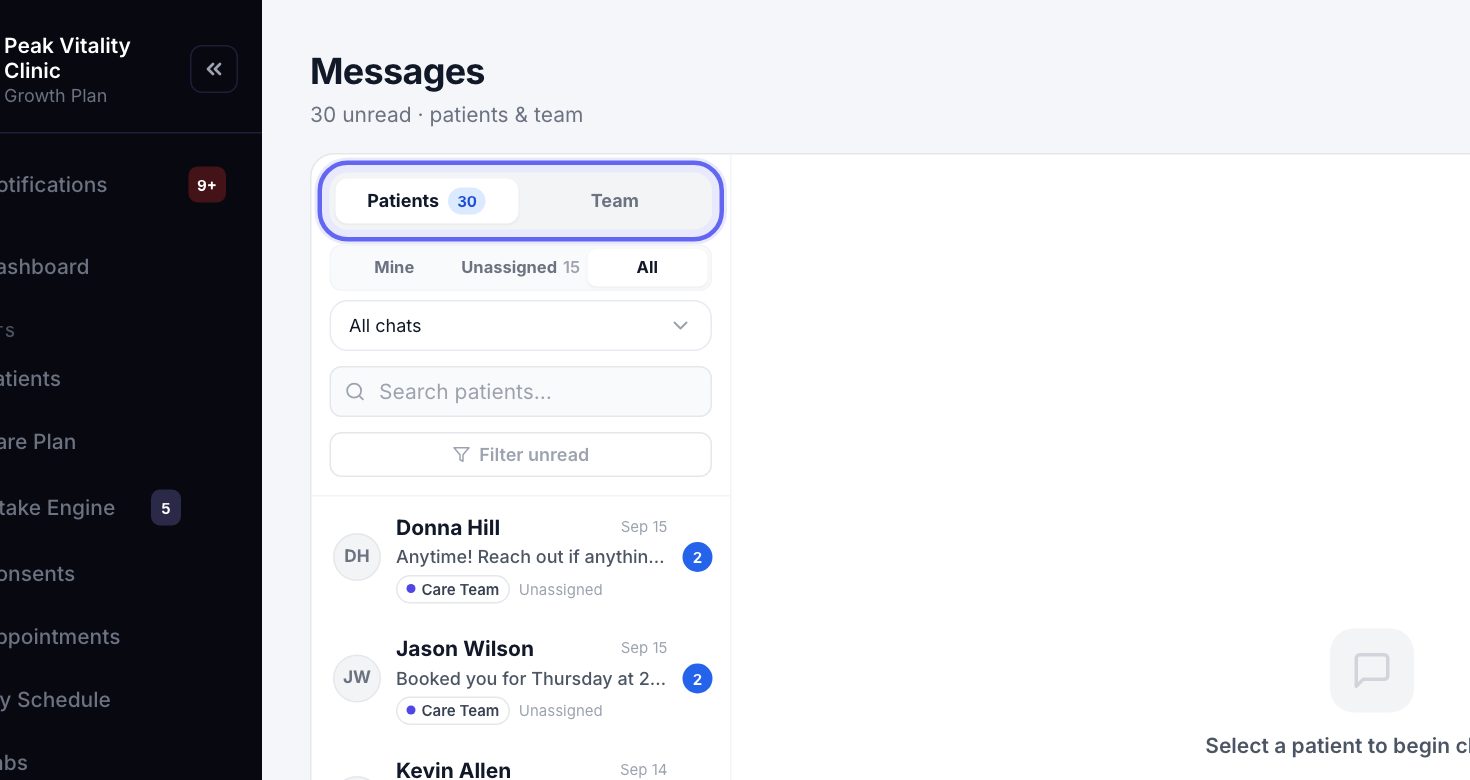
- 1Your team’s chats are all here: channels, groups and direct messages.
- 2When someone hands you a patient’s conversation, it shows up for you. Answer it in plain text.
- 3Pick Internal note to write to your team inside a conversation. The patient never sees it.
11Hand out supplements
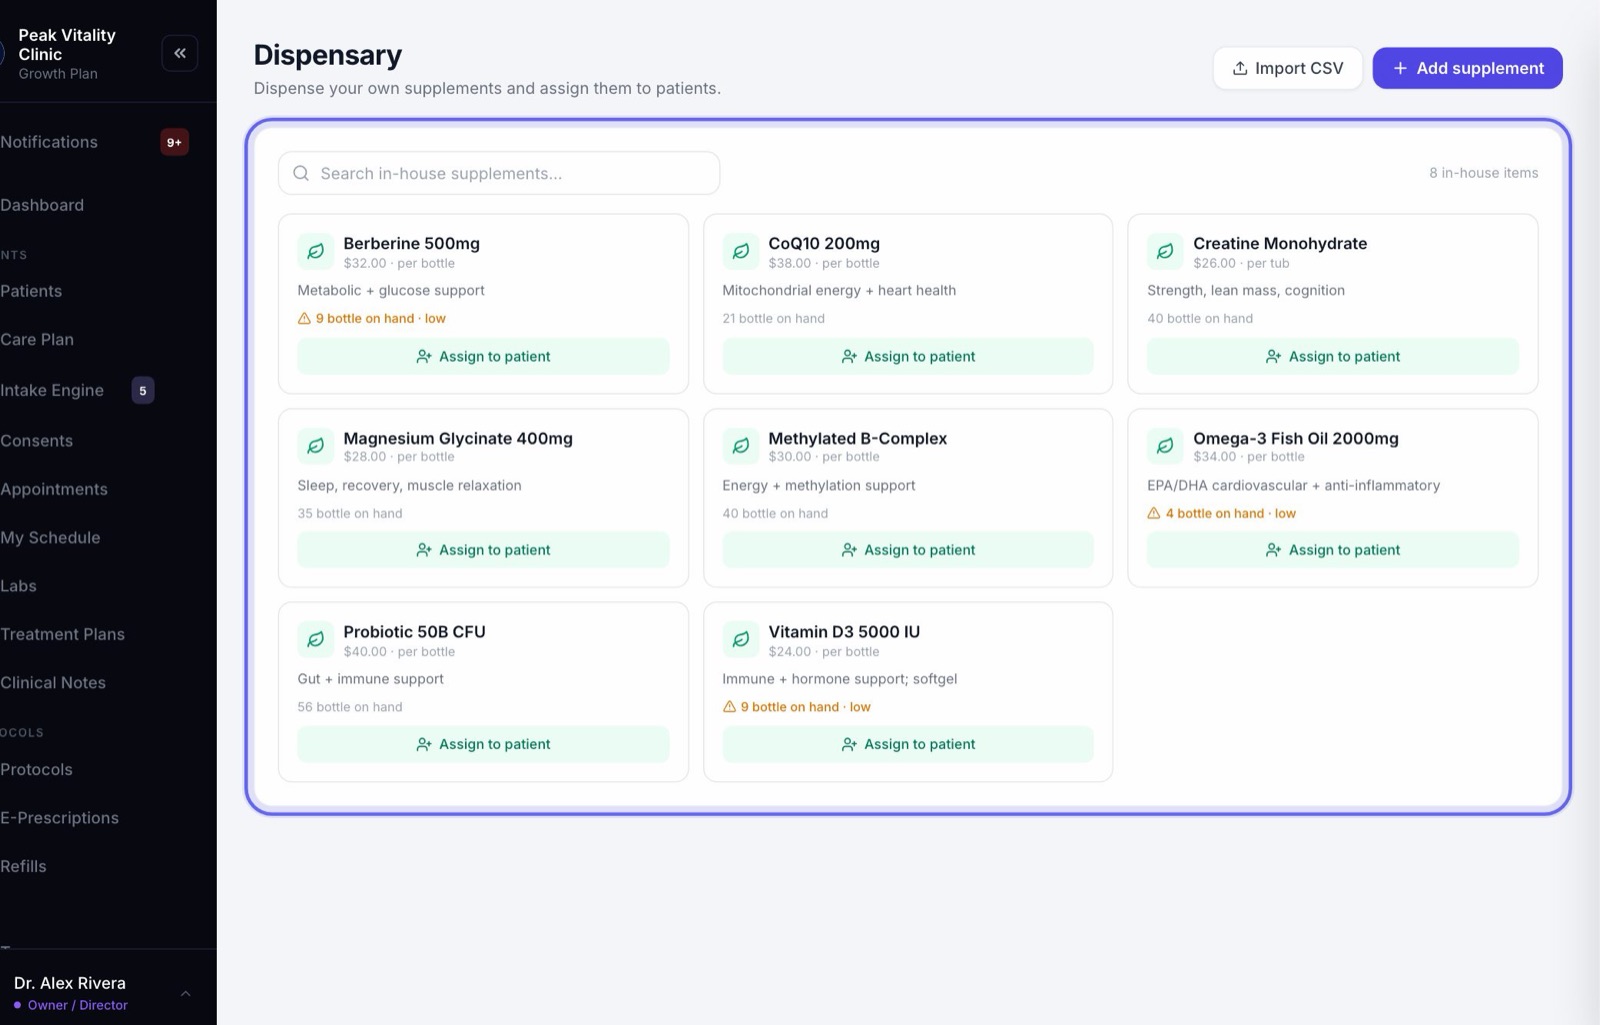
- 1Open Dispensary. Every supplement you stock is on the shelf, with how many are on hand.
- 2Press Assign to patient. Pick the patient, the dose, and pickup or shipping. It goes on their plan.
12Clock in and out
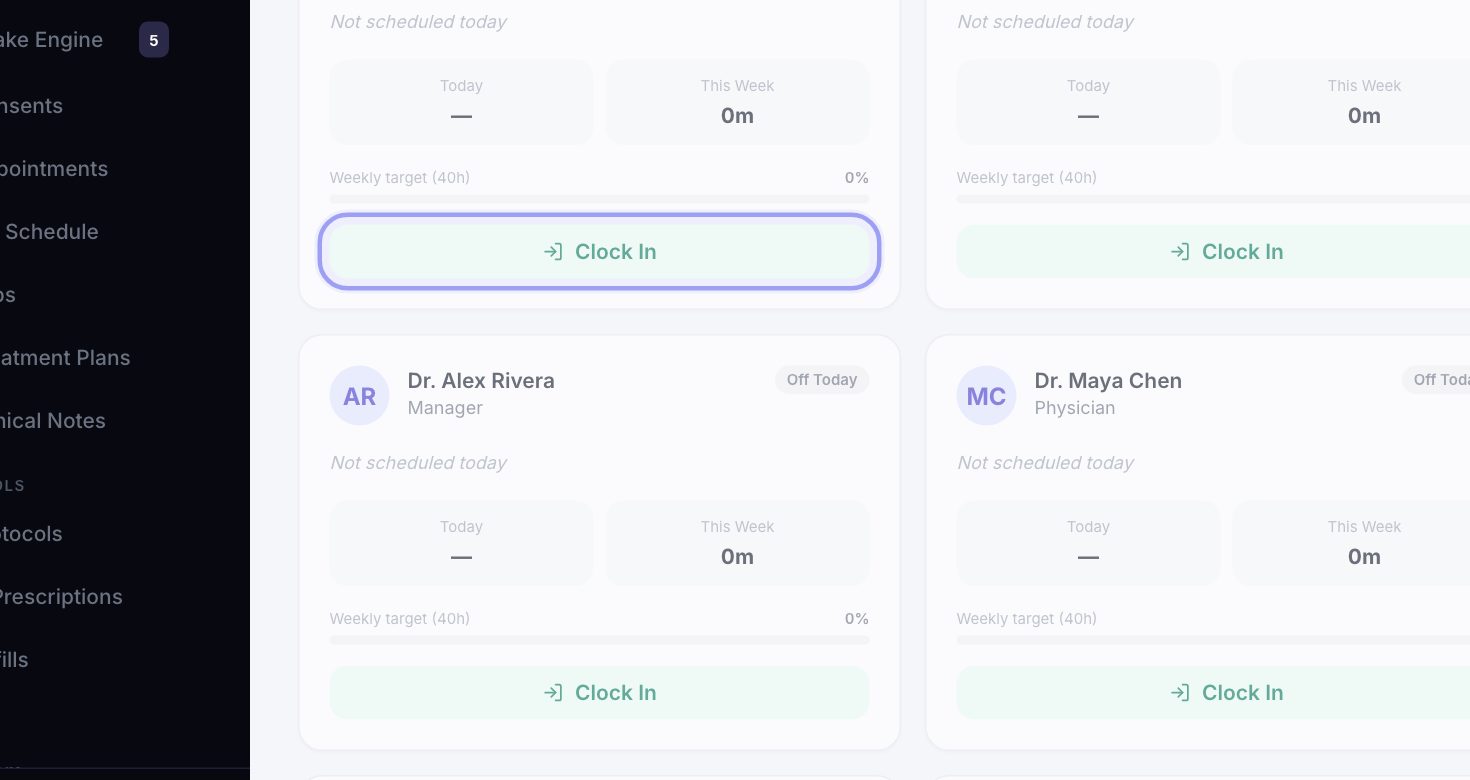
On Time Clock, press Clock In when you arrive, Break when you step away, and Clock Out when you leave. You see only your own hours.
13What your role can’t do by default
- 1Open a full chart, clinical notes, lab results or signed forms.
- 2Add a new patient by hand. Owners, managers and clinicians can.
- 3Give refunds, or see Billing, Analytics or the day’s takings.
- 4Change visit types, the booking link, or anything in Settings.
- 5An owner or manager can change what your role can do in Settings → Roles & Permissions.
Keep going
Appointments
Every visit, for everyone. Book visits, run the front desk, and open any appointment to check a patient in, move it or charge it.
Read the guideDashboard
Your clinic at a glance. Today’s numbers, who is coming in, the money taken, work that needs a person, and the bell where anything new for you lands.
Read the guidePatients
Every patient in your clinic. Find anyone, sort and filter the list, add a new patient, put patients in groups, and open a chart.
Read the guideConsents
Your consent forms, and who has signed them. Send forms, hand the tablet over in the office, and keep your library of forms in order.
Read the guideForms and consents, start to finish
A visit is booked, its paperwork goes out, the patient fills it in at home or on a tablet, and the answers come back to you. Here is every step, and what your team signs.
Read the guidePayments and checkout
Money from start to finish: the deposit when a visit is booked, the charge at the visit, the receipt, a refund if one is needed, and where it all shows up.
Read the guideMessages
One inbox for every conversation with your patients and your team. Reply, hand a message to the right person, and leave notes only your team can see.
Read the guideDispensary
Your clinic’s own supplements, and how many are on the shelf. Hand one to a patient, take the payment, and add supplements to the shelf.
Read the guideTime Clock
Clock in and out, and take breaks. Hours and overtime add up on their own, and owners and managers fix mistakes and export hours for payroll.
Read the guideMessaging and reminders
How your clinic reaches patients: messages, booking confirmations, appointment reminders and other notices. What goes out on its own, how you control it, and what patients can turn off.
Read the guideRather be shown?
Inside Aminova, the tutorial walks you through every page, and the Getting started checklist shows you each task click by click. Or book a live training session with our team.