1The page at a glance
The Dashboard is the first page you see each day. At the top are a greeting, today’s date and your notifications bell. Below them are today’s numbers, quick actions, today’s visits, the front desk, the work queue and the week’s activity.
What you see depends on your role. A tile you can’t use is left off, not shown empty.
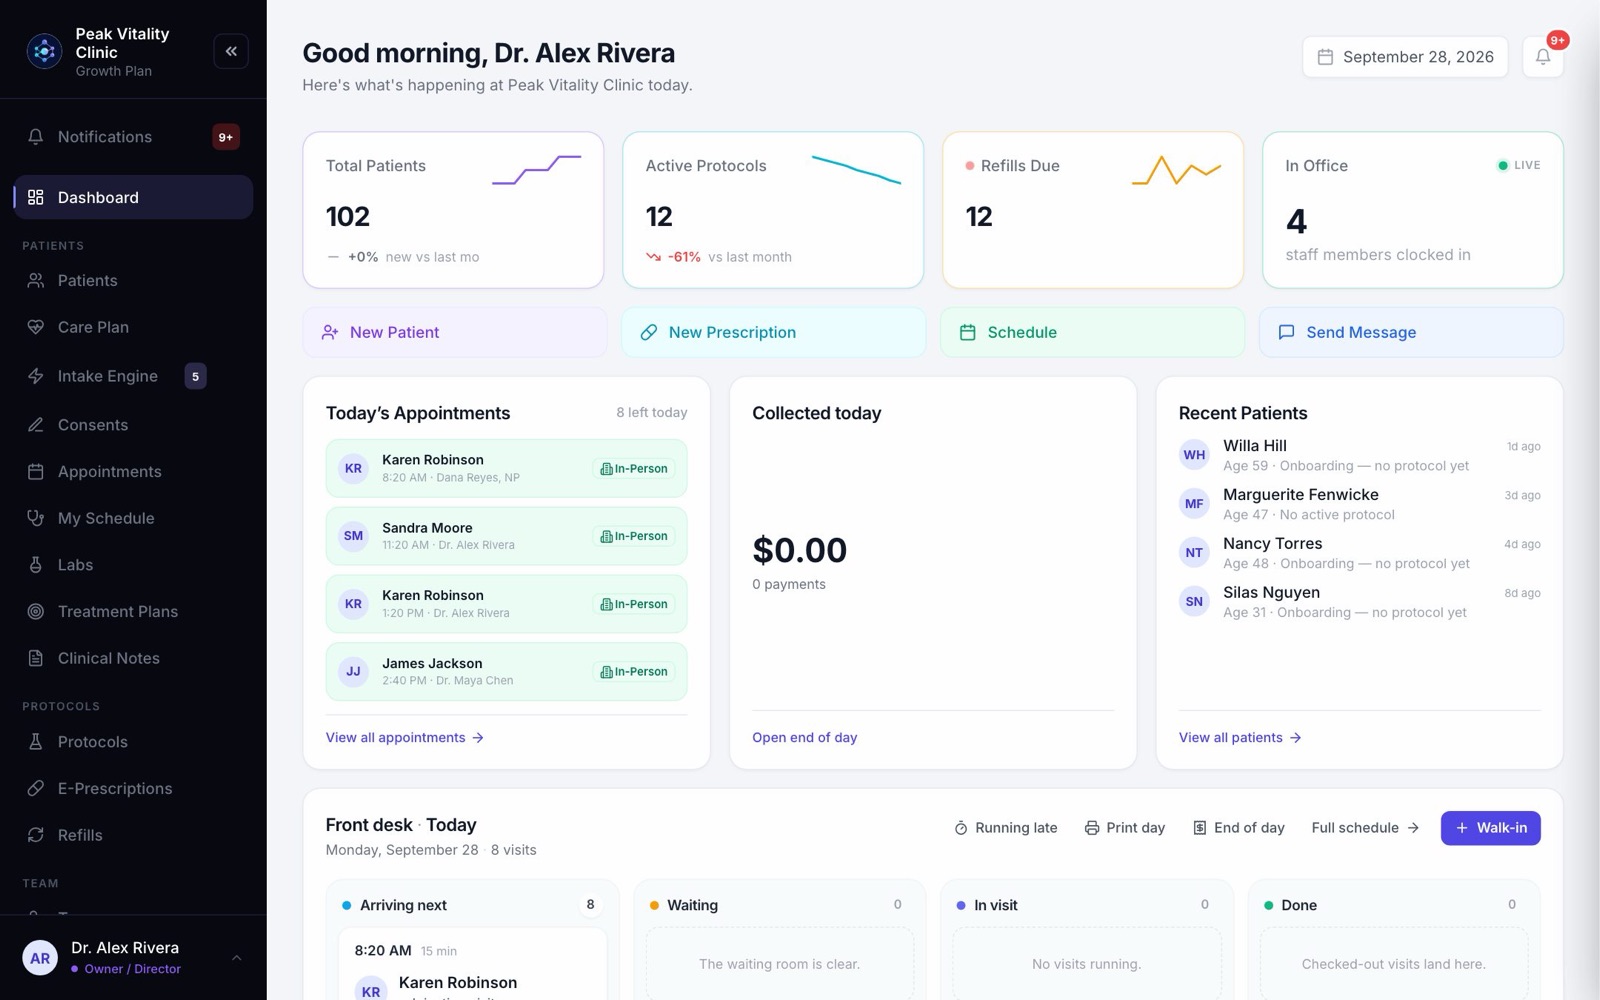
2Today’s numbers
- 1Total Patients is everyone in your clinic. The small number beside it compares new patients this month with last month.
- 2Active Protocols is how many protocols patients are on right now.
- 3Refills Due counts refills that are due plus refills patients asked for.
- 4In Office shows how many staff are clocked in right now.
- 5Click a number to open the list behind it. The front desk sees Appts Today and Check-ins Today instead of the first two.
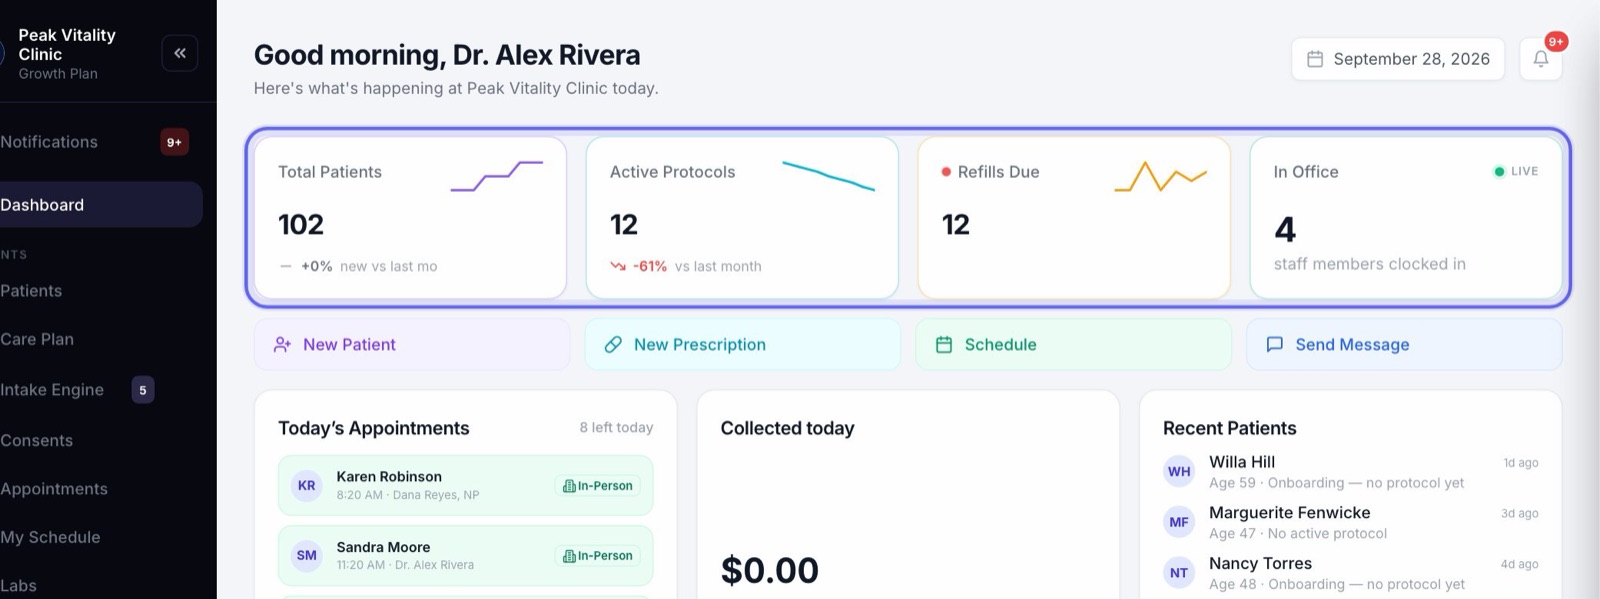
3Quick actions
- 1New Patient opens the form to add a patient.
- 2Schedule books a visit, and Send Message writes to a patient.
- 3Prescribers also see New Prescription when your plan includes e-prescribing.
- 4People who take payments but don’t prescribe see Take Payment in that spot instead.
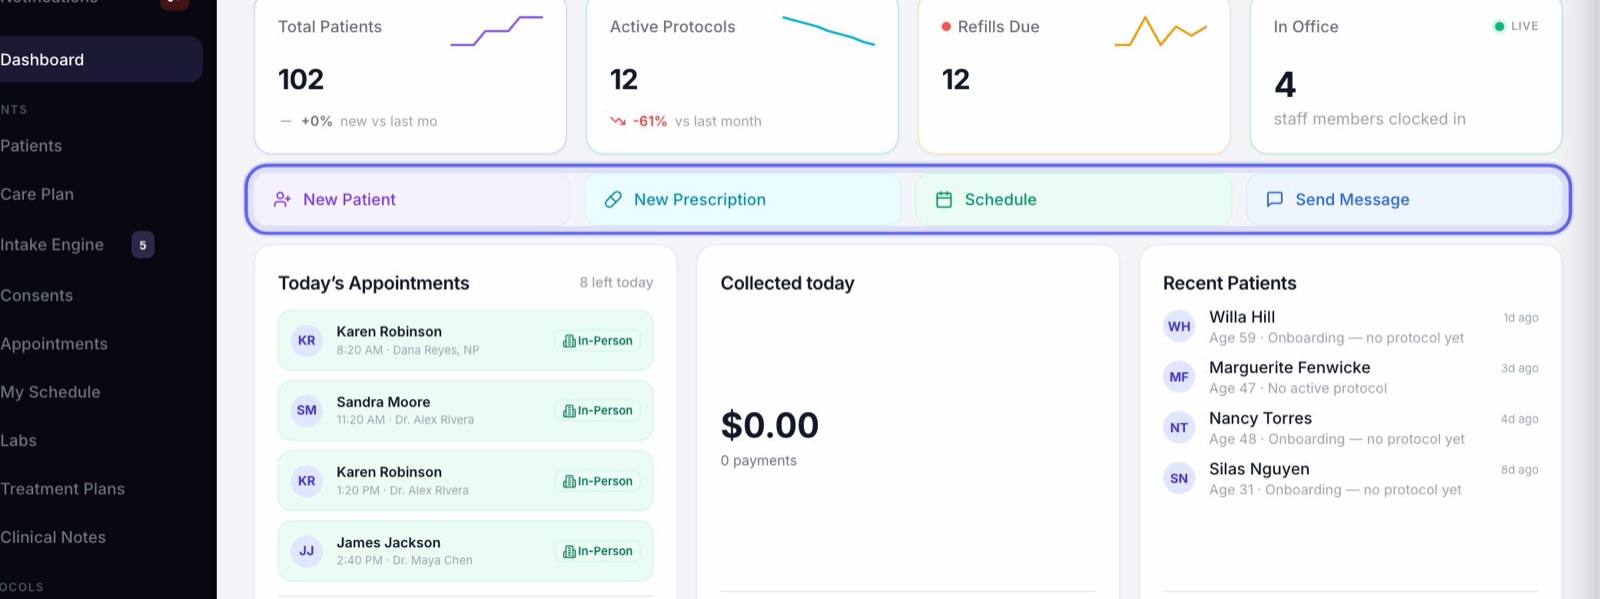
4Today’s Appointments
This tile lists the next visits still to come today, up to four, with how many are left. A visit leaves the list once it’s over.
Click a visit to open it and check the patient in, start, check out or charge. A video visit has a Join button. View all appointments opens the full schedule.
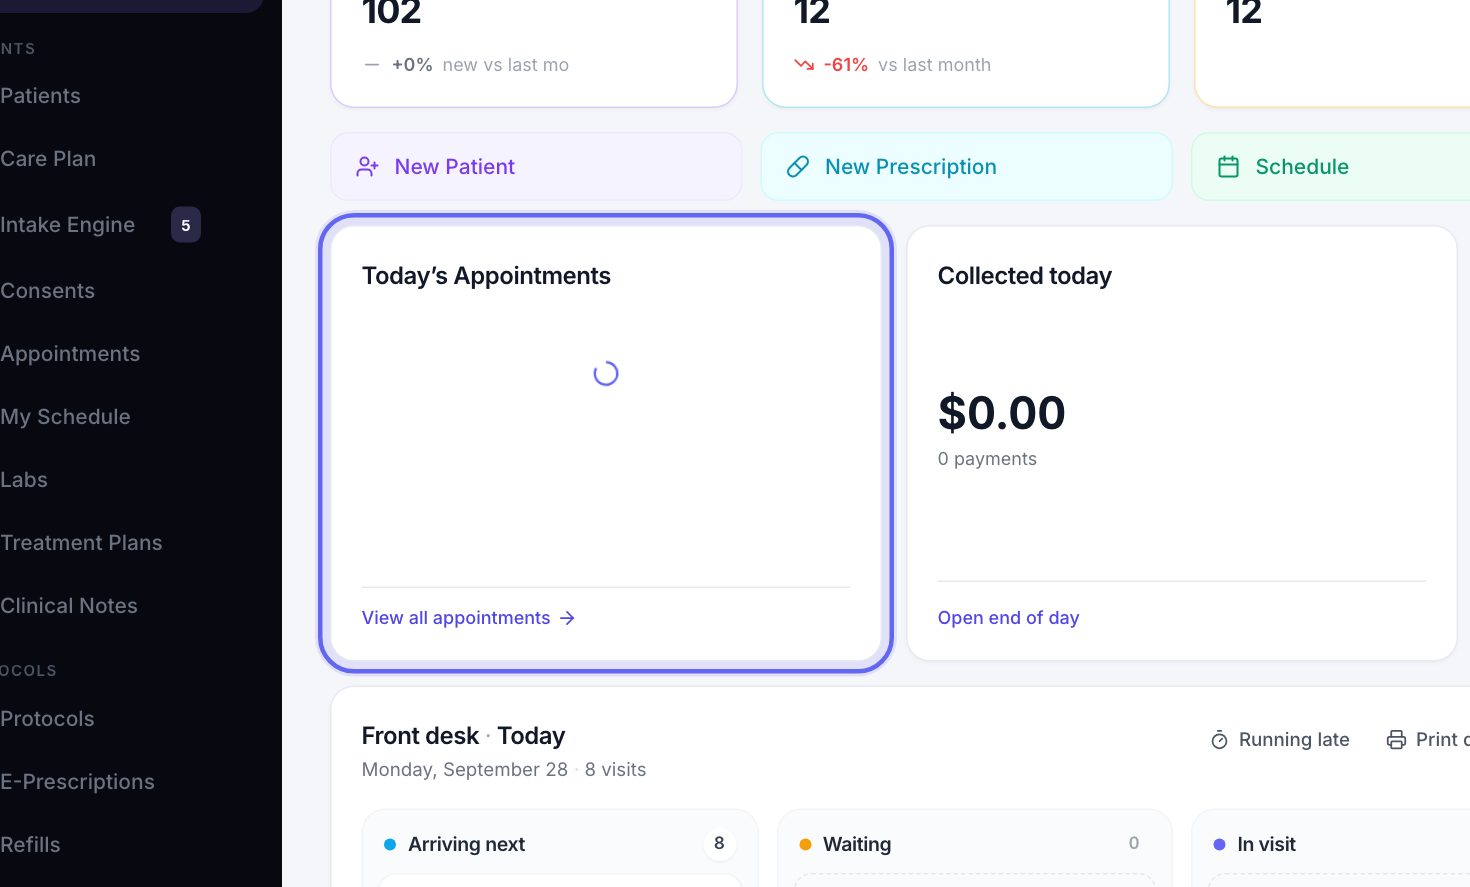
5Collected today
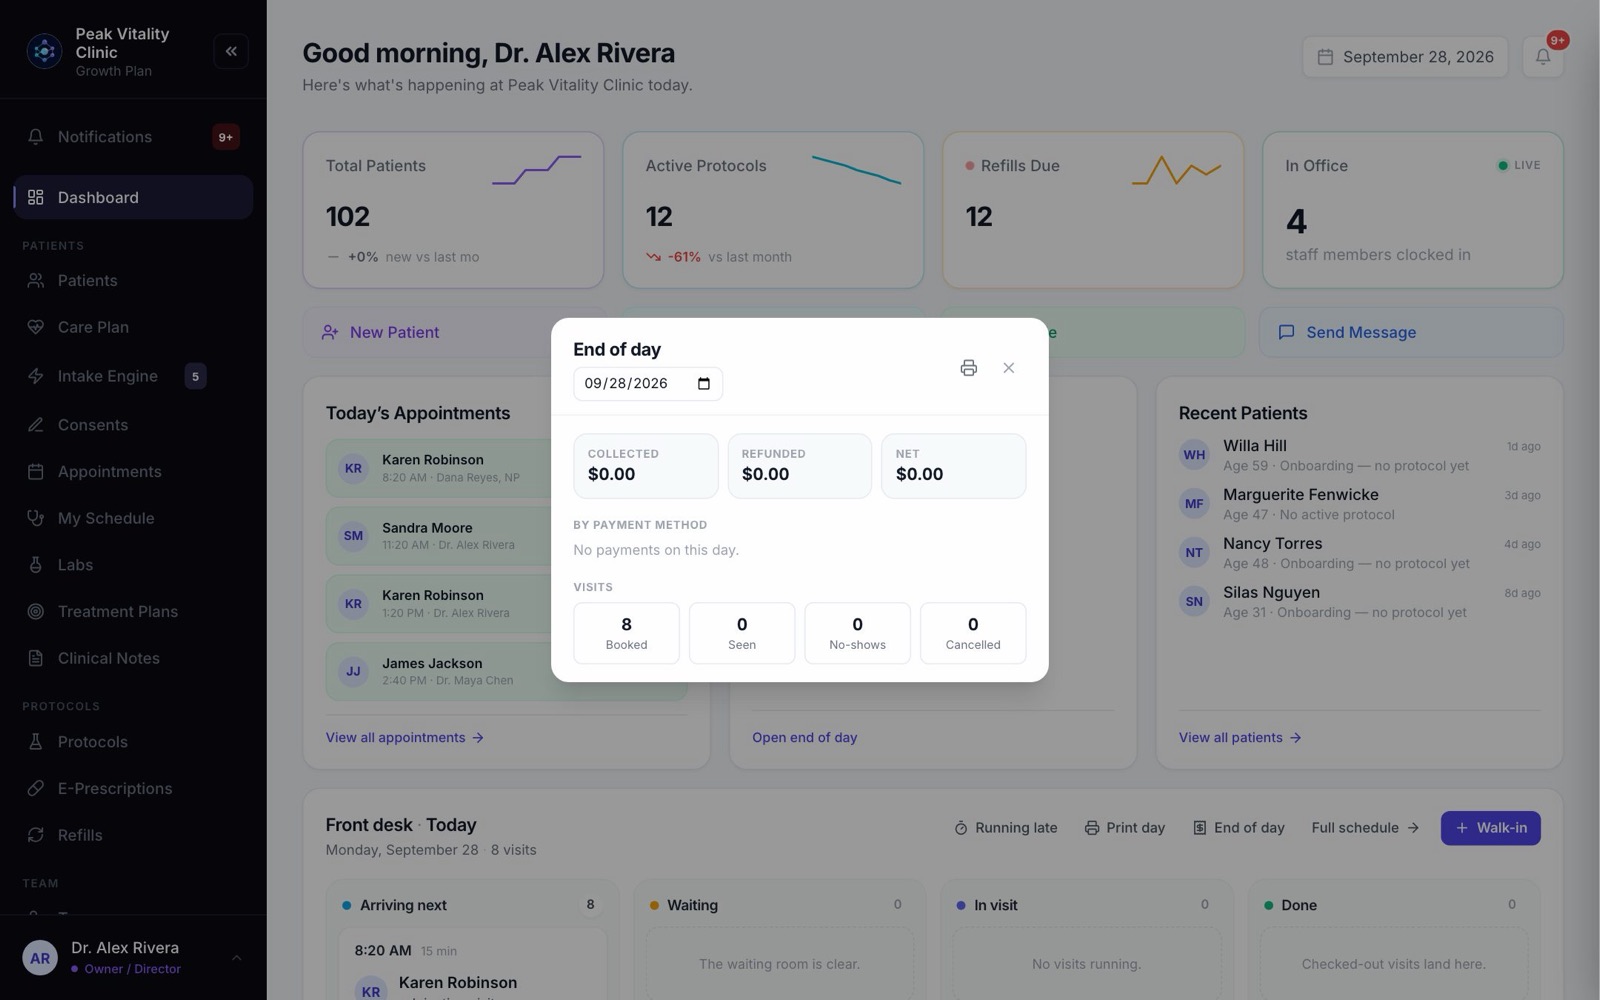
- 1The big number is the money taken today, after refunds, with how many payments made it up.
- 2Press Open end of day for the breakdown: collected, refunded and net, by payment method, then the day’s visits booked, seen, no-shows and canceled.
- 3Pick another date at the top to see a different day. The printer icon prints it.
- 4Only people who can see revenue get this tile.
6Recent Patients
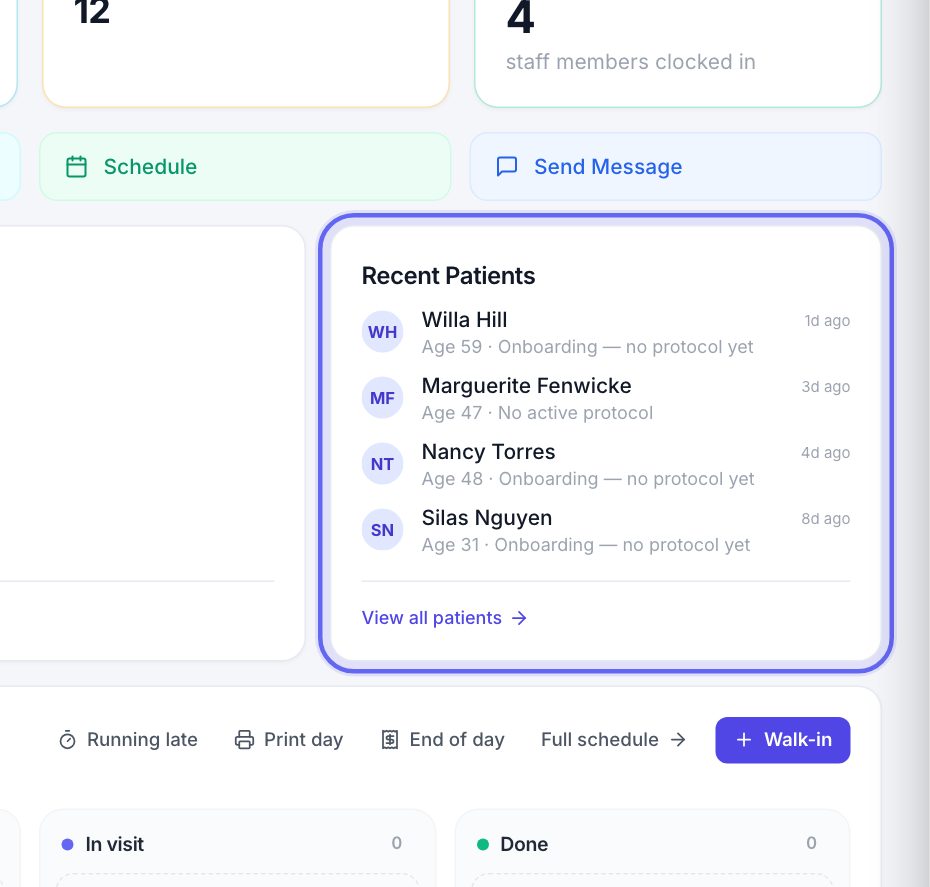
The four patients added most recently, with when they joined. A cake icon means it’s their birthday today.
Click a name to open their chart, or View all patients for the full list.
7Front desk · Today
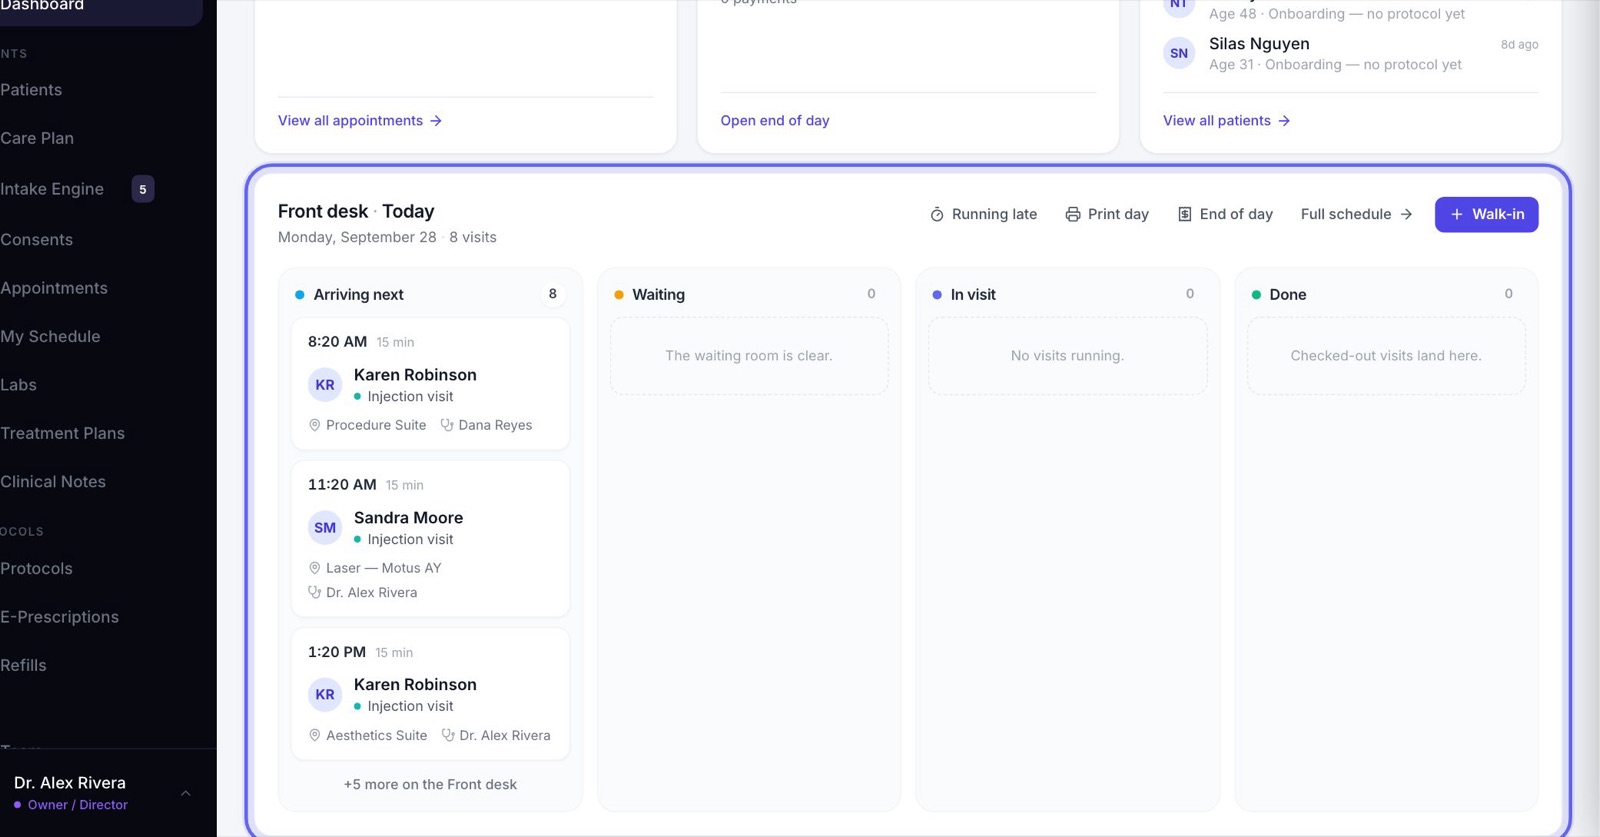
- 1Today’s visits sit in four lanes: Arriving next, Waiting, In visit and Done.
- 2Click a patient to open their visit and move it along: check in, start, check out or charge.
- 3You can also drag a card into the next lane.
- 4If visits were left open, an amber note lists them. Check out who was seen, and mark who didn’t come.
- 5Each lane shows three people. When there are more, the link under the lane opens the rest on Appointments.
8Front desk buttons
- 1Walk-in books someone who just came in.
- 2Running late tells patients a provider is behind. Pick Who and About how late, then press Tell their patients. Everyone booked with them in the next three hours, and anyone already waiting, gets a note in their app.
- 3Print day opens the day sheet: every visit today, by provider, ready to print.
- 4End of day opens the day’s money, for people who can see revenue. Full schedule opens Appointments.
9Operations Queue
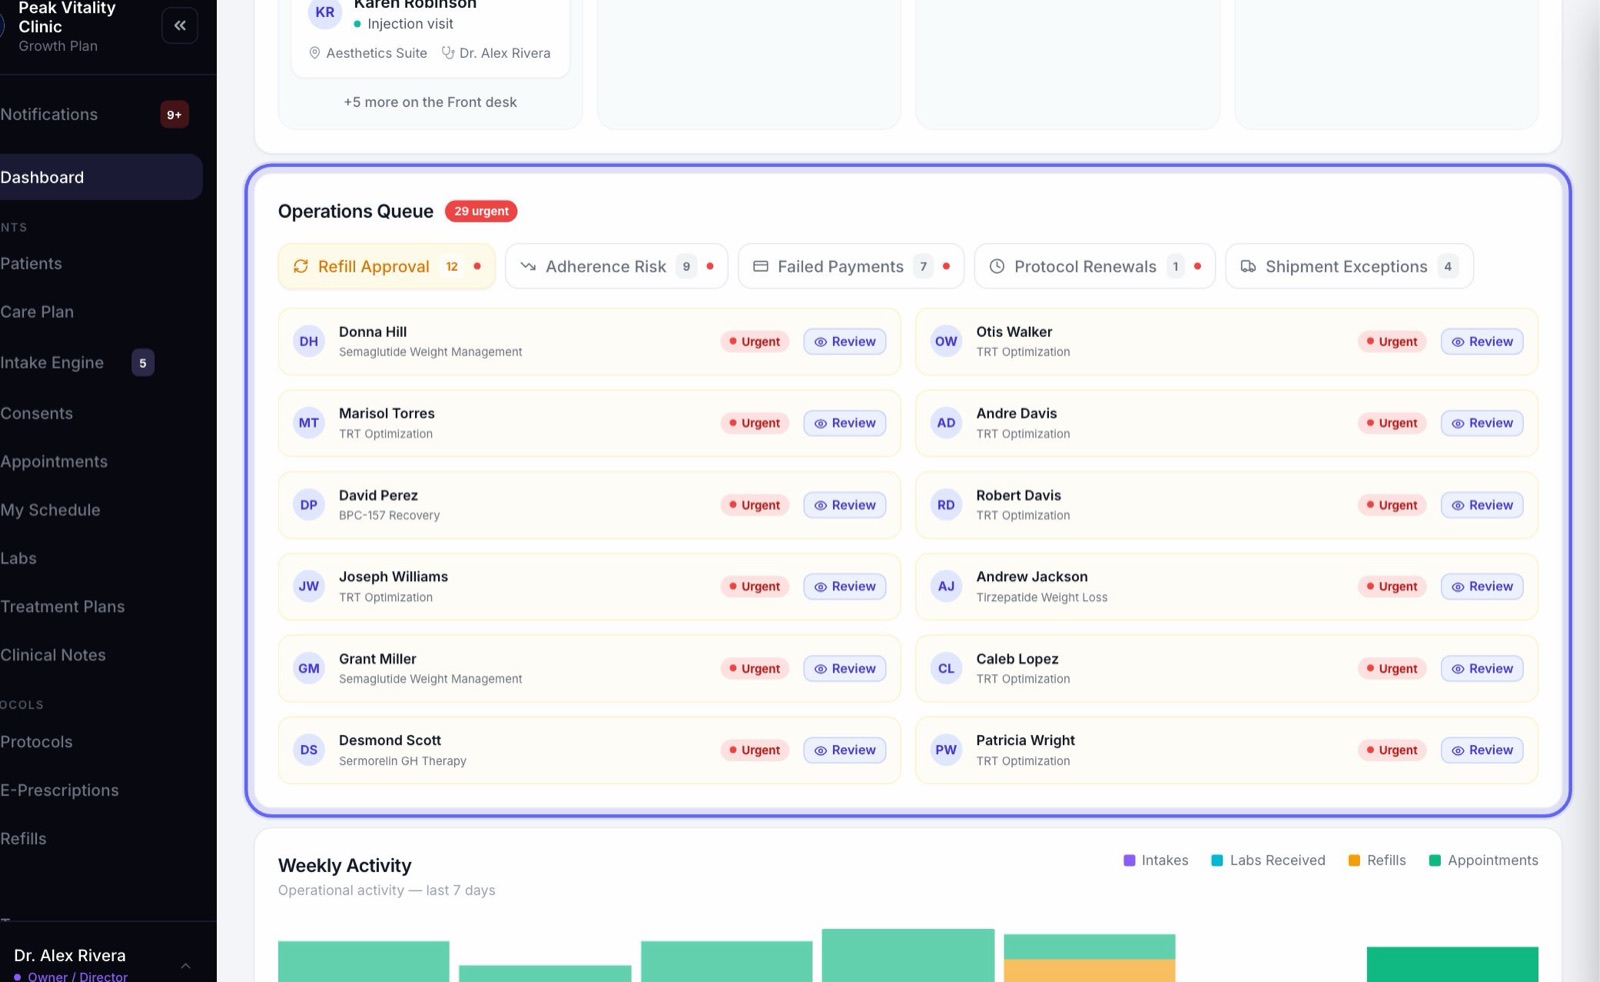
- 1Each tab is a to-do list: Refill Approval, Adherence Risk, Failed Payments, Protocol Renewals and Shipment Exceptions. You only see the tabs your role is allowed to see.
- 2The number on a tab is how many are waiting. A red dot means some are urgent.
- 3On a refill, people who approve refills see Review, which opens it. Others see Send to Dr., which passes it to a provider, or View.
- 4Remind sends a patient who is falling behind a check-in note in their app.
- 5Retry asks the patient, in their app, to update their card. It does not charge the card again. Msg opens Messages.
- 6Schedule asks the patient, in their app, to set up a visit about renewing their protocol. View opens a shipment, with Contact Carrier and Notify Patient.
10Weekly Activity
A bar for each of the last seven days, split into intakes, labs received, refills and appointments. Today’s bar is brightest, and the row under the chart gives today’s totals.
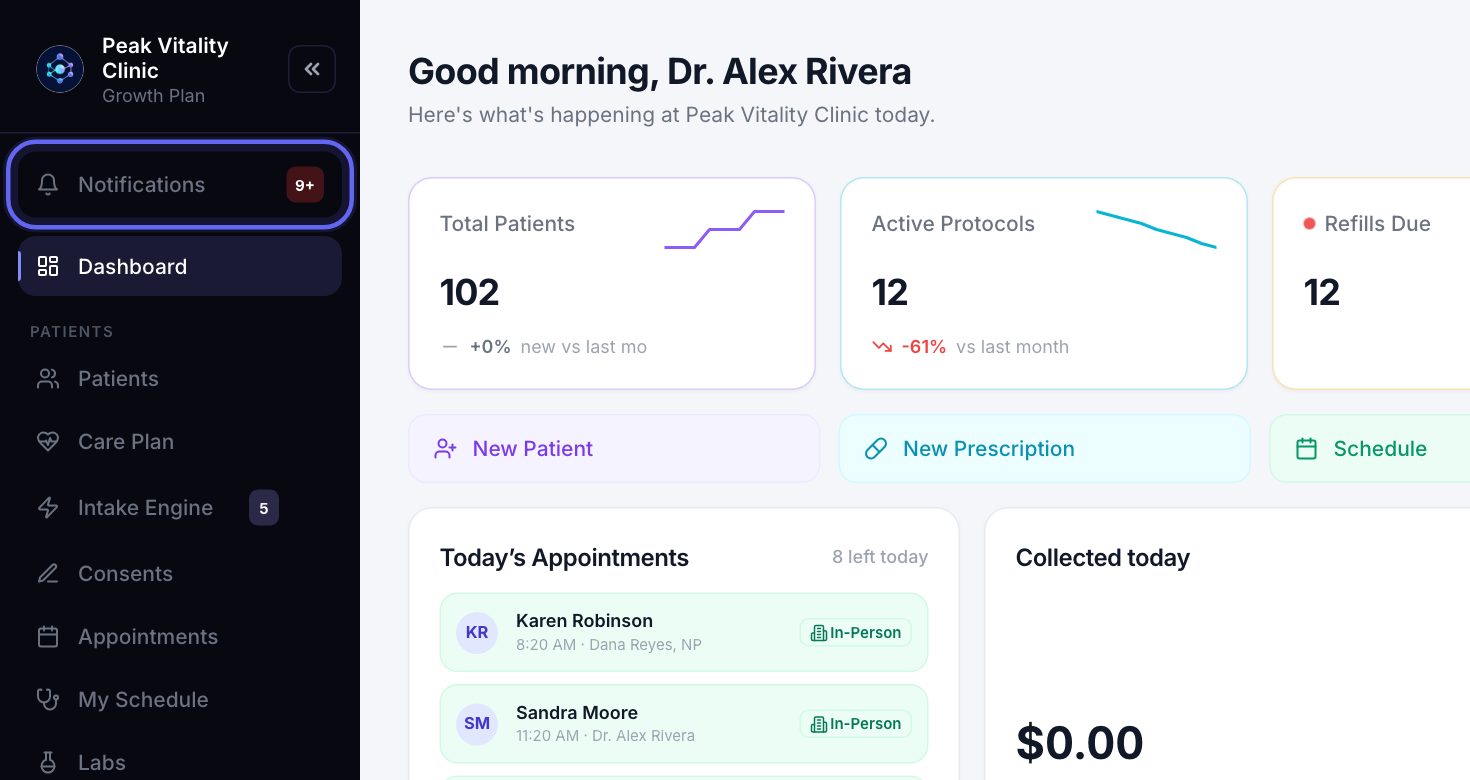
11The notifications bell
The bell sits beside the date on the Dashboard. It also sits at the top of the sidebar, so you can reach it from any page.
A red number on it counts what you haven’t read yet. Click it to open your notifications.
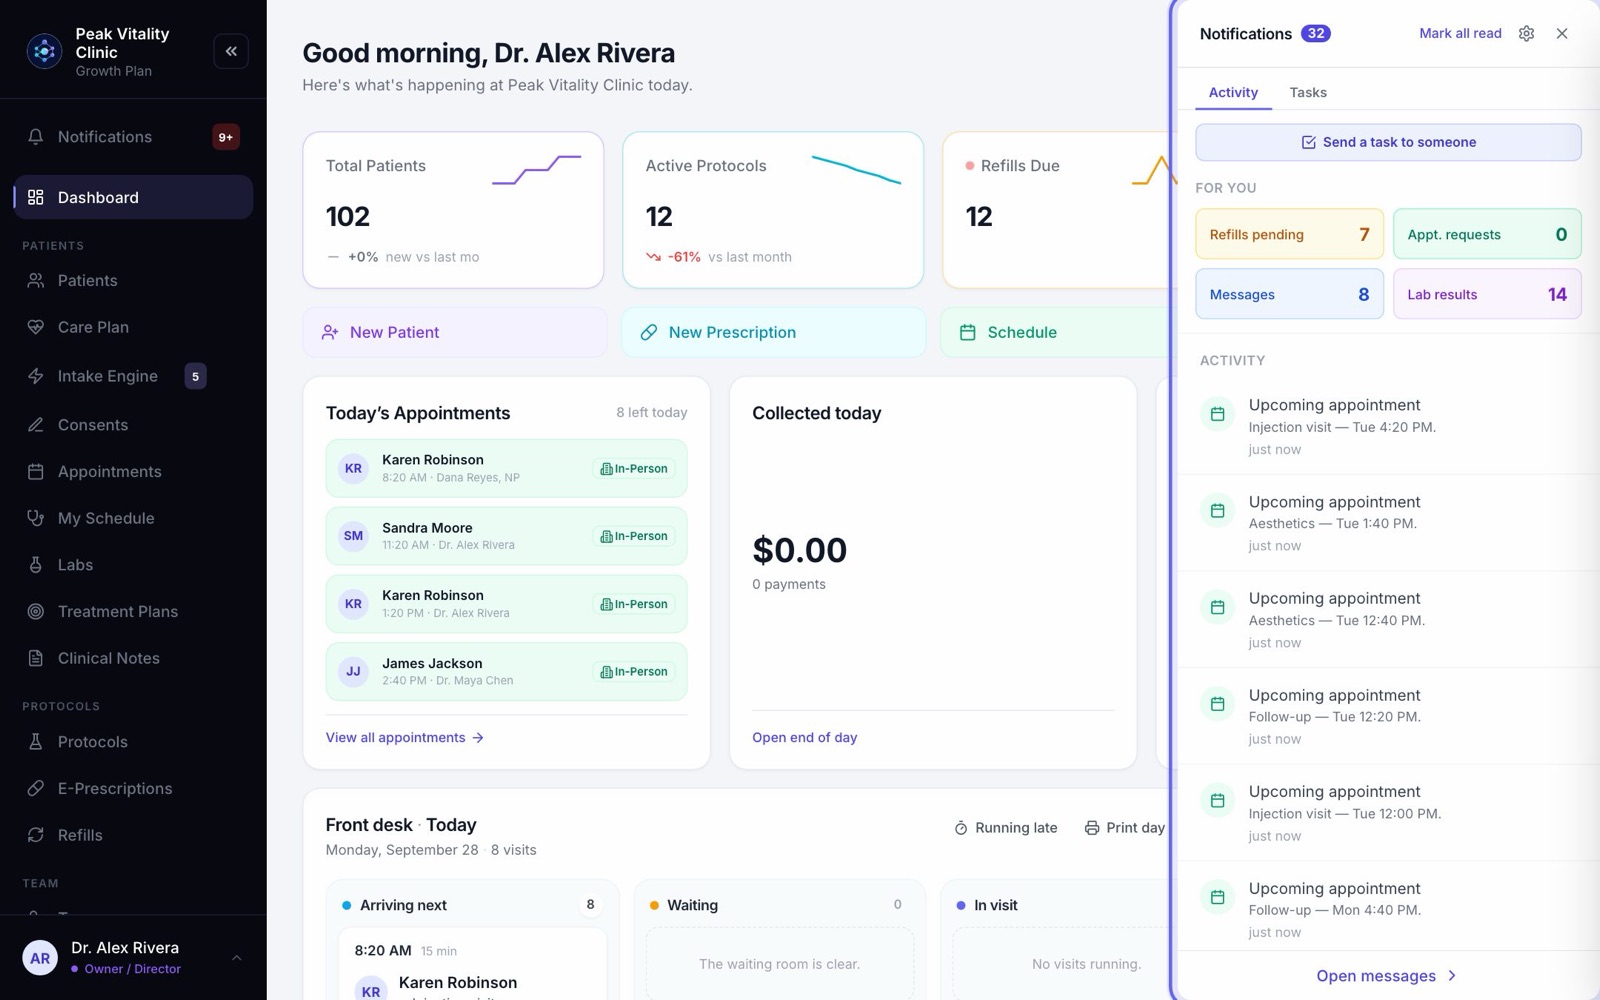
12Your notifications
- 1For you at the top shows counts that matter to your role. Click one to go straight to that list.
- 2Under Activity is everything new: messages, visits, results, signed consents, tasks and more. A blue dot means unread. A red dot means urgent.
- 3Click a notification to go straight to it.
- 4Mark all read clears the count. View all activity shows more than the first eight.
- 5Aminova Updates lists recent changes to Aminova. Open messages at the bottom goes to Messages.
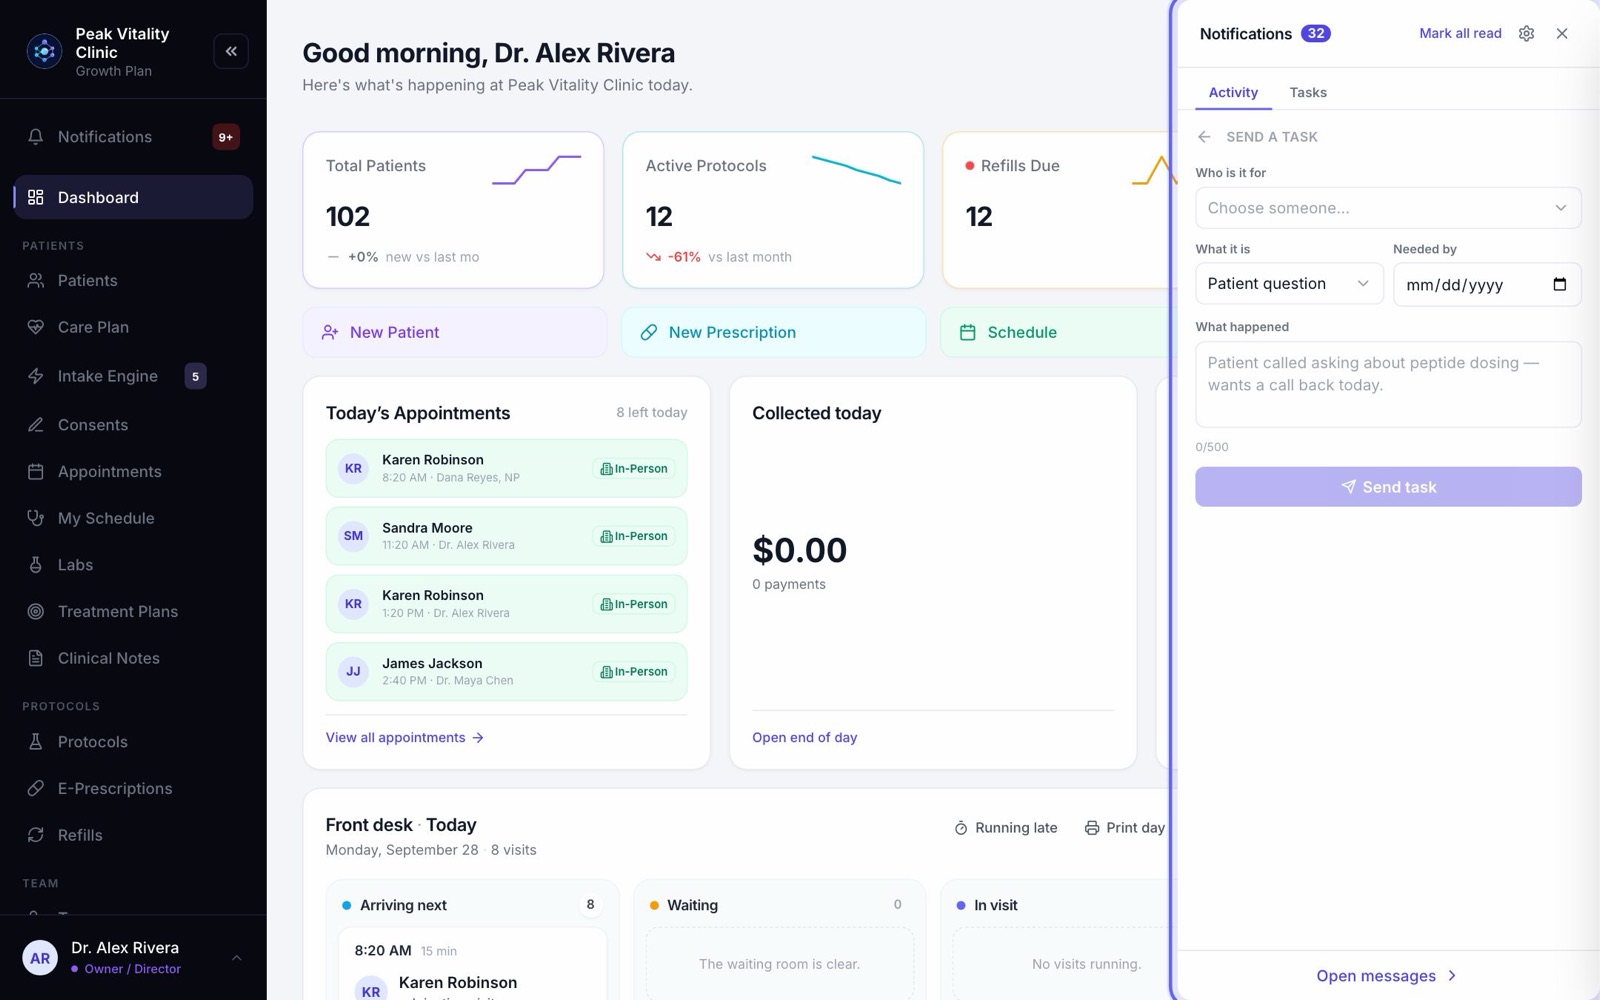
13Send a task, and see yours
- 1Press Send a task to someone. Choose Who is it for, What it is and, if you like, Needed by.
- 2Write What happened, then press Send task. They see it in their notifications and their Tasks.
- 3The Tasks tab lists Assigned to me, Unassigned and Sent by me.
- 4Tick the circle when a task is done. You can star one too. A task about a patient has an Open chart link.
- 5Tick Email me when a task is assigned to me to get an email too. It never includes patient details.
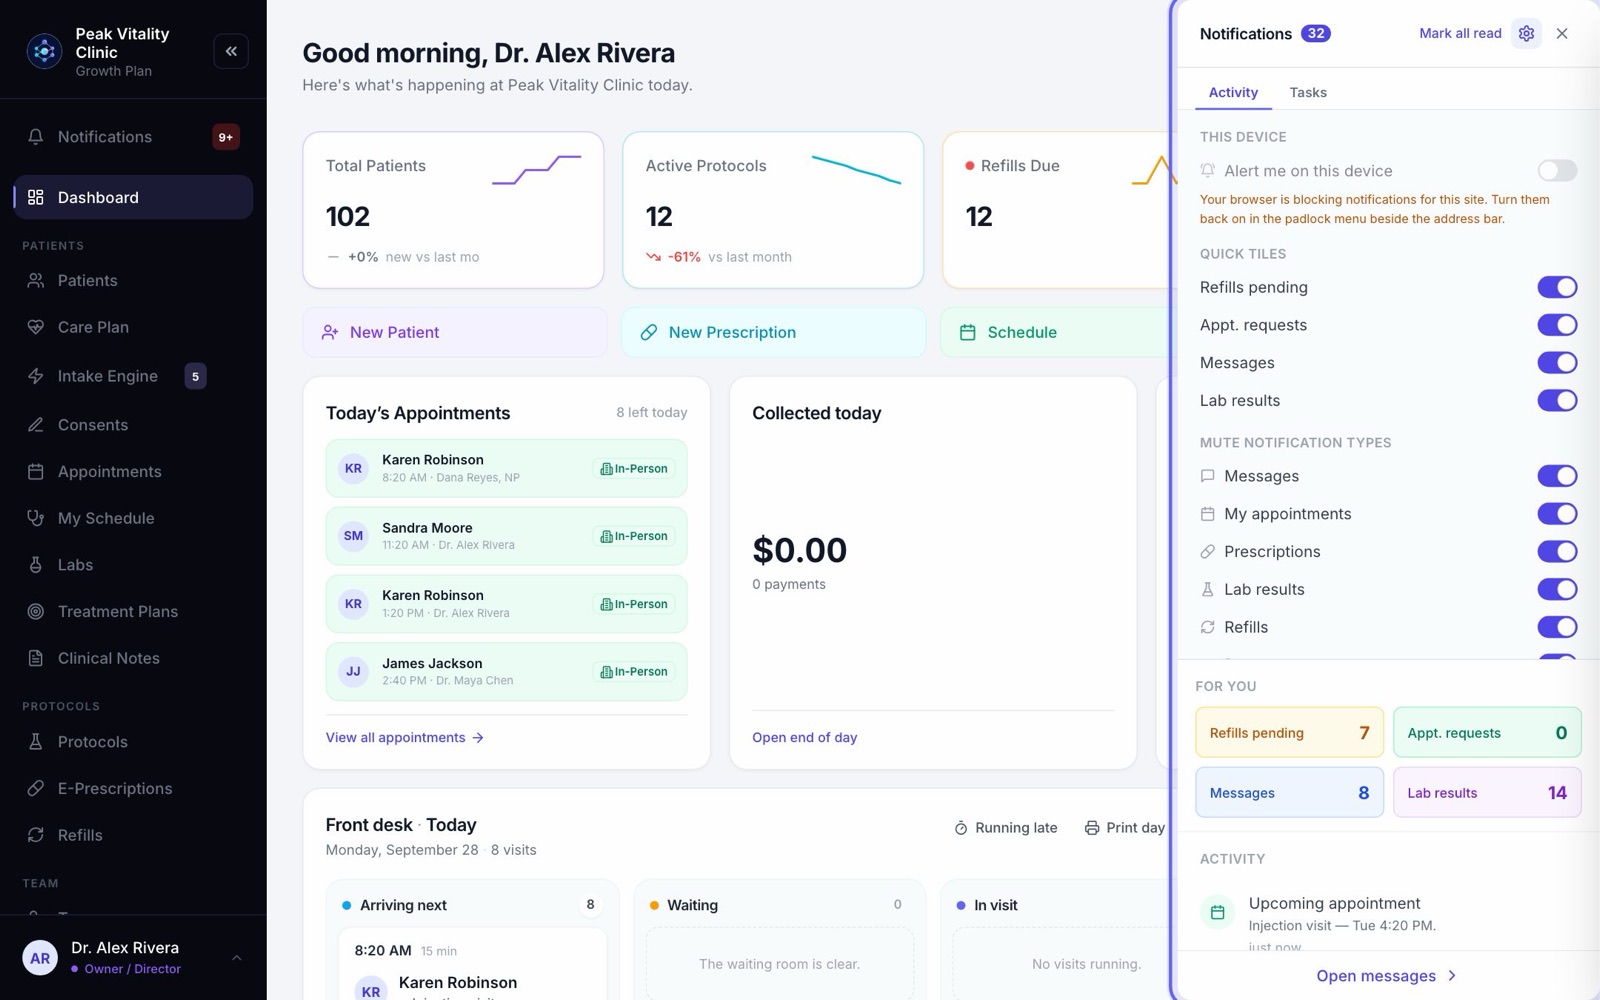
14Choose what you’re told
- 1Click the gear at the top of the panel.
- 2Turn on Alert me on this device to get alerts on this computer. Do it again on each computer you use.
- 3Under Quick tiles, switch off the For you tiles you don’t need.
- 4Under Mute notification types, switch off the kinds you don’t want to see, like Refills or System.
Keep going
Appointments
Every visit, for everyone. Book visits, run the front desk, and open any appointment to check a patient in, move it or charge it.
Read the guidePatients
Every patient in your clinic. Find anyone, sort and filter the list, add a new patient, put patients in groups, and open a chart.
Read the guideRefills
Approve or decline refills, get them signed and sent, and see what really reached the pharmacy. Approving is not sending.
Read the guideBilling
Bill patients, take payments and keep track of what’s owed. Make invoices, record and refund payments, print receipts, and set up your discounts.
Read the guideMessages
One inbox for every conversation with your patients and your team. Reply, hand a message to the right person, and leave notes only your team can see.
Read the guideTime Clock
Clock in and out, and take breaks. Hours and overtime add up on their own, and owners and managers fix mistakes and export hours for payroll.
Read the guideRather be shown?
Inside Aminova, the tutorial walks you through every page, and the Getting started checklist shows you each task click by click. Or book a live training session with our team.