1How money moves
Money comes in at three moments: a deposit when a visit is booked, the charge at the visit, and bills you send to be paid later.
The patient is offered a receipt, and every payment lands on their account. It shows in Billing and in Analytics.
2Deposits at booking
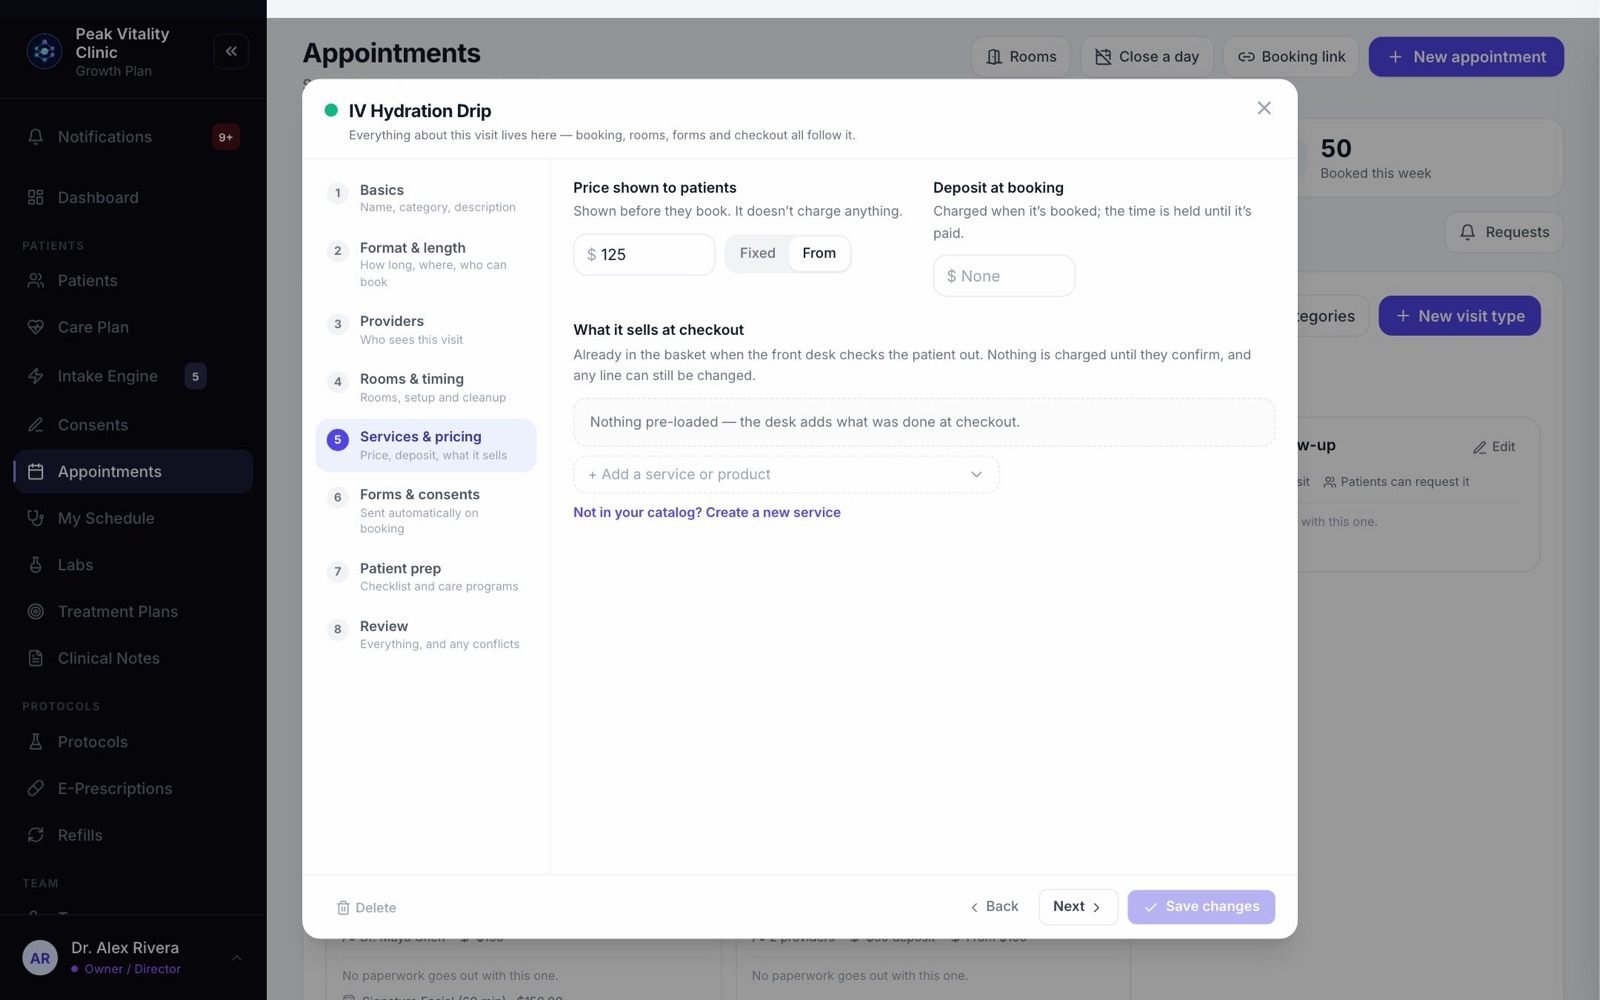
- 1Turn deposits on for everything in Settings → Payments & Plans (Require a deposit to book), or give one visit type its own Deposit at booking.
- 2A patient booking online pays the deposit before the time is theirs.
- 3The visit shows the deposit: paid, still owed, or waived.
- 4At checkout, a paid deposit comes off the bill on its own, as Deposit already paid.
- 5If the deposit is more than the bill, the checkout shows Deposit not used — refund or credit, so you know to give the rest back.
3No-shows
- 1Mark a visit No-show from its … menu.
- 2Your no-show rule then runs: it keeps the deposit as the fee, or charges a no-show fee to the card on file. You set the rule in Settings → Payments & Plans.
- 3A fee is only charged to patients who accepted your policy when they booked online.
- 4Marked by mistake? Press Undo no-show. The visit goes back on, and what the rule did is reversed where it can be.
4Open the checkout
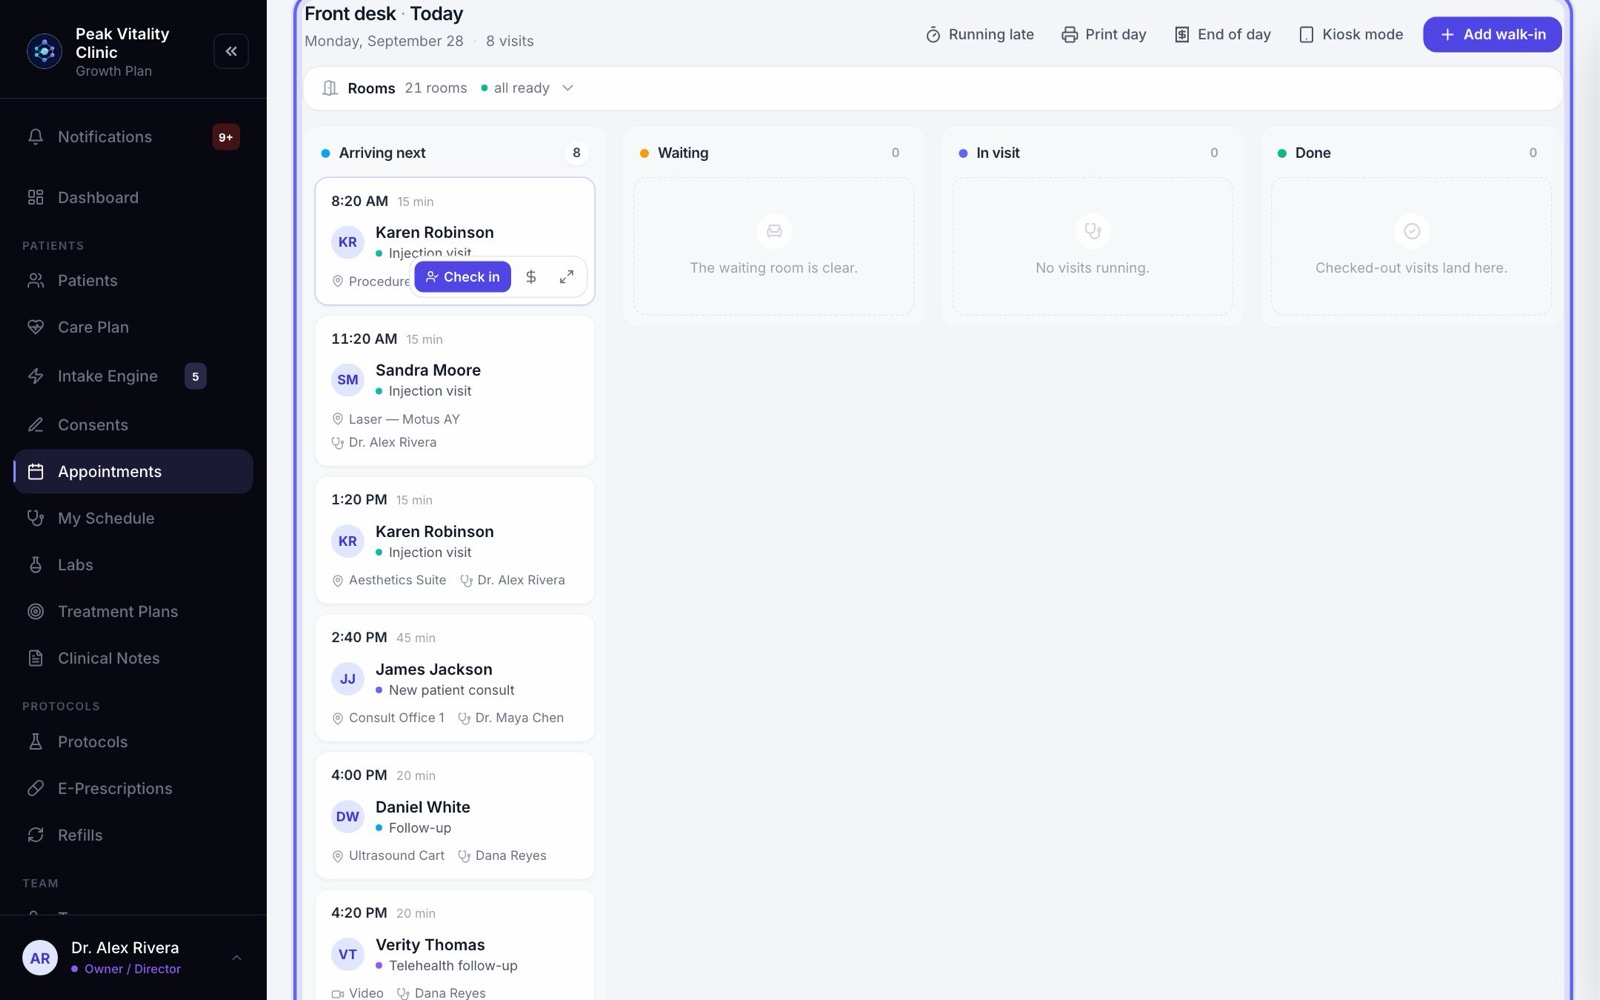
- 1Open the visit on Appointments and press Charge. It’s on the visit once the patient is checked in. Before that, it’s in the … menu.
- 2Or, on the Front desk tab, use the $ button on the patient’s row. After check-out, the row shows Collect.
- 3The visit’s own services and products are already in the basket, from its visit type.
5Build the bill
- 1Change or remove any line. Press + Add another item to add more.
- 2Add a Note if you like, such as something given for free. It shows on the receipt.
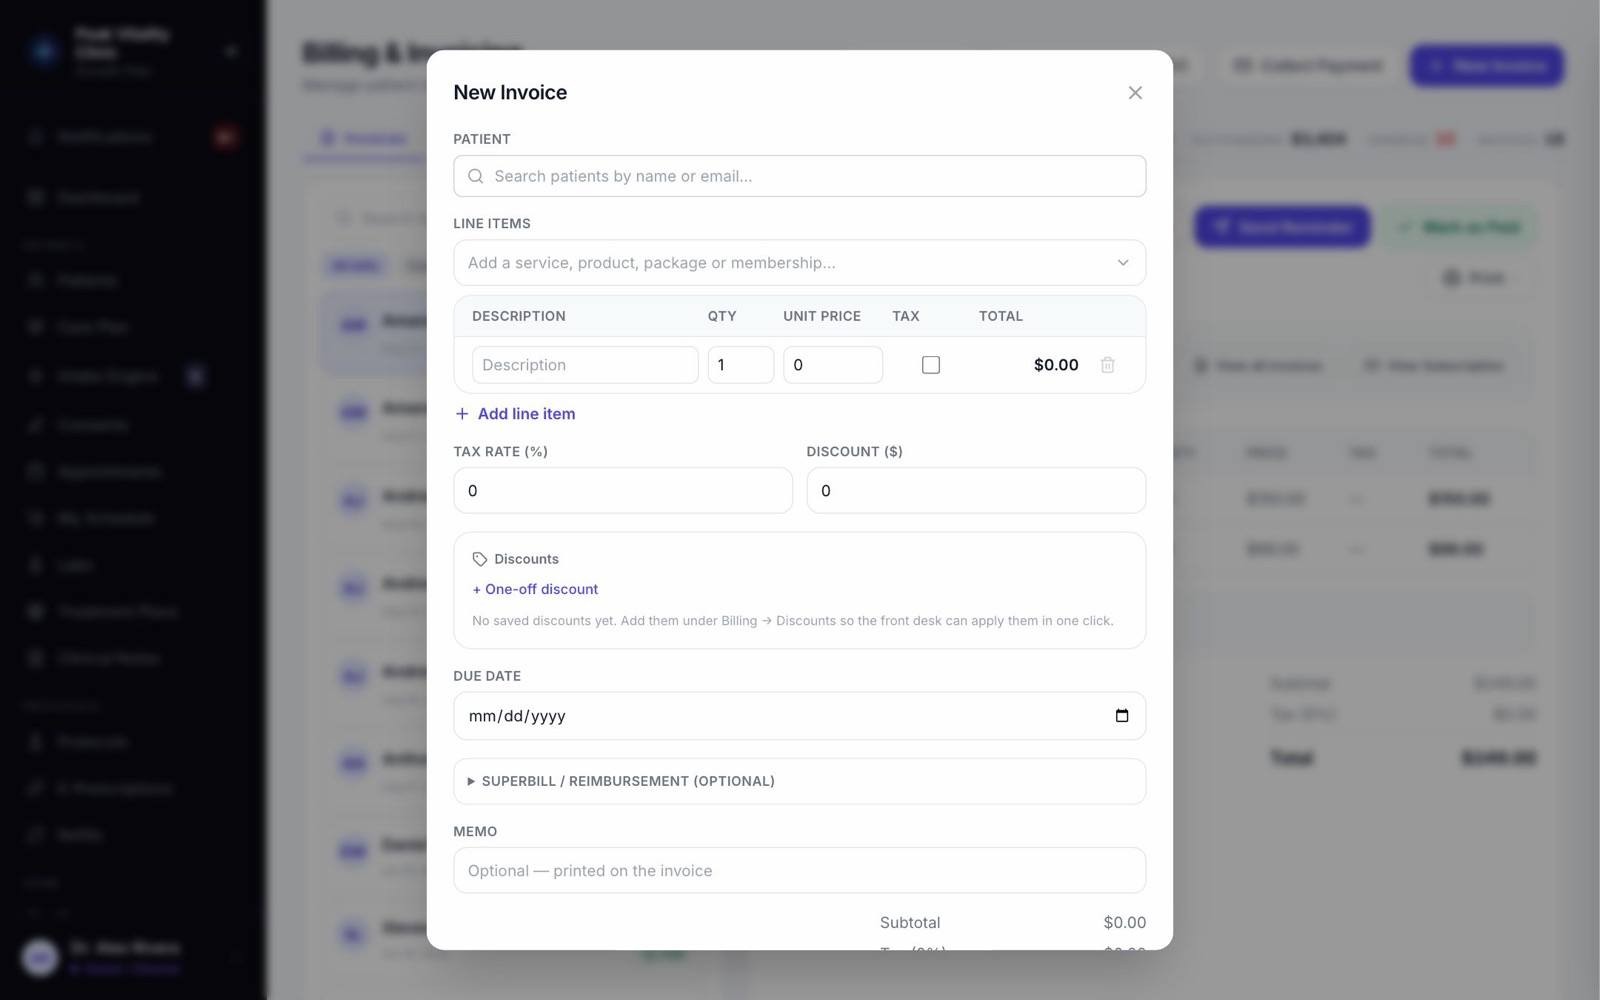
- 3Click a saved discount, type a Discount code, or add a + One-off discount with a reason.
- 4When paying by card, press Apply to use the patient’s credit or treatment bank money.
- 5The big number at the bottom is what’s due now.
6Choose how they pay
- 1Card on file charges a saved card. Pick one, or press Add new card.
- 2Terminal sends the amount to your card terminal, and the patient taps or inserts their card. It shows once a terminal is set up.
- 3Something else… records money that reached you another way: cash, a check, an HSA or FSA card, financing, a bank transfer, a gift card and more. Nothing is charged. It’s written down so your books match.
- 4For a check or a transfer, type the reference number. It helps you match the payment to your bank statement.
- 5If you offer a cash price, the bill shows the card price and the cash price, and marks the one being paid.
7Split a payment
- 1When paying by card or terminal, tick Split the payment.
- 2Type the part paid another way, like cash, and choose how it was paid.
- 3The rest goes on the card or the terminal.
- 4The other part is written down only after the card goes through. A declined card never leaves a cash payment behind.
8Tips
- 1Under Tip, pick 15%, 18%, 20% or Custom.
- 2Choose Who is the tip for? It starts as the visit’s provider.
- 3The tip is added to the same payment. It’s only saved once the payment goes through.
- 4Owners and managers see each person’s tips for the week on Time Clock.
9Take the payment
- 1The green button says what it will do, and how much: Charge, Send … to terminal, or Record.
- 2If the deposit already covers the whole visit, nothing is charged. You’re told there’s nothing to collect.
- 3If only part of a card is approved, you’re told how much was taken and that the rest is still owed.
- 4If the connection drops, you’re told to check before trying again, so nobody is charged twice.
In-person card payments on a terminal can include prescription items.
10Receipts
- 1Right after a payment, you’re asked: Print, Email, Print & email, or Skip — no receipt needed.
- 2Most receipts email themselves and show up in the patient’s app. If one already went out, the button says Email again.
- 3To stop automatic receipt emails, turn off the Email switch for Payment receipt in Settings → Notifications.
- 4For a payment on an invoice, reprint or resend the receipt later from Print in Billing.
Practice patients never get emails, texts or bills.
11Bills to pay later
- 1In Billing, press New Invoice, add the lines, then press Create & send. The patient gets an email with a pay link, and the bill is in their app.
- 2Or use Collect Payment, then Email a bill, to send a bill for one of your plans.
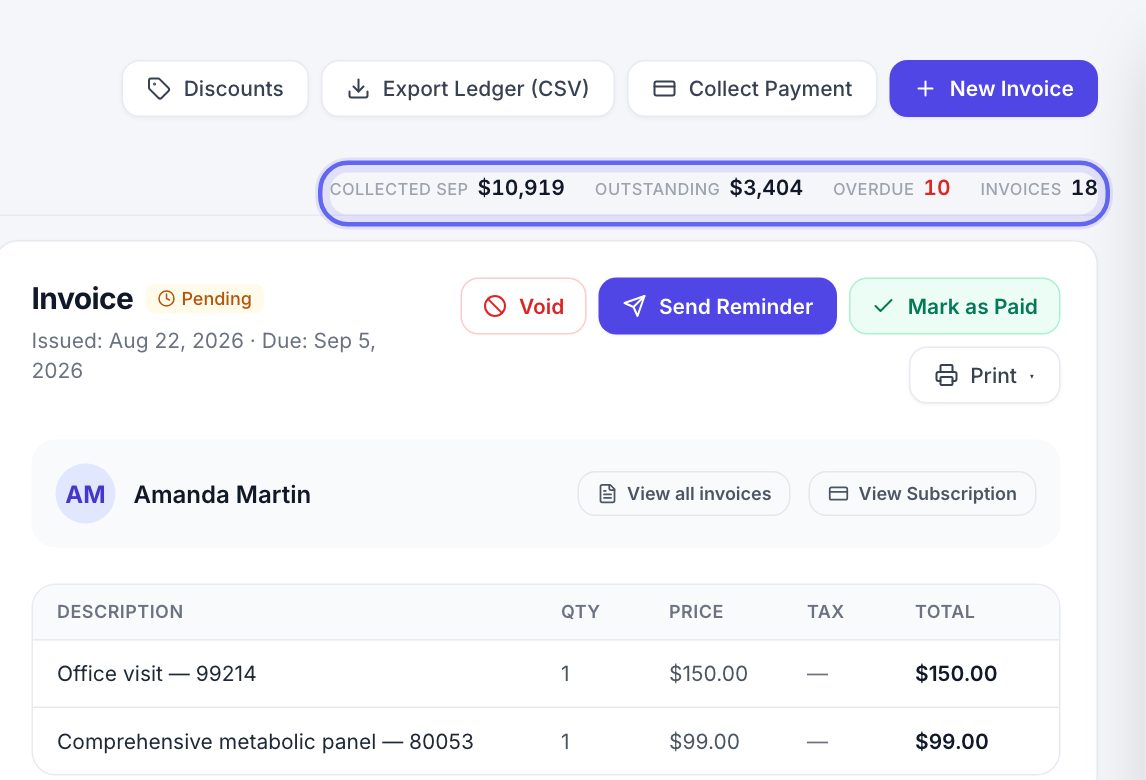
- 3Still owed? Open the invoice and press Send Reminder.
- 4Paid some other way? Press Mark as Paid and choose how.
12Refunds
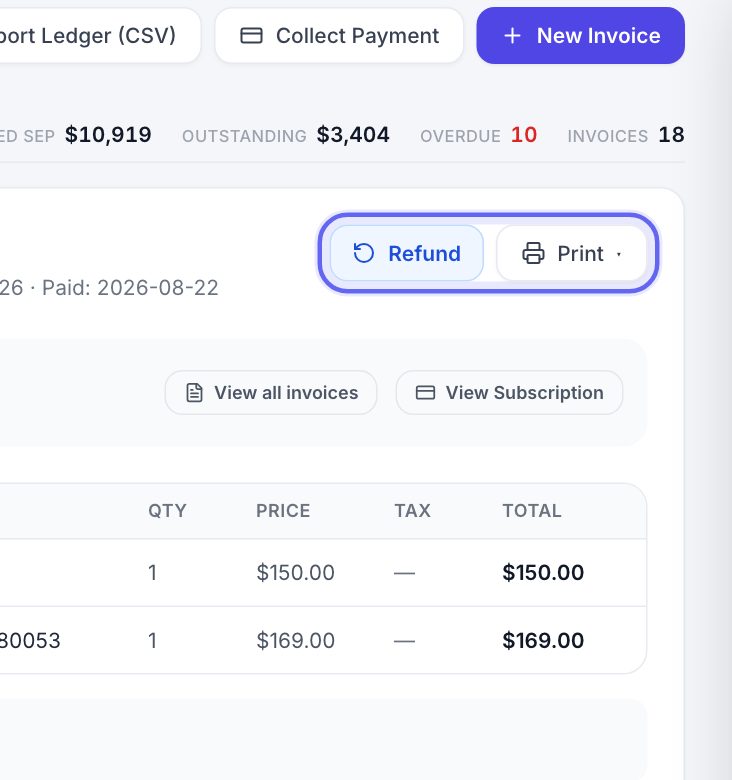
- 1In Billing, open the paid invoice and press Refund.
- 2Before you press anything, it shows where the money goes back. A card payment goes back to the card. Cash or another recorded payment is written down as a refund.
- 3Refund all of it, or type a smaller amount and a reason. Then press Issue Refund.
- 4If Aminova can’t tell how the bill was paid, it refunds nothing and tells you why.
13End of day
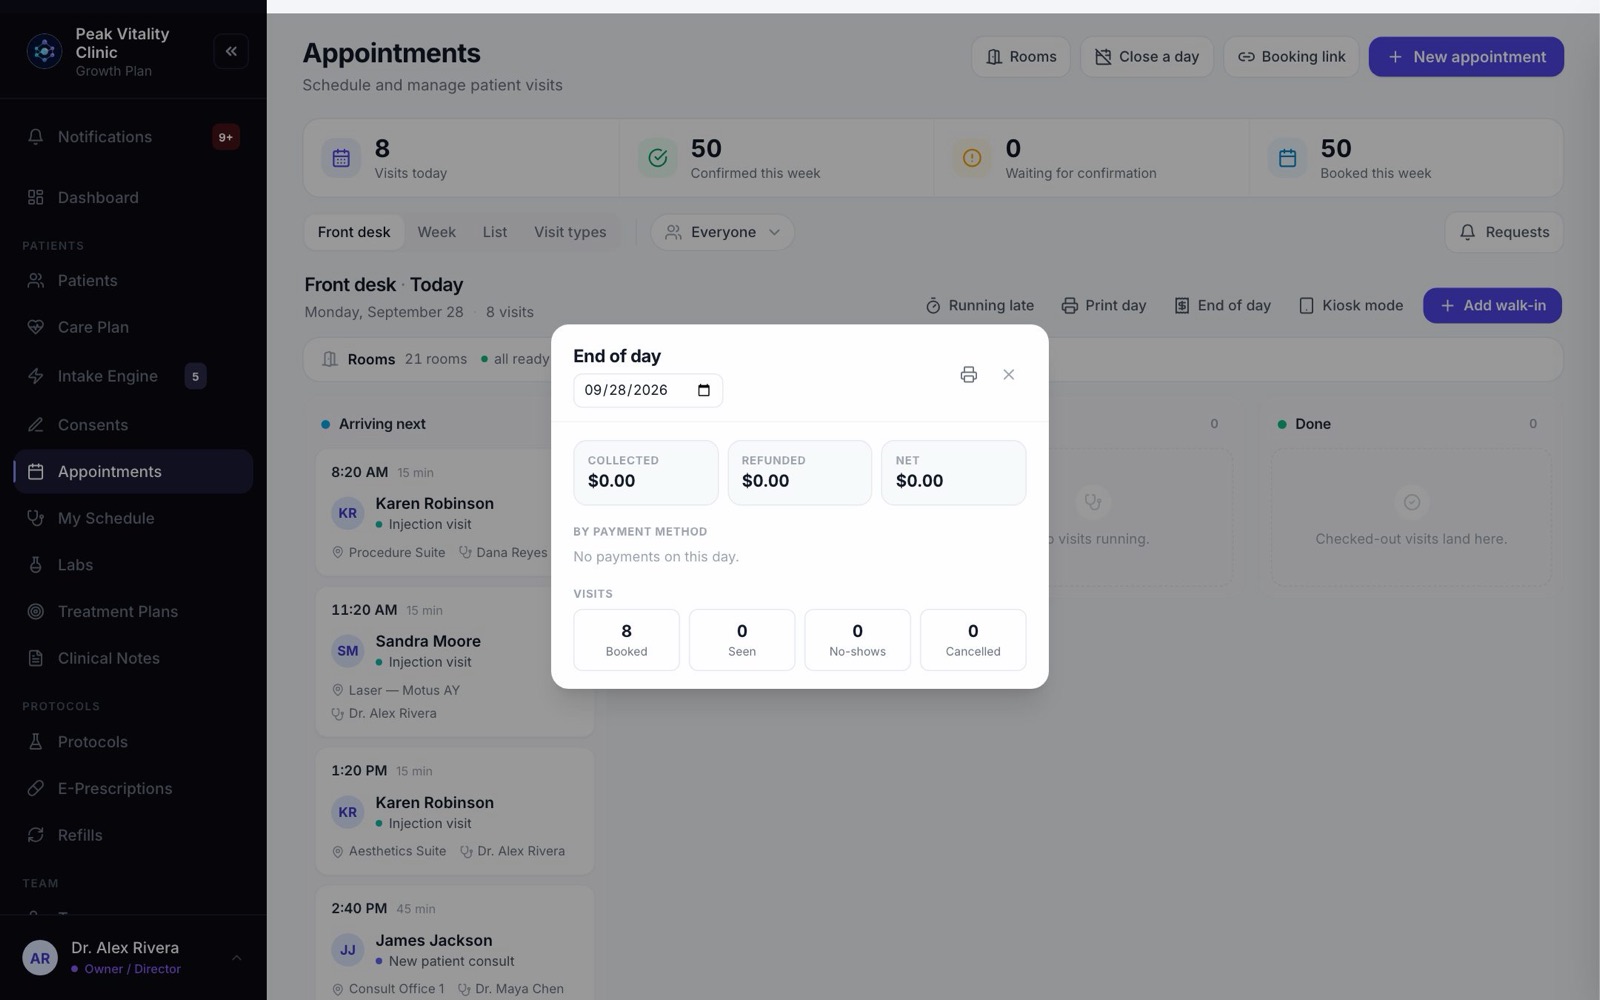
- 1On Appointments, open the Front desk tab and press End of day. It’s there for people who can see the clinic’s money.
- 2See what was collected, what was refunded, and the net, split by how people paid.
- 3Tips taken and the day’s visits (booked, seen, no-shows and canceled) are below.
- 4Pick any date, and print it.
14Where it shows up
On the patient’s chart, the Billing tab shows what they owe, what they’ve paid, their credit, and every transaction. Card payments also show in Billing’s invoice list as paid.
Every payment counts toward Collected at the top of Billing and on Analytics. Practice patients are left out of those numbers.
Keep going
Take card payments
Connect your card processor, add your card terminals, then set your payment rules: deposits, no-show fees, cash prices and your own payment types.
Read the guideBilling
Bill patients, take payments and keep track of what’s owed. Make invoices, record and refund payments, print receipts, and set up your discounts.
Read the guideAppointments
Every visit, for everyone. Book visits, run the front desk, and open any appointment to check a patient in, move it or charge it.
Read the guideAnalytics
How the clinic is doing: money, patients, visits and what’s selling. Pick a time frame, compare it with the one before, and take the numbers with you.
Read the guideSet up your visit types and booking link
Build each kind of visit once: its length, providers, rooms, price and forms. Then turn on the link patients book from.
Read the guideRather be shown?
Inside Aminova, the tutorial walks you through every page, and the Getting started checklist shows you each task click by click. Or book a live training session with our team.