1Why shifts matter
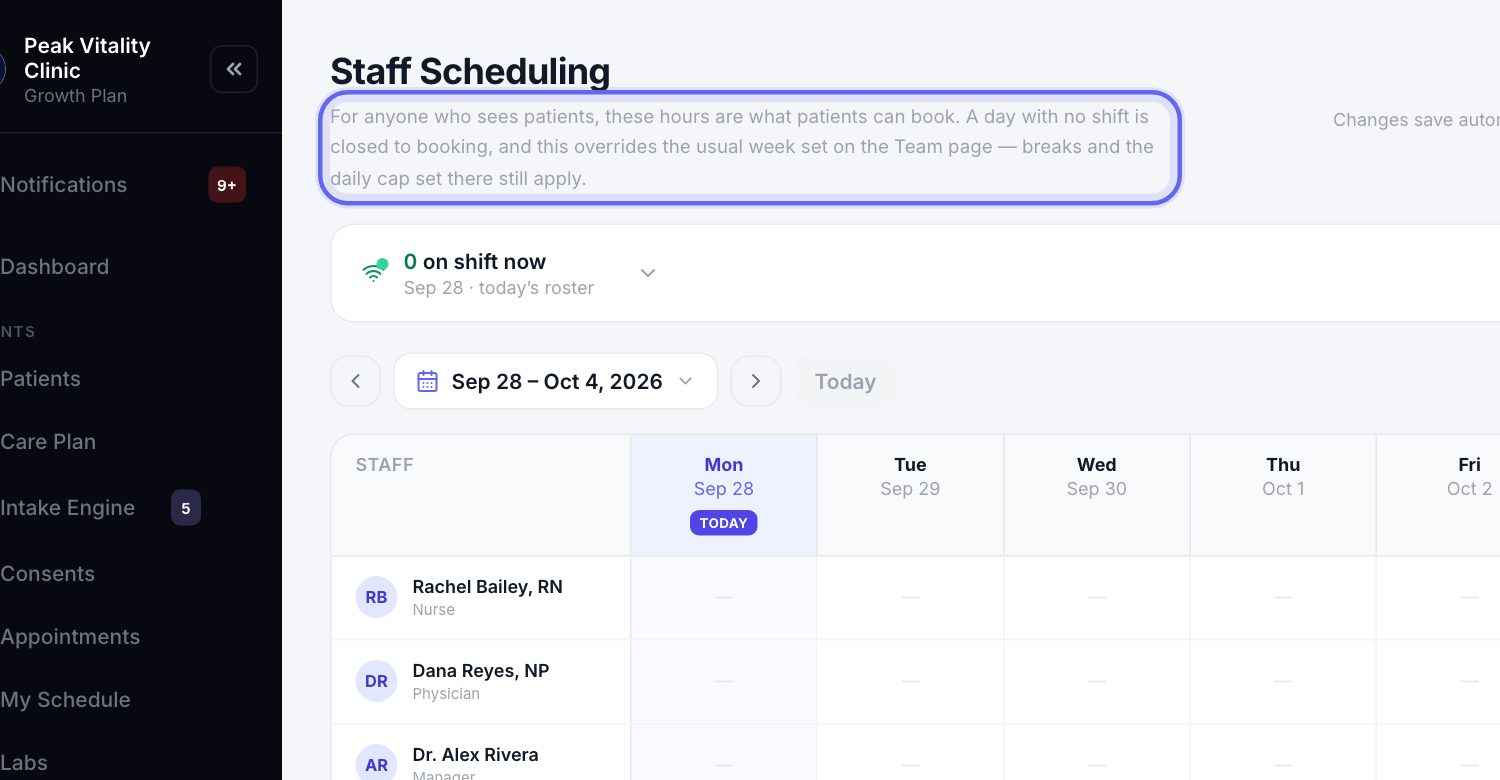
The roster in Staff Scheduling shows who works when. For anyone who sees patients, it also decides when patients can book them. A day with no shift is closed to booking.
Shifts for people who don’t see patients, like the front desk, open no booking times. They show on the roster and the time clock.
2Get your team ready
- 1Invite everyone first. Only people on the Team page can be put on the roster.
- 2Make sure each provider has Sees patients ticked under Credentials on the Team page.
3Open Staff Scheduling
- 1Go to Staff Scheduling in the sidebar.
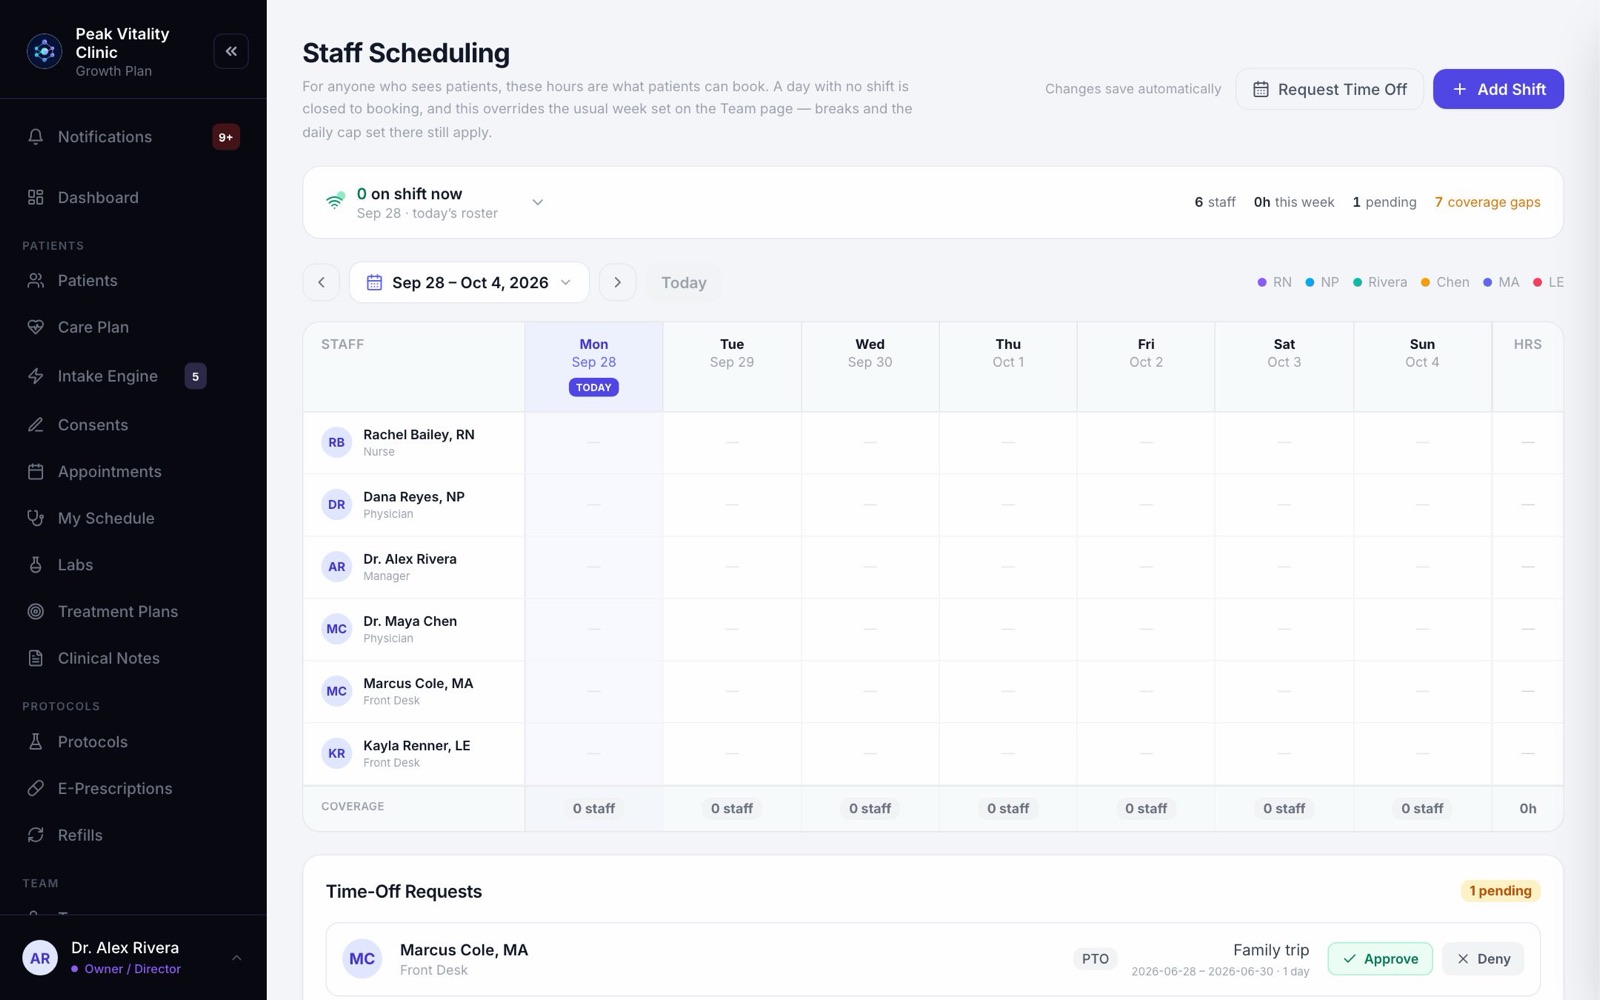
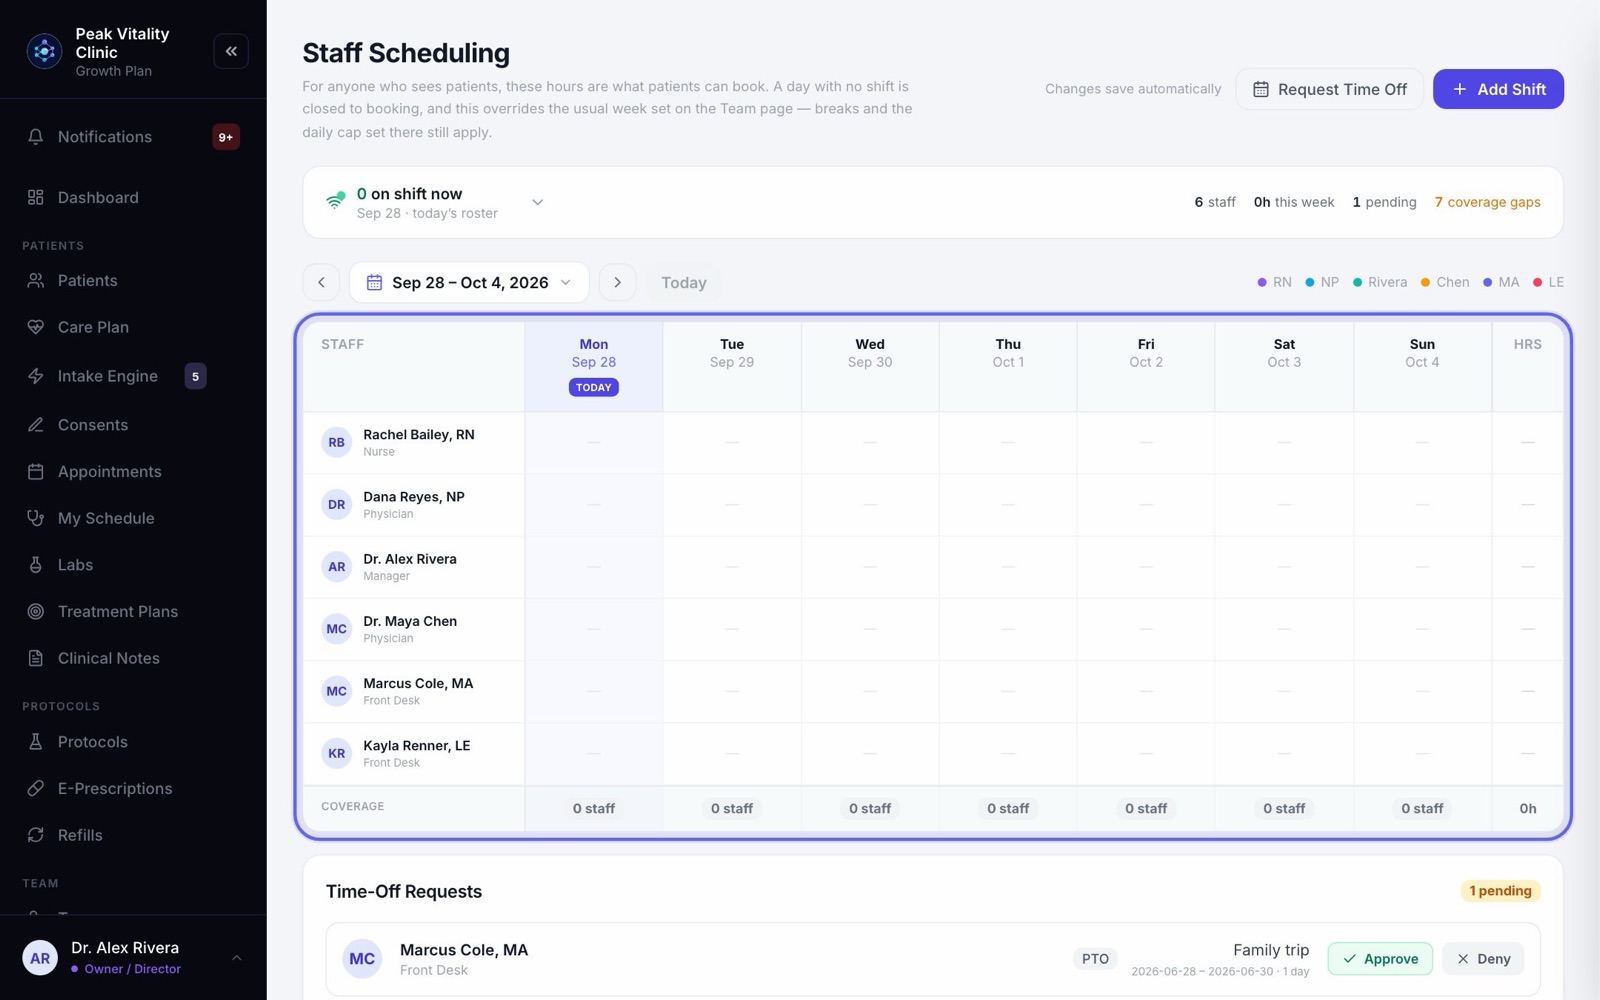
- 2You see this week: one row per person, one column per day.
4Add a shift
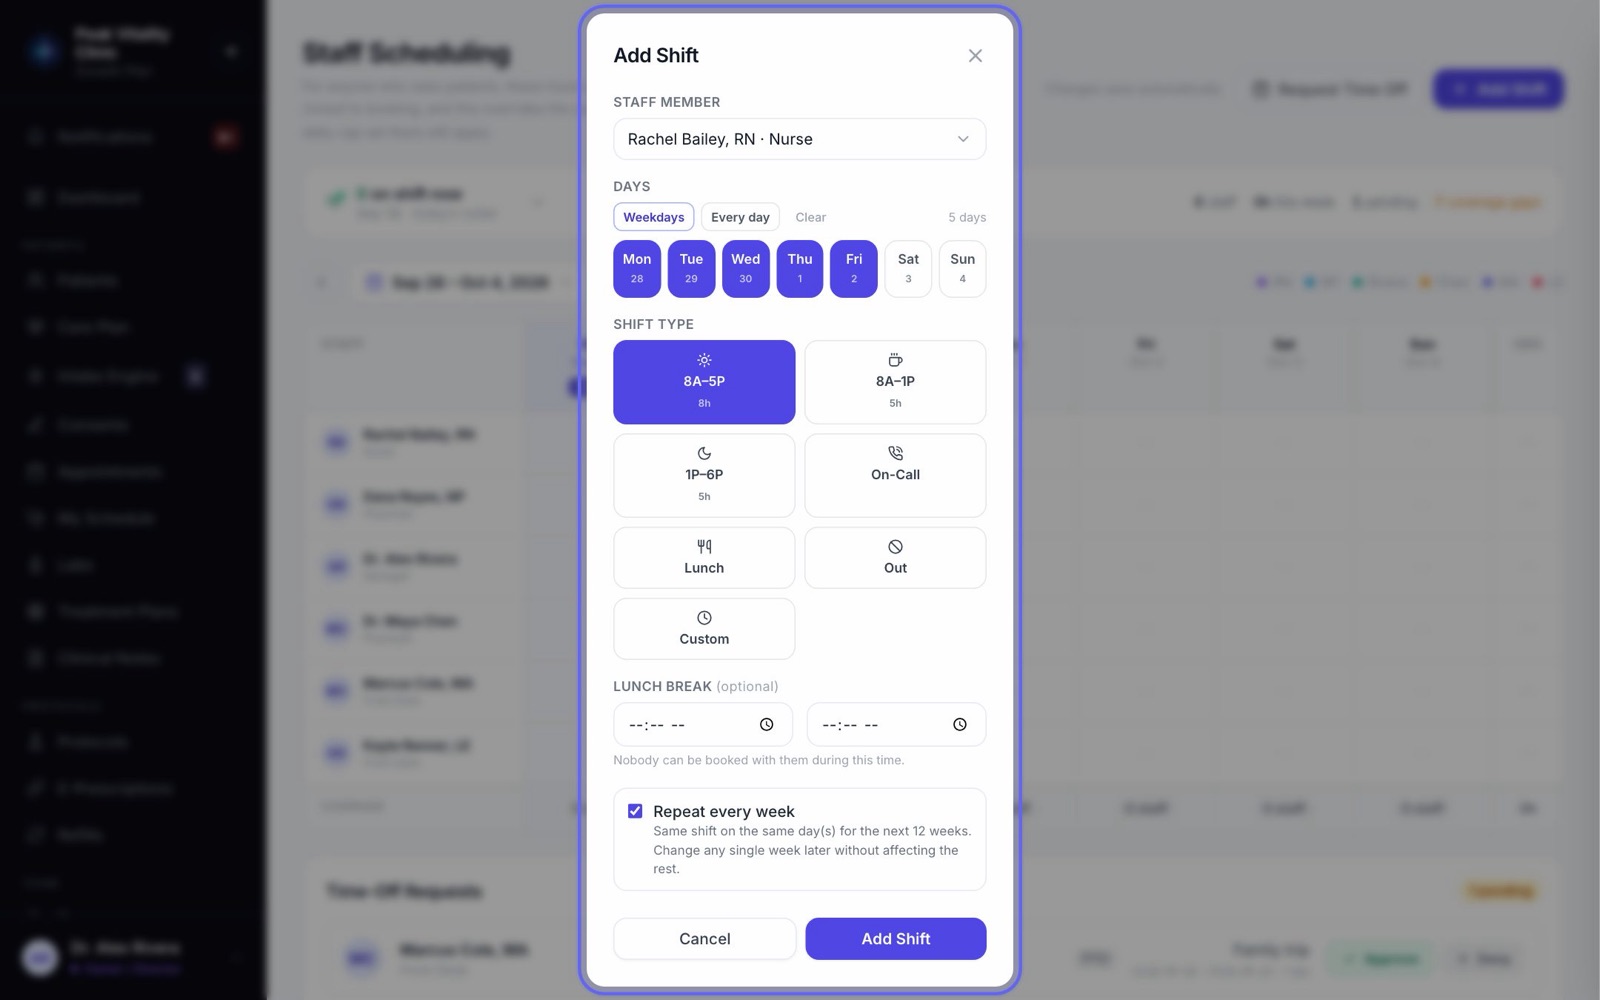
- 1Click Add Shift.
- 2Pick the Staff Member.
- 3Under Days, press Weekdays or Every day, or tap the days one by one.
- 4Pick the Shift Type: 8A–5P, 8A–1P, 1P–6P or On-Call.
5Your own hours
- 1For other hours, pick Custom as the Shift Type.
- 2Set Start and End. The length of the shift shows under them.
6Add a lunch
- 1Under Lunch break, set when it starts and ends. It is optional.
- 2Nobody can be booked with them during it. It shows on the roster as a soft red band.
7Repeat it every week
- 1Leave Repeat every week ticked. The same shift goes on the same days for the next 12 weeks.
- 2Untick it for a one-off shift.
- 3Press Add Shift. A note confirms how many days were added.
A repeating shift fills 12 weeks ahead. Before those weeks run out, move to a later week and add the shift again.
8No need to save
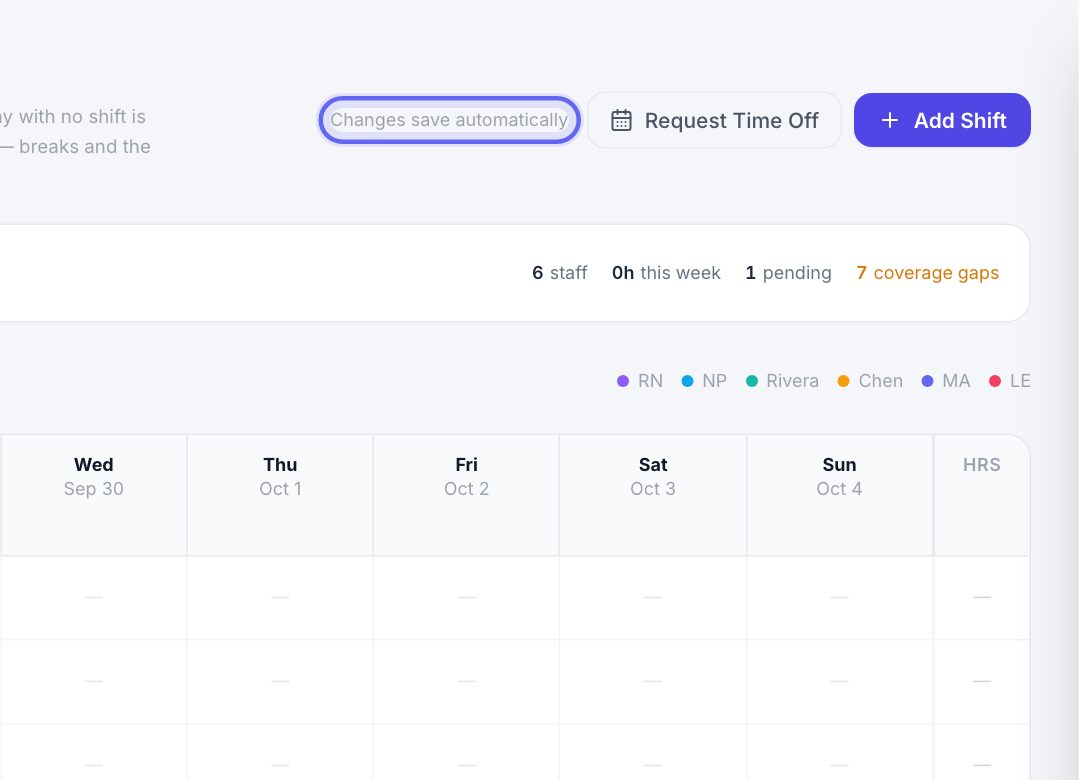
Every change saves the moment you make it. The top of the page says Saving…, then Saved with the time.
If it says Not saved, press Reload and try that change again.
9Check the roster
- 1Each person’s row shows their shifts, and Hrs shows their hours this week.
- 2The Coverage row counts how many people work each day.
- 3Click an empty day to add a shift for that person on that day.
10Change one day
- 1Use the arrows to go to the week you want.
- 2Click the shift. Press Edit shift, change what you need, and press Add Shift. Or press Remove.
- 3Changing one week leaves the other weeks as they are.
11Mark a day away
- 1Add a shift with the Out type to mark someone away all day. Nobody can book them.
- 2The Lunch type blocks 12 to 1 on that day.
- 3For holidays and sick days, have them use Request Time Off, so it can be approved.
12Breaks and a daily limit
- 1On the Team page, open Manage on a provider’s card and choose Set Availability.
- 2Click Add a break for time blocked every working day, like a daily huddle.
- 3Set Max Appointments / Day (capacity) to cap their visits. Press Save Availability.
- 4These apply on every working day, shifts included.
13Check it worked
Go to Appointments and click New appointment. Walk through to the times for a provider on a day they have a shift. The times offered should fall inside that shift. You don’t need to finish the booking.
You’re done when every provider has shifts for the weeks ahead.
Keep going
Staff Scheduling
Who works when, and who is away. Set shifts, see who is on right now, ask for time off, and approve it.
Read the guideTeam
Everyone who works at your clinic. Invite people, give each a role, keep their credentials up to date, and remove someone who has left.
Read the guideInvite your team
Give everyone at your clinic their own login, with the right role. Then add providers’ credentials so patients can be booked with them.
Read the guideSet up your visit types and booking link
Build each kind of visit once: its length, providers, rooms, price and forms. Then turn on the link patients book from.
Read the guideSet up your clinic profile and hours
Add your clinic’s name, contact details, address and IDs, set your time zone and opening hours, add your locations, and upload your logo.
Read the guideAppointments
Every visit, for everyone. Book visits, run the front desk, and open any appointment to check a patient in, move it or charge it.
Read the guideRather be shown?
Inside Aminova, the tutorial walks you through every page, and the Getting started checklist shows you each task click by click. Or book a live training session with our team.