1The page at a glance
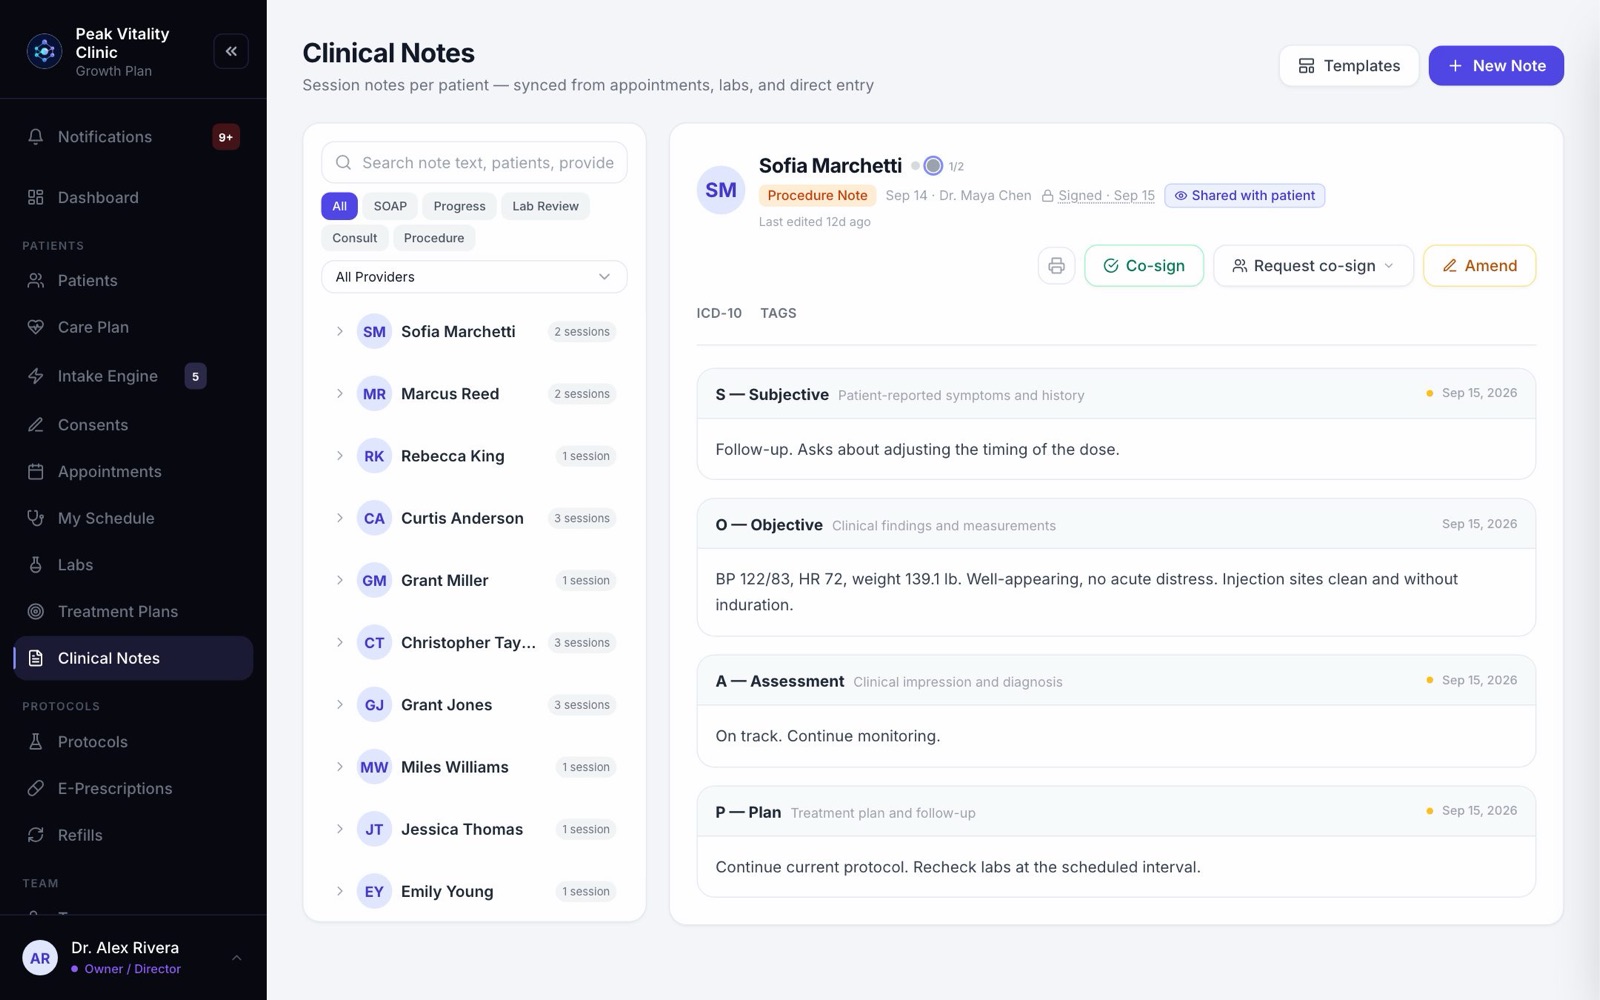
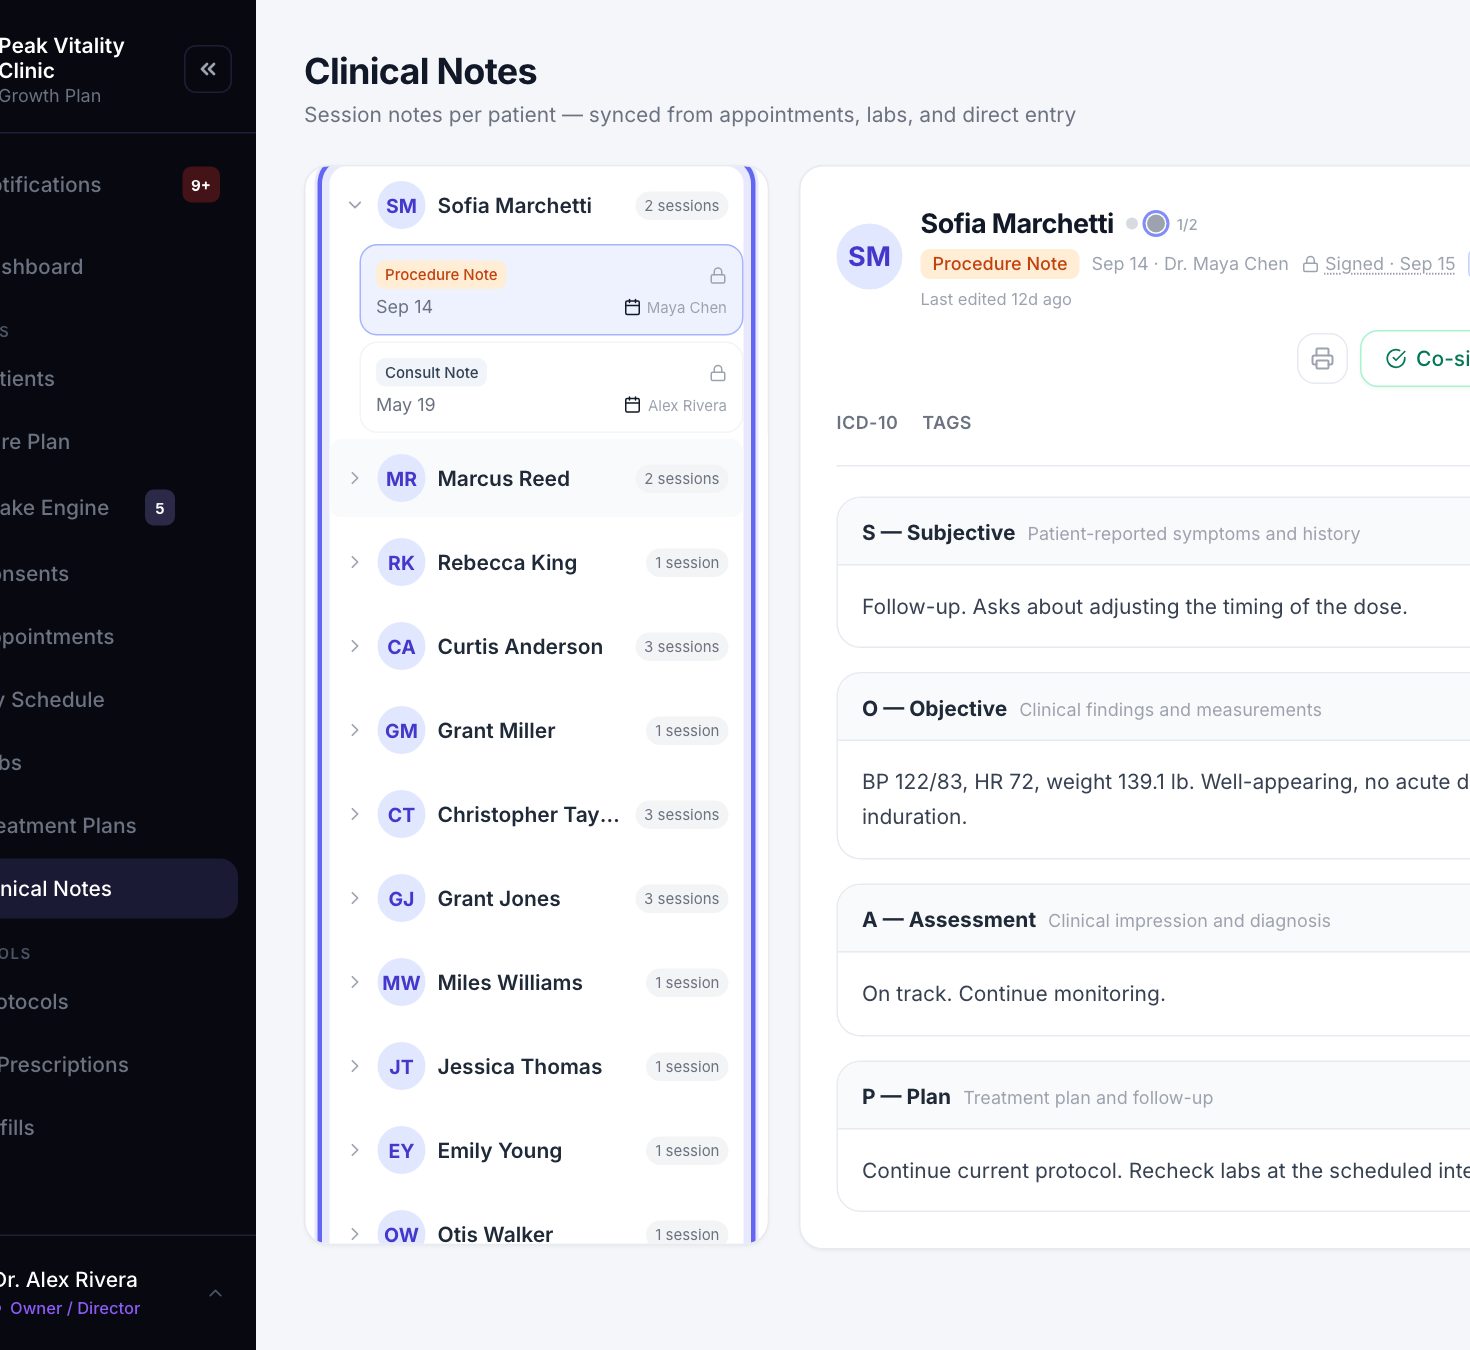
On the left is every note, grouped by patient, with a search box and filters on top. On the right is the note you have open.
Notes made in other places land here too, like a signed treatment plan or a lab review.
2Write a note
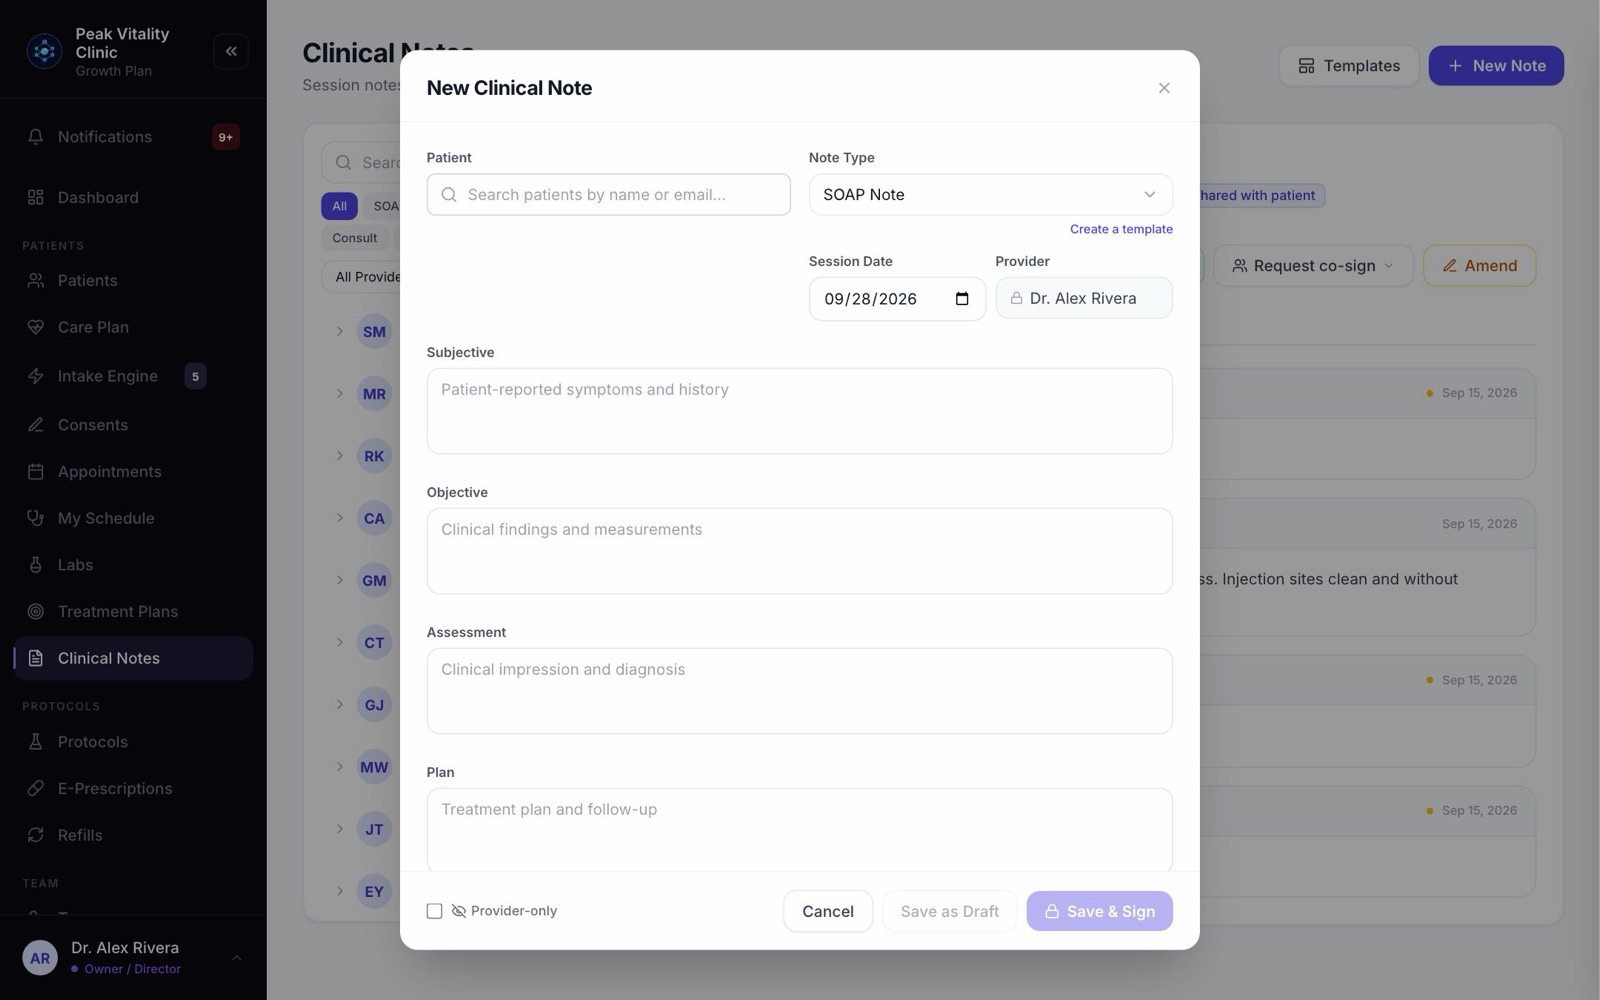
- 1Click New Note.
- 2Under Patient, search for the patient and click their name.
- 3Pick the kind of note under Note Type. The boxes below change to fit it.
- 4Check the Session Date. The Provider is you, the person signed in. You can’t write a note under someone else’s name.
- 5Type in each box. If you have dot phrases, type one and press Tab to fill in its text.
3Kinds of note
Most kinds use the four SOAP boxes: Subjective (what the patient tells you), Objective (what you find), Assessment (what you think) and Plan (what happens next).
A few have their own boxes. Lab Review asks for the results, what they mean, and what to do next. Intake Note starts with the history and the exam. Clinical Update is for a call or message between visits: what was reported, what you think, and the action you took.
Your clinic’s own note layouts are in the same list. More on those below.
4Codes, tags and who sees it
- 1Under ICD-10 Codes, search for a diagnosis code and click it to add it.
- 2For some kinds of note, Suggested Billing Codes (CPT) offers billing codes. Click one to add it. Check it against the note before you bill.
- 3Under Tags, type a word and press Enter. Tags help you find the note later.
- 4The box at the bottom left says Provider-only until you tick it. Tick it to make it Shared with patient.
5Save a draft, or sign
- 1Save as Draft keeps the note open to change later.
- 2Save & Sign signs it now. Draw or type your signature, then press Apply Signature.
- 3A signed note is locked. After that, any change is added as an amendment.
Nothing is saved until you press one of the two save buttons. If a save fails, the note stays open with everything you typed.
6Search every note
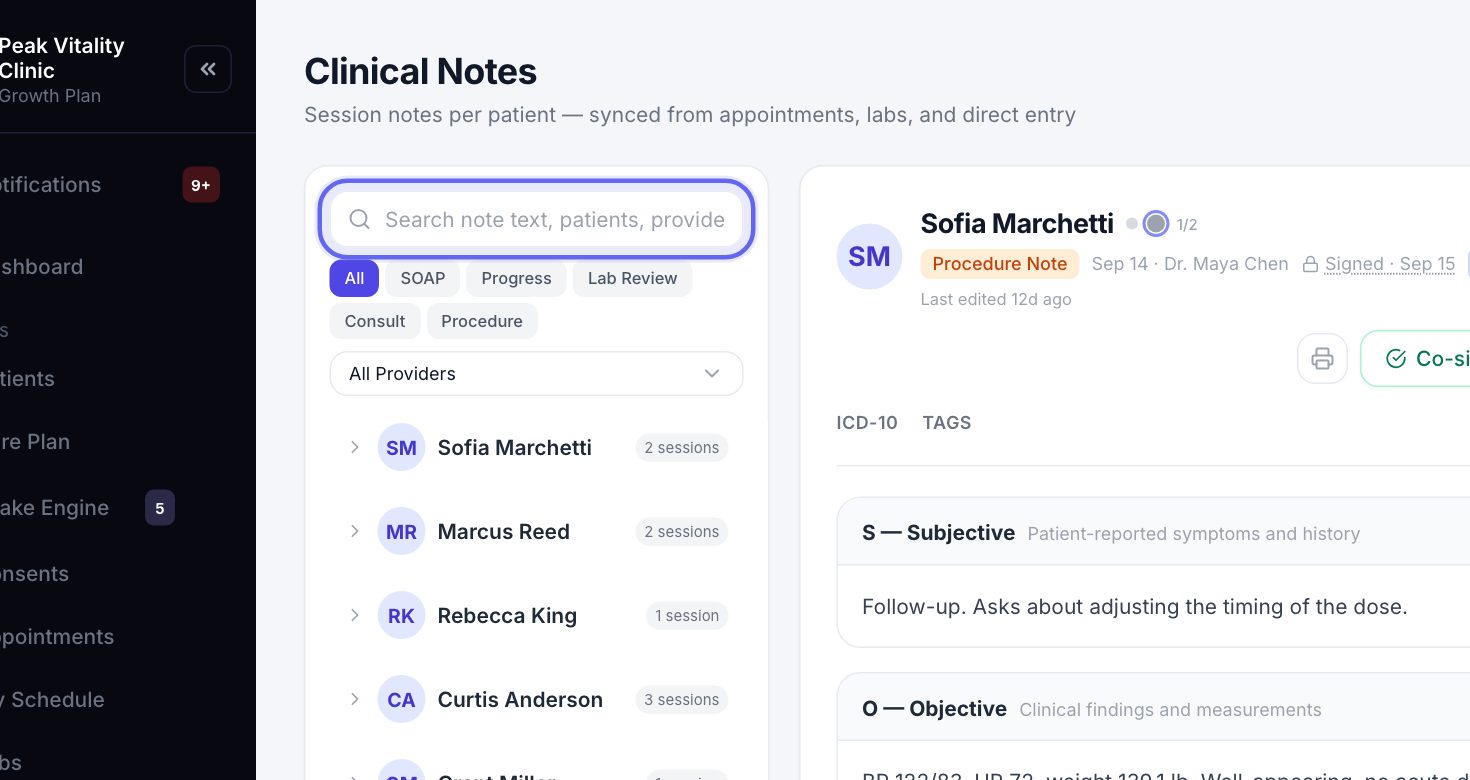
Type in the search box to find a patient, a provider or a tag. From two letters on, it also looks inside the text of every note, and shows the line where it found your words.
7Narrow the list
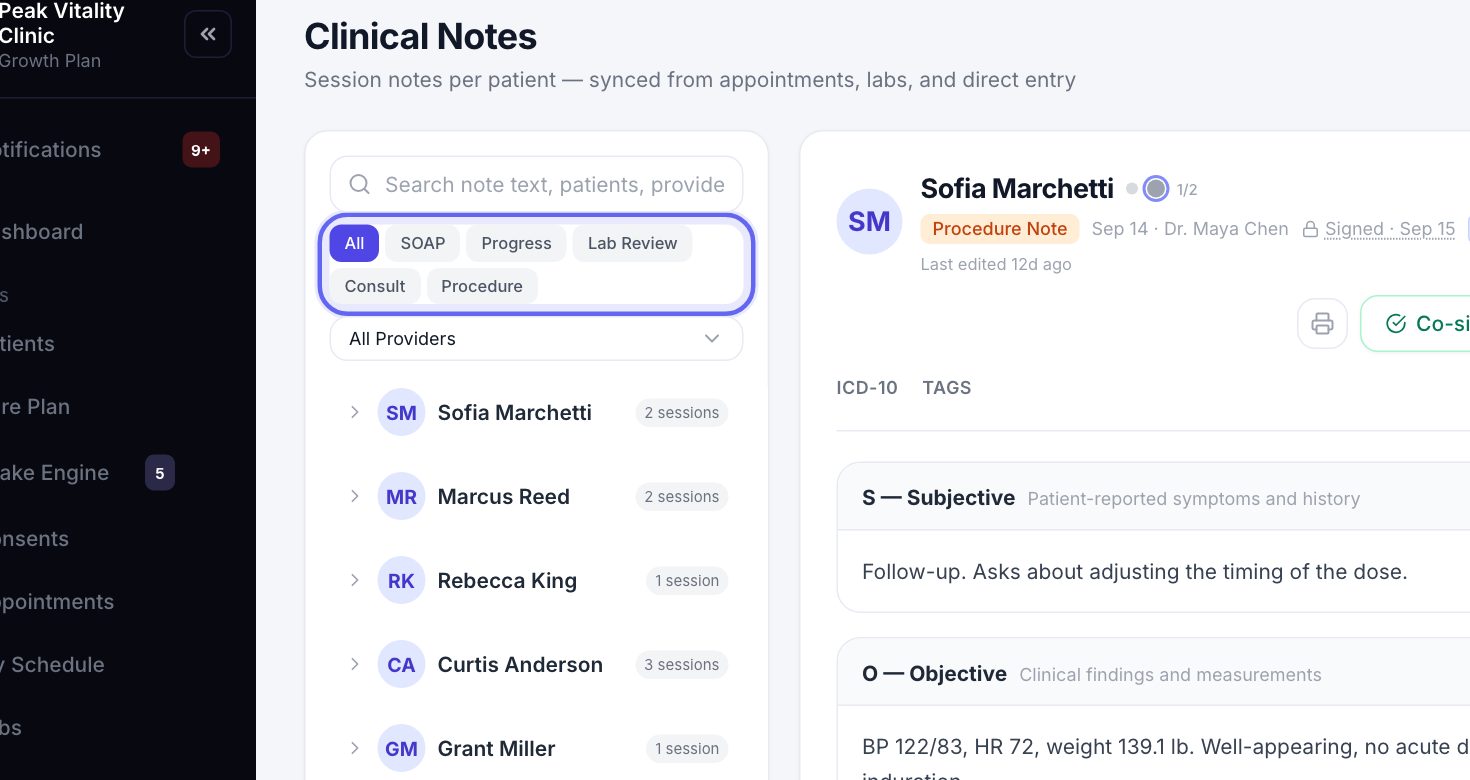
- 1The buttons under the search show one kind of note at a time, like Lab Review. There is a button for each kind you have.
- 2All shows every kind again.
- 3Click All Providers and pick a name to see only the notes that person wrote.
8Notes by patient
- 1Each patient is one row, with how many notes they have. Click the row to show their notes.
- 2Each note shows its kind, date and provider.
- 3A lock means signed. draft means not signed yet. co-sign means it is waiting on a co-signature, and amended means it was changed after signing.
- 4Click a note to open it on the right.
9Read a note
- 1At the top: the patient, the kind of note, the date and who wrote it.
- 2It says Draft — unsigned, or who signed it and when. Click the signed line to see the signature.
- 3Each part of the note sits in its own box.
- 4If the patient has other notes, small dots next to their name stand for each one. Click a dot to jump to that note.
- 5If the note came from somewhere else, like a lab, click View source to open where it came from.
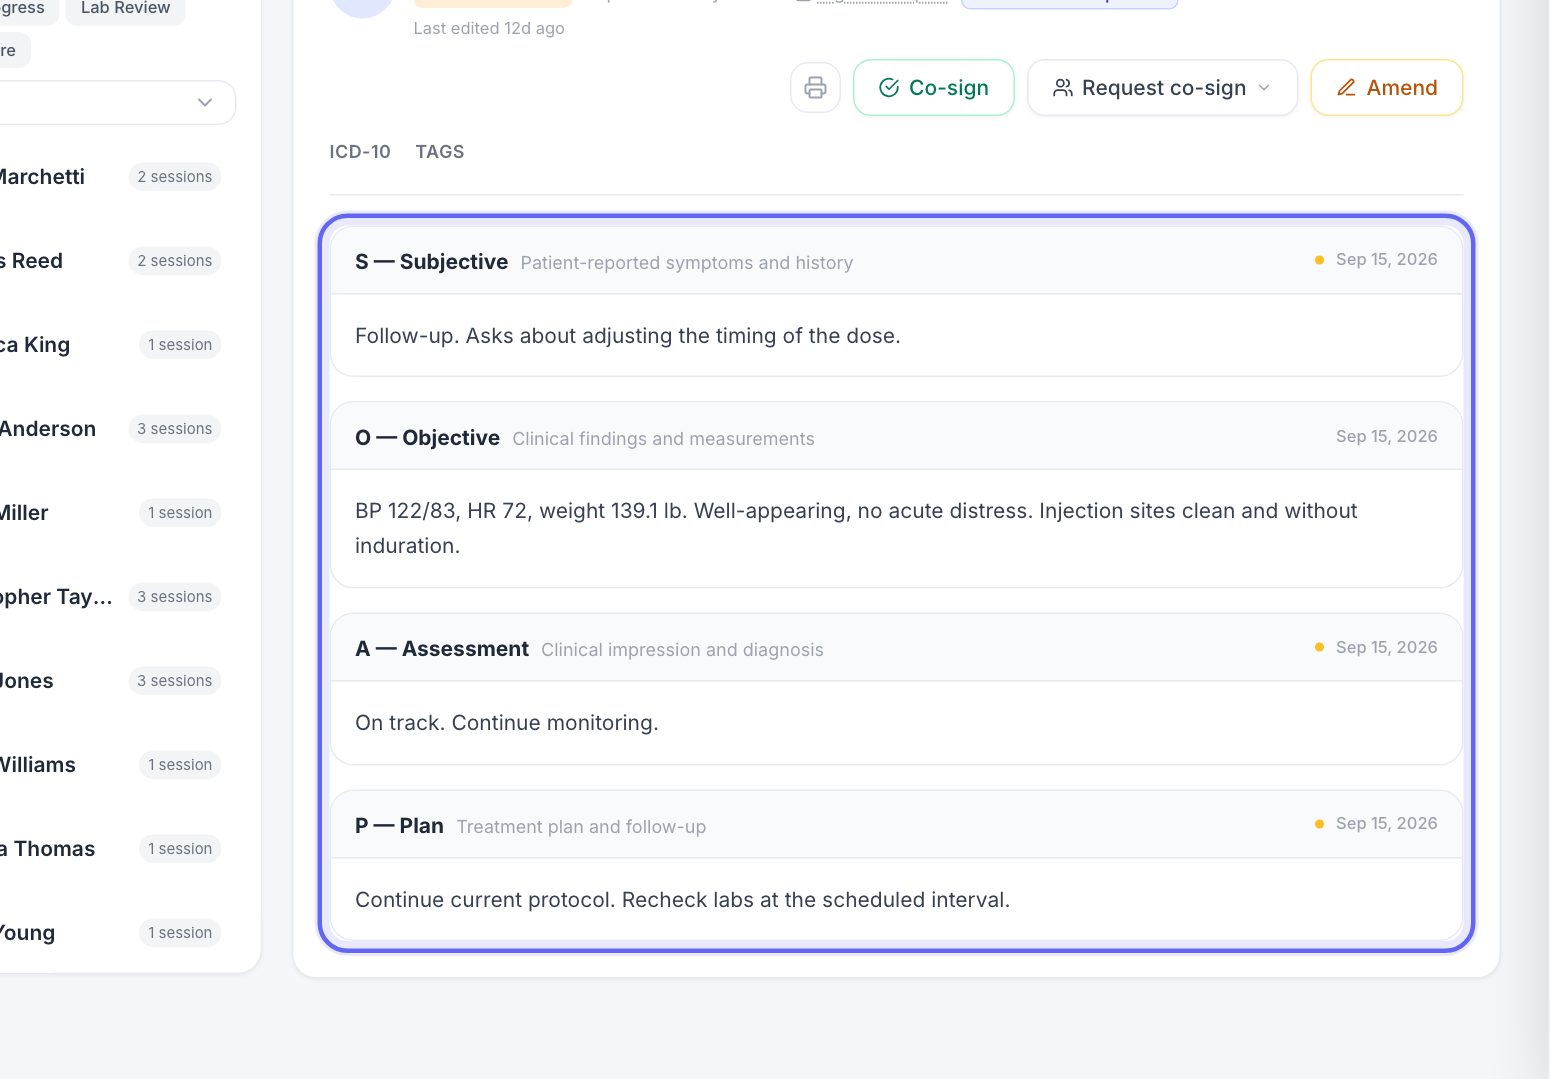
10Edit, sign and print
- 1On a draft, click Edit. Changes save as you type. Press Save when you’re done, or Cancel.
- 2Only the person who wrote a note can edit it. An owner or manager can finish someone else’s draft.
- 3Click Sign & Lock when the note is done, and sign.
- 4The printer button opens the note as a PDF to print or download.
11Codes and tags
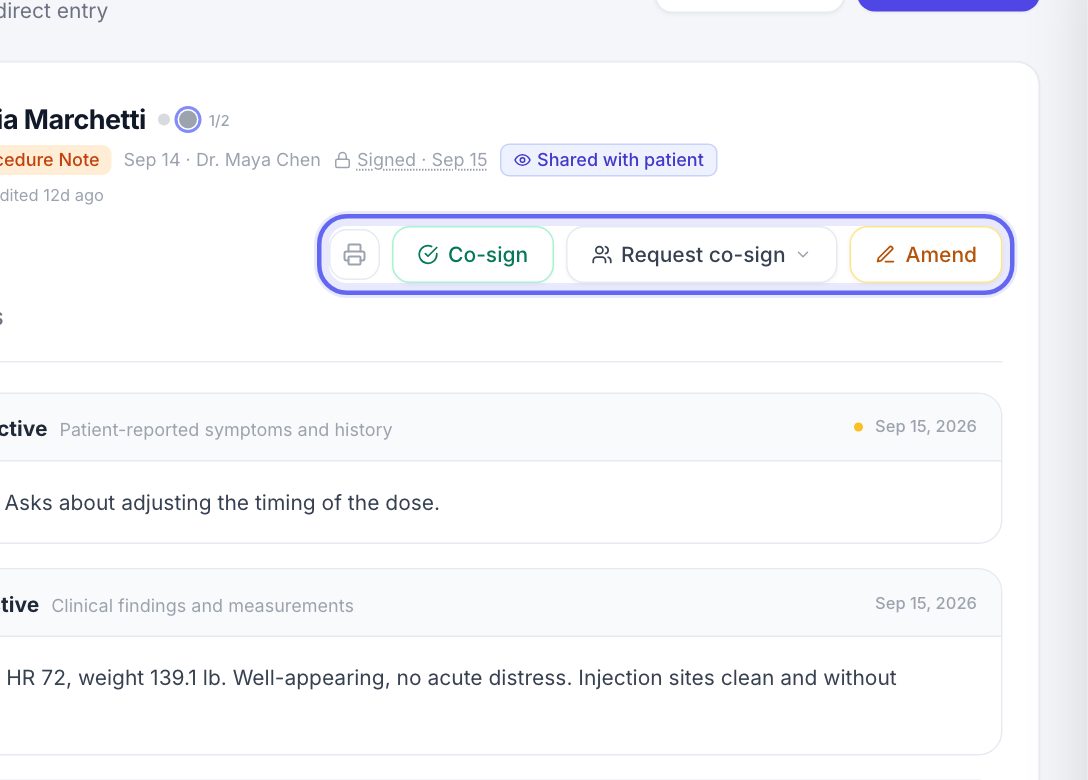
The diagnosis codes and tags on the note sit above its text. While you edit a draft, you can add or remove them here.
12Who can see a note
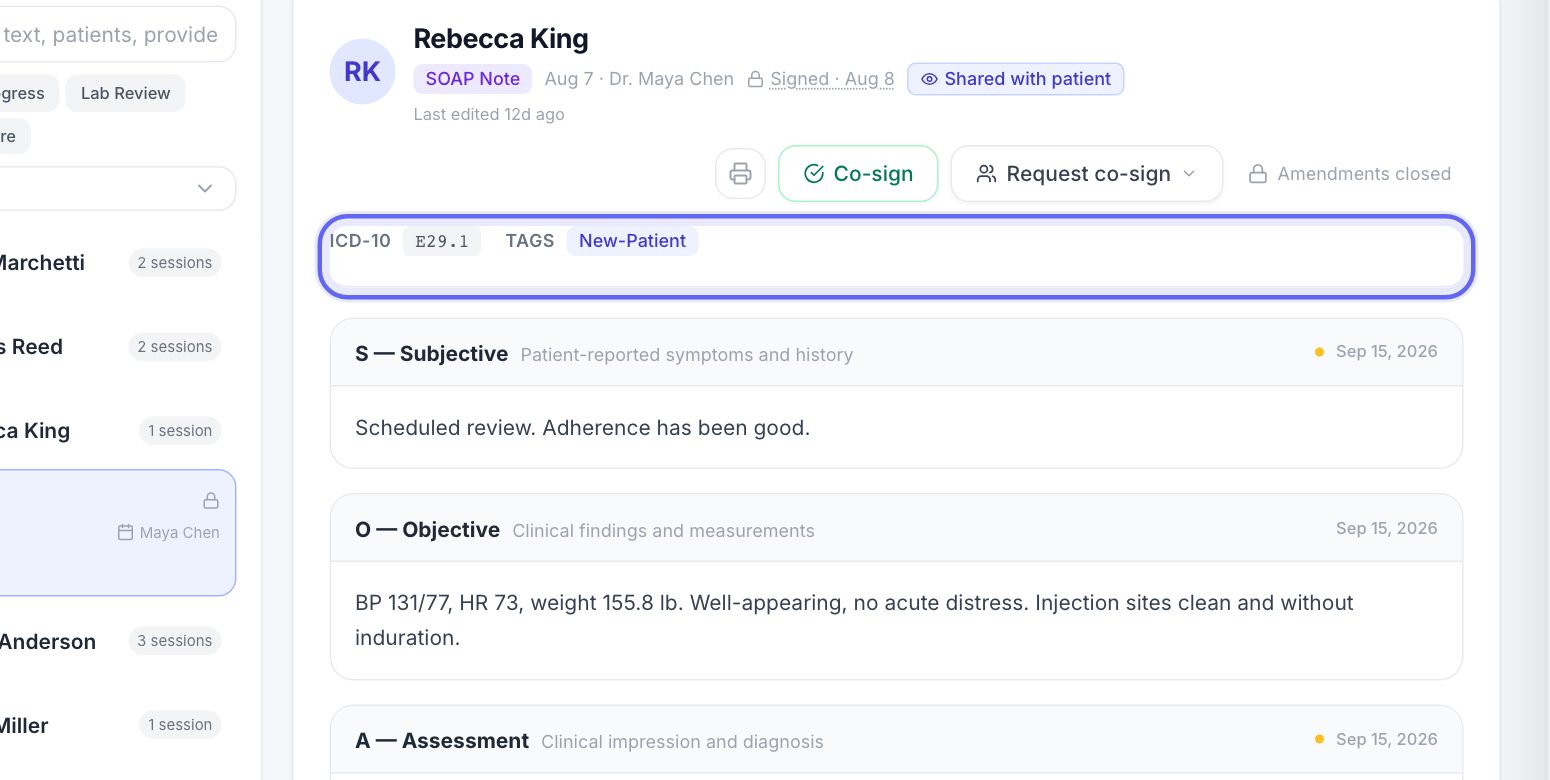
A note starts as Provider-only. Only you can see it: not the patient, and not the rest of your team either.
On the open note, click Provider-only to switch it to Shared with patient. Then the patient and your team can see it. You can switch it back at any time, even on a signed note.
If a colleague can’t find a note you wrote, check this first. A Provider-only note is hidden from them too.
13Change a signed note
- 1Open the signed note and click Amend.
- 2Write the Reason for Amendment. It is required.
- 3Change the parts that need it. Each changed part is marked edited. You can also add an Amendment Summary Note.
- 4Press Save Amendment. The original note stays exactly as it was signed.
- 5The change is listed at the bottom, in the Amendment Trail, with who, when, why, and the before and after.
Amendments close 30 days after a note is signed. The button then reads Amendments closed.
14Co-signatures
- 1On a signed note, click Request co-sign and pick who should review it. It goes into their notifications.
- 2The note then says who it is waiting on.
- 3An owner, manager or physician who didn’t write the note sees Co-sign. They press it and sign as themselves.
15Your note layouts
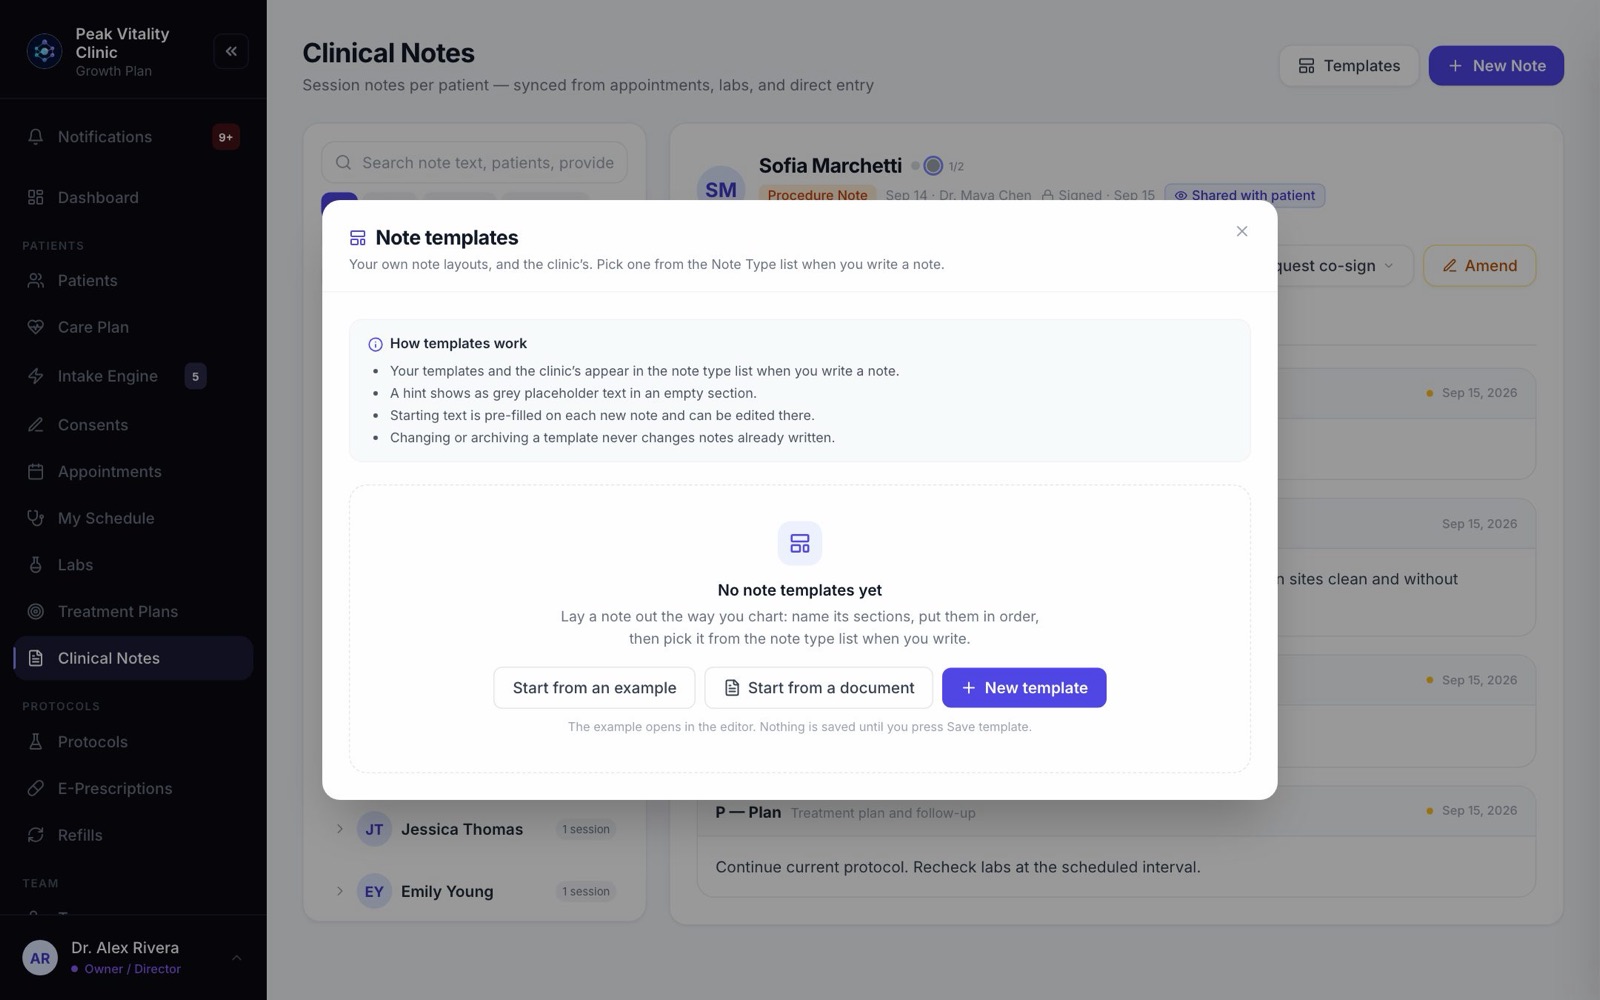
Click Templates to see your note layouts. Clinic templates are for everyone. Your templates are only for you.
On each one: Edit, Make my default so your notes start with it, or Archive to stop offering it. Changing or archiving a layout never changes notes already written.
16Make a layout
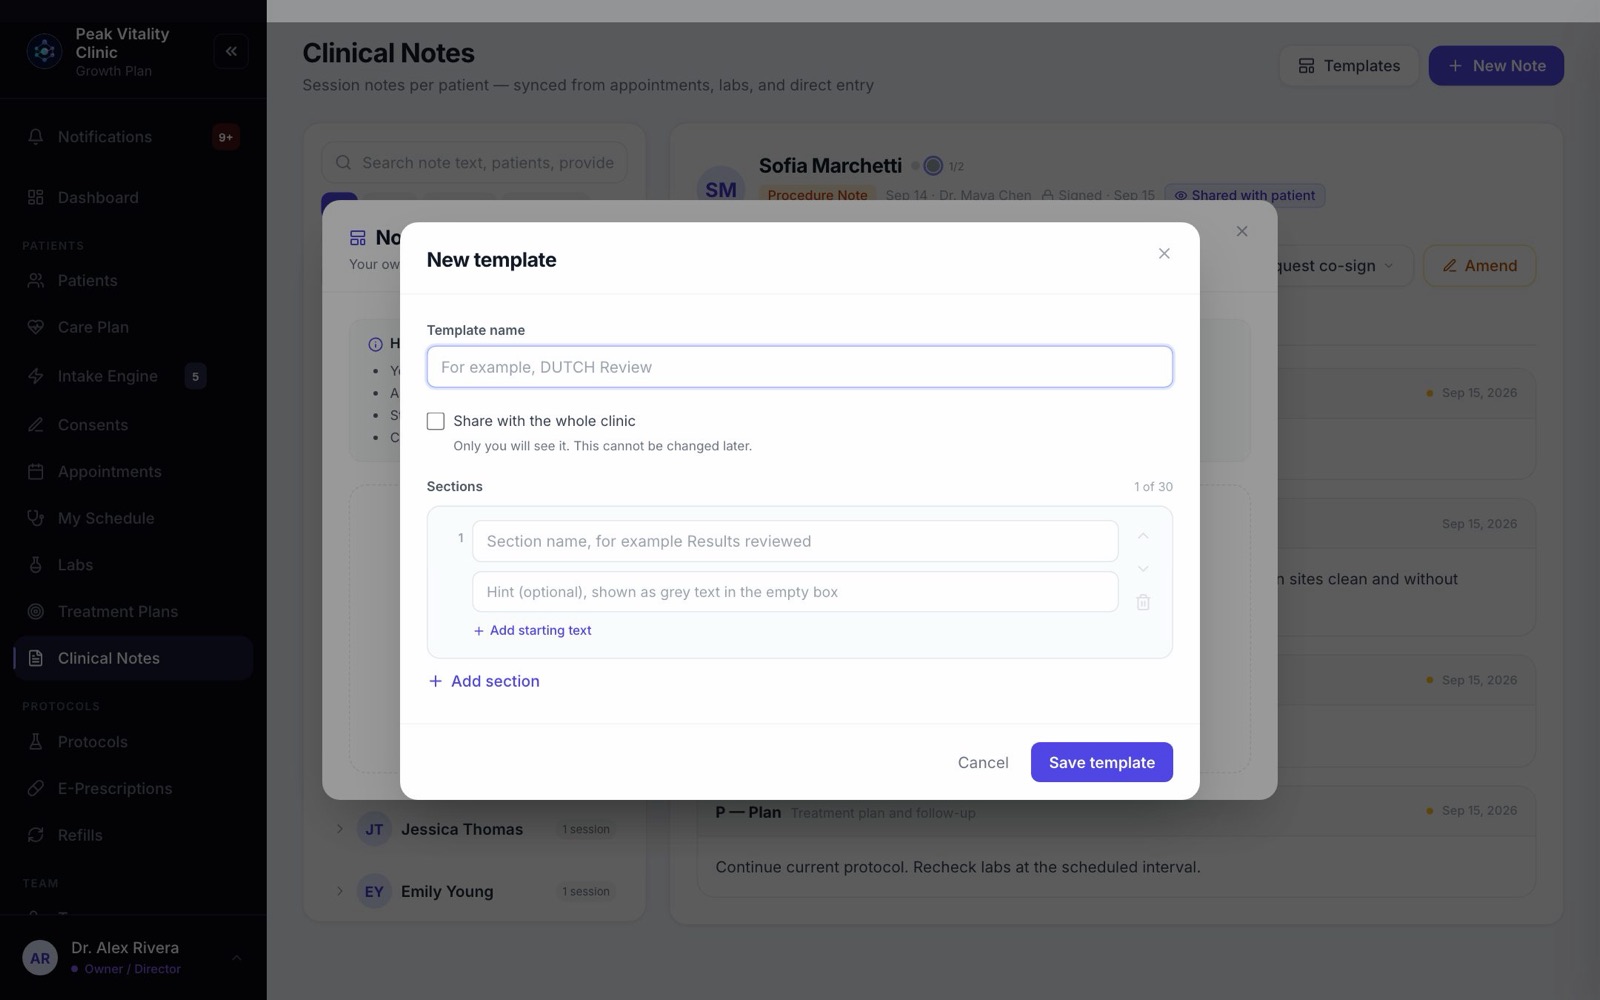
- 1In Templates, click New template. Or click Start from a document to turn the headings of a blank form in Documents into sections.
- 2Give it a Template name. Tick Share with the whole clinic to make it for everyone. You can’t change this later.
- 3Name each section. Add a hint if you like: gray text that shows in the empty box.
- 4Press Add starting text for words that should already be filled in. Use the arrows to put the sections in order, and Add section for more.
- 5Press Save template. It now shows in the Note Type list when you write a note.
Keep going
The patient chart
Everything about one patient on one page. The header says who they are and what’s next; the tabs below hold each part of their record.
Read the guideCo-signatures
Everything waiting on your signature as a reviewer, oldest first. Read it, co-sign it or decline it, and choose whether you get an email when something new arrives.
Read the guideAI scribe
The AI scribe listens to a visit and drafts the note. It records only patients who agreed to it, and a person checks and signs every note.
Read the guideCare Plan
A visit, one step at a time: pick the patient, choose a protocol, build and sign the plan, record vitals, write prescriptions, and finish.
Read the guideFor providers
Your day as a physician or prescribing provider: your schedule, the visit, your notes, prescriptions, refills and labs, all in the order you meet them.
Read the guideRather be shown?
Inside Aminova, the tutorial walks you through every page, and the Getting started checklist shows you each task click by click. Or book a live training session with our team.