1The page at a glance
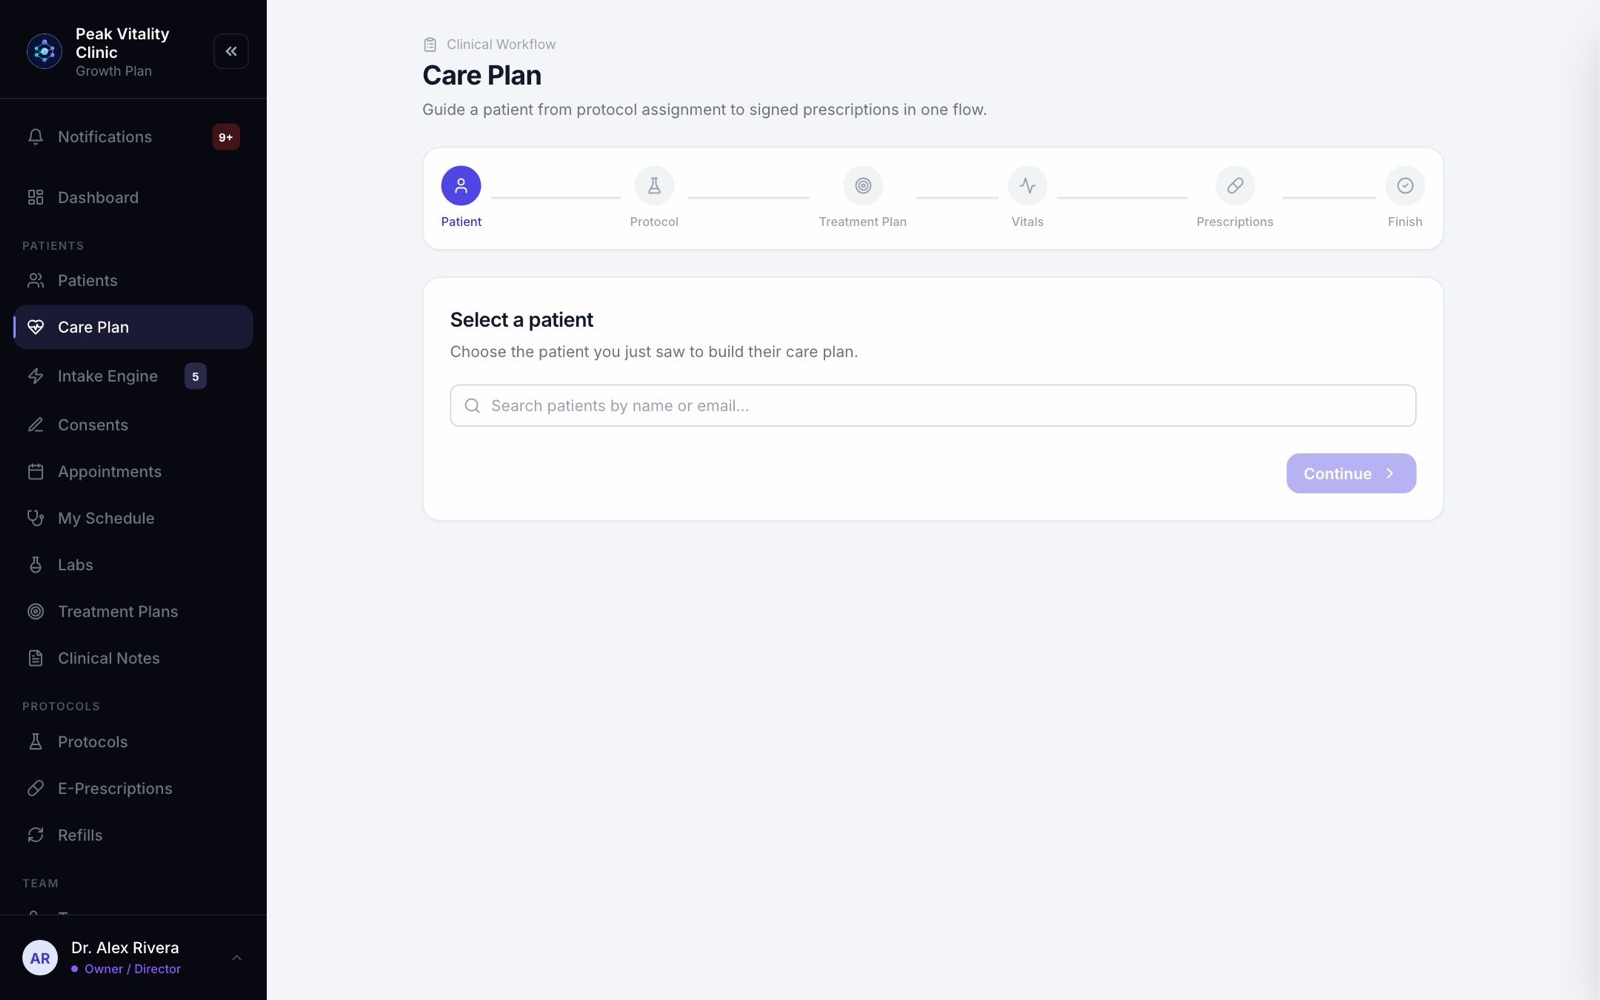
Care Plan is for right after you see a patient. It walks you from picking the patient to a signed plan in their app.
The steps run across the top. Below them is the step you are on, with Back and Continue at the bottom.
2The steps
- 1Patient, Protocol, Treatment Plan, Vitals, Prescriptions, then Finish.
- 2You go left to right. A green check means that step is done.
- 3If your clinic doesn’t prescribe through Aminova, there is no Prescriptions step.
3Step 1: Pick the patient
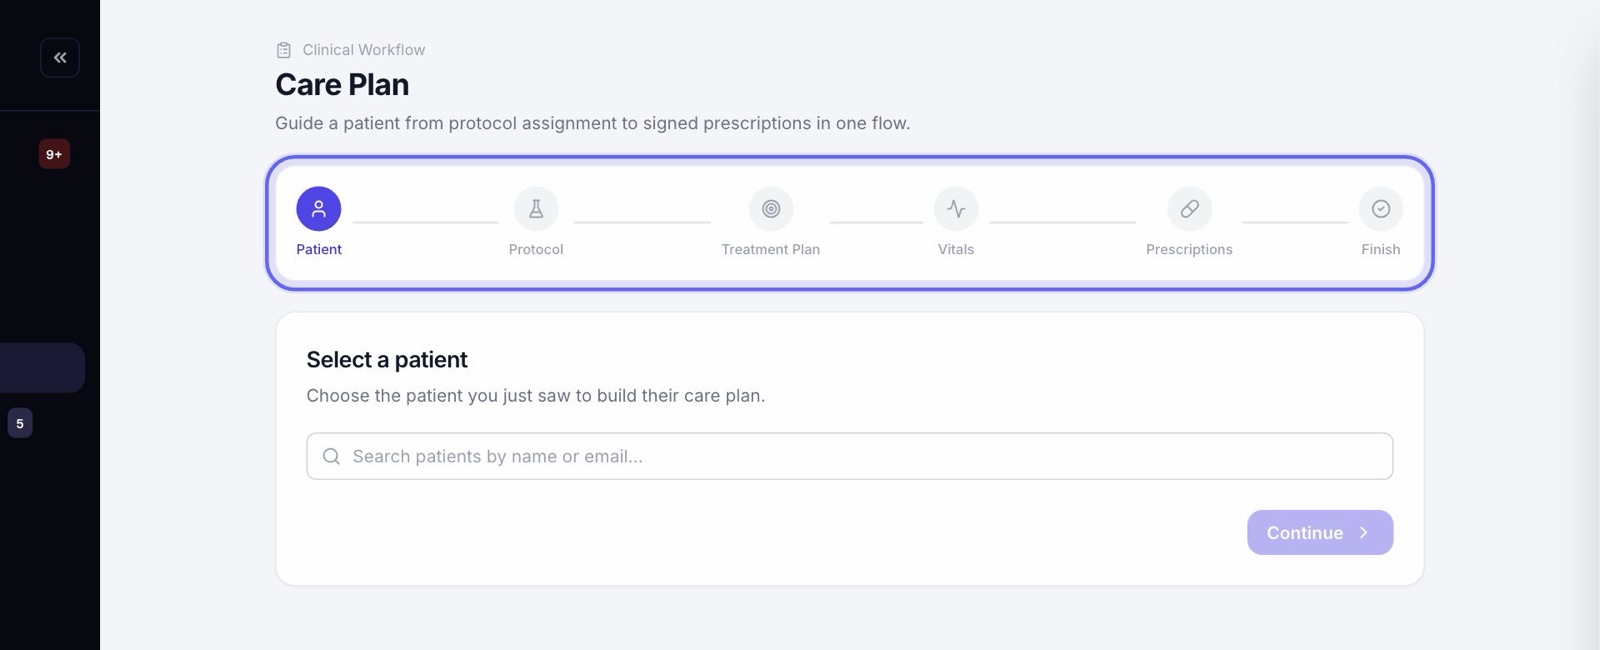
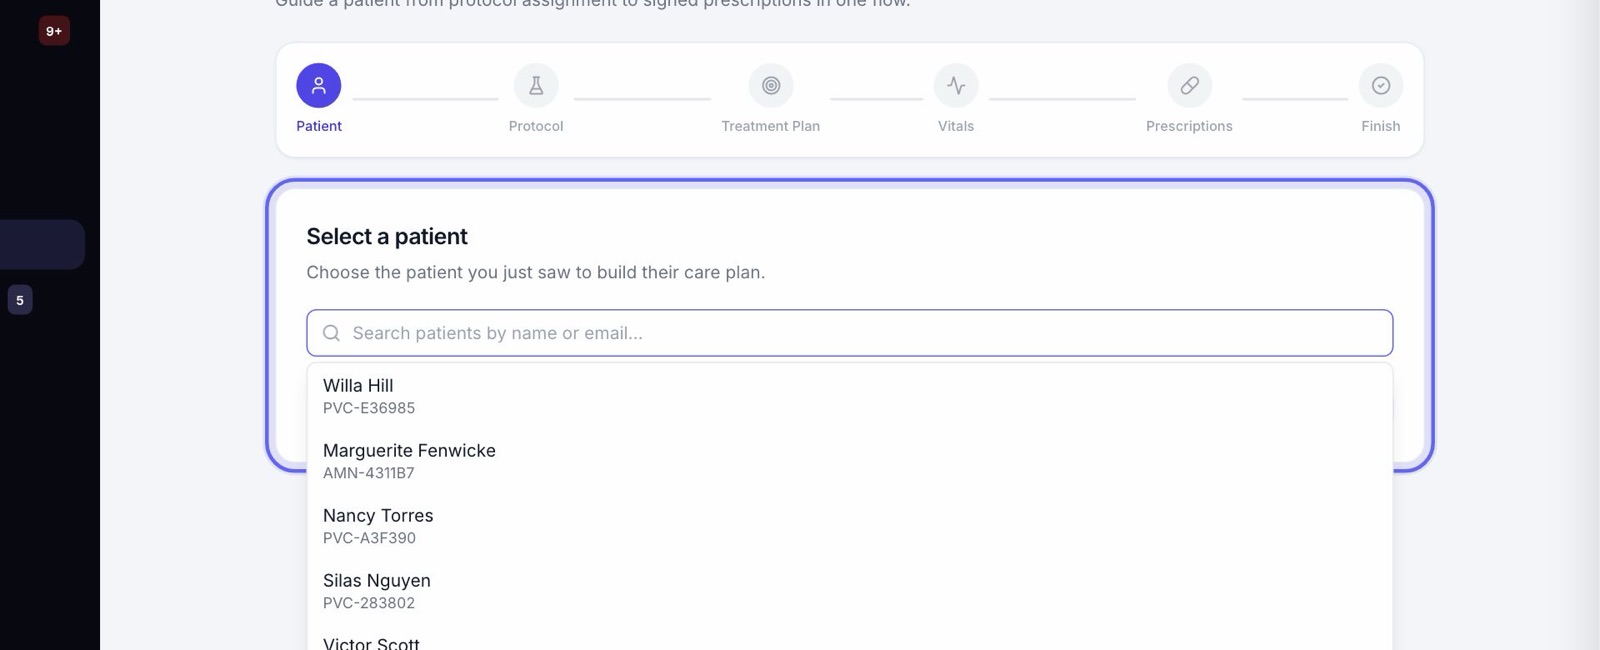
- 1Click the search box and type the patient’s name or email. Click their name.
- 2A card shows their age, goals, conditions and any protocols they are already on.
- 3View chart opens a short summary without leaving the page.
- 4Press Continue.
4Step 2: Choose a protocol
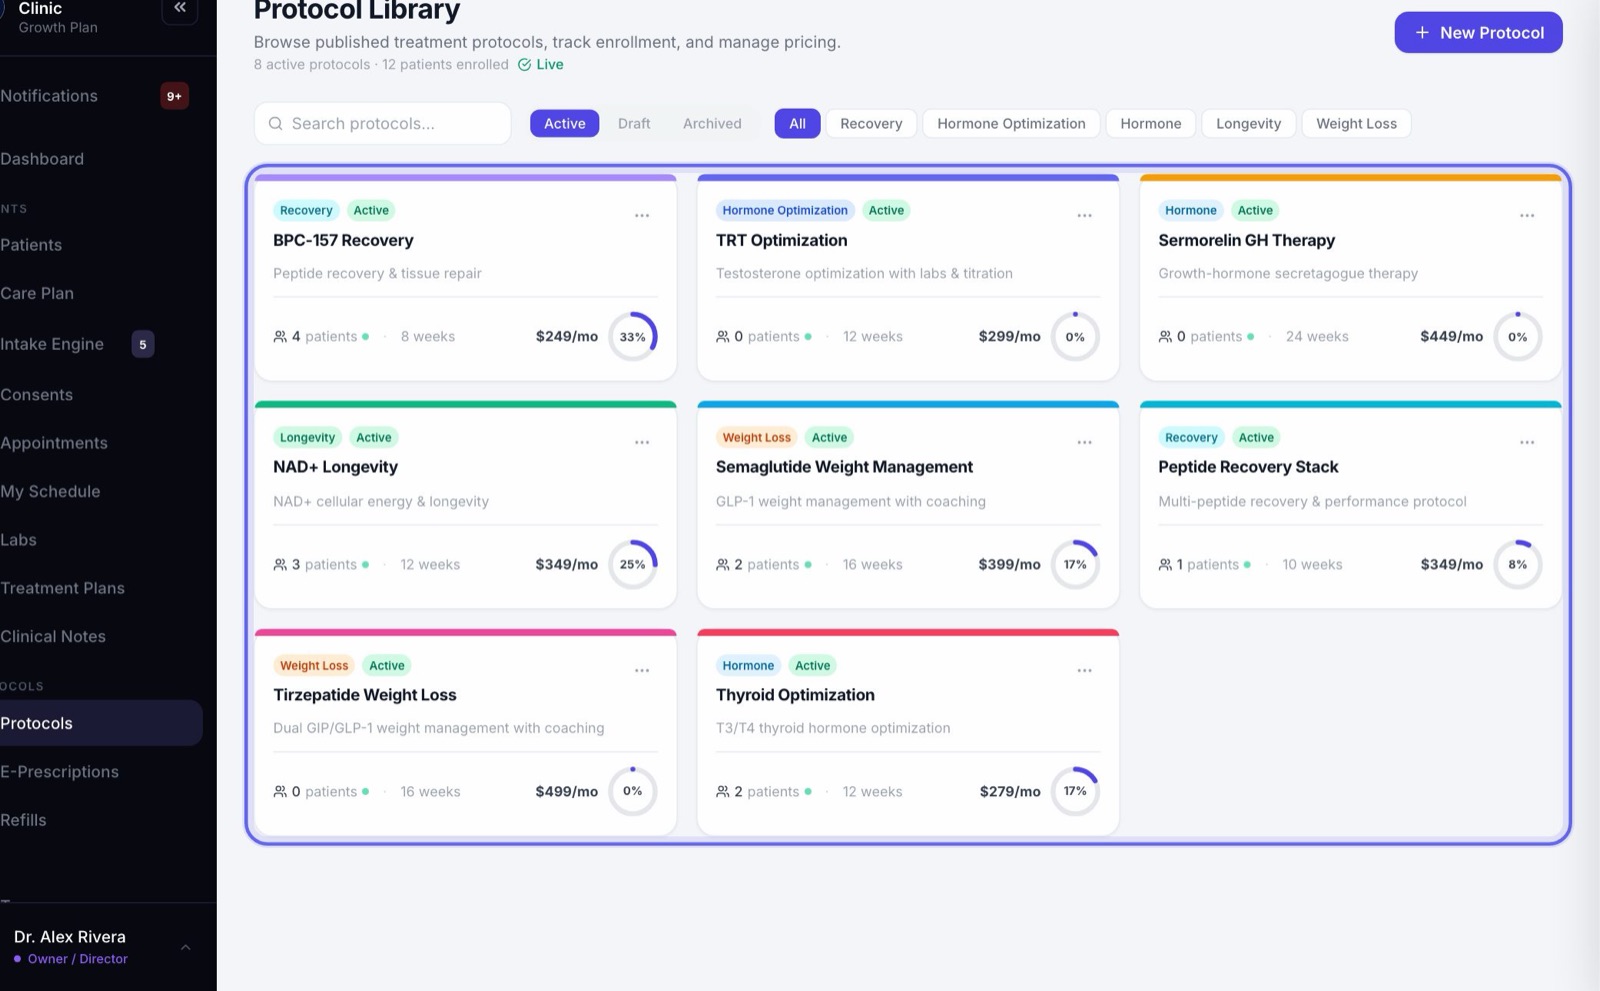
- 1Pick one of your protocols. A protocol is a treatment program you set up once on the Protocols page.
- 2Or pick Skip — custom plan to start from a blank plan.
- 3Press Continue. If you picked a protocol, the patient is now on it.
5Step 3: Build the plan
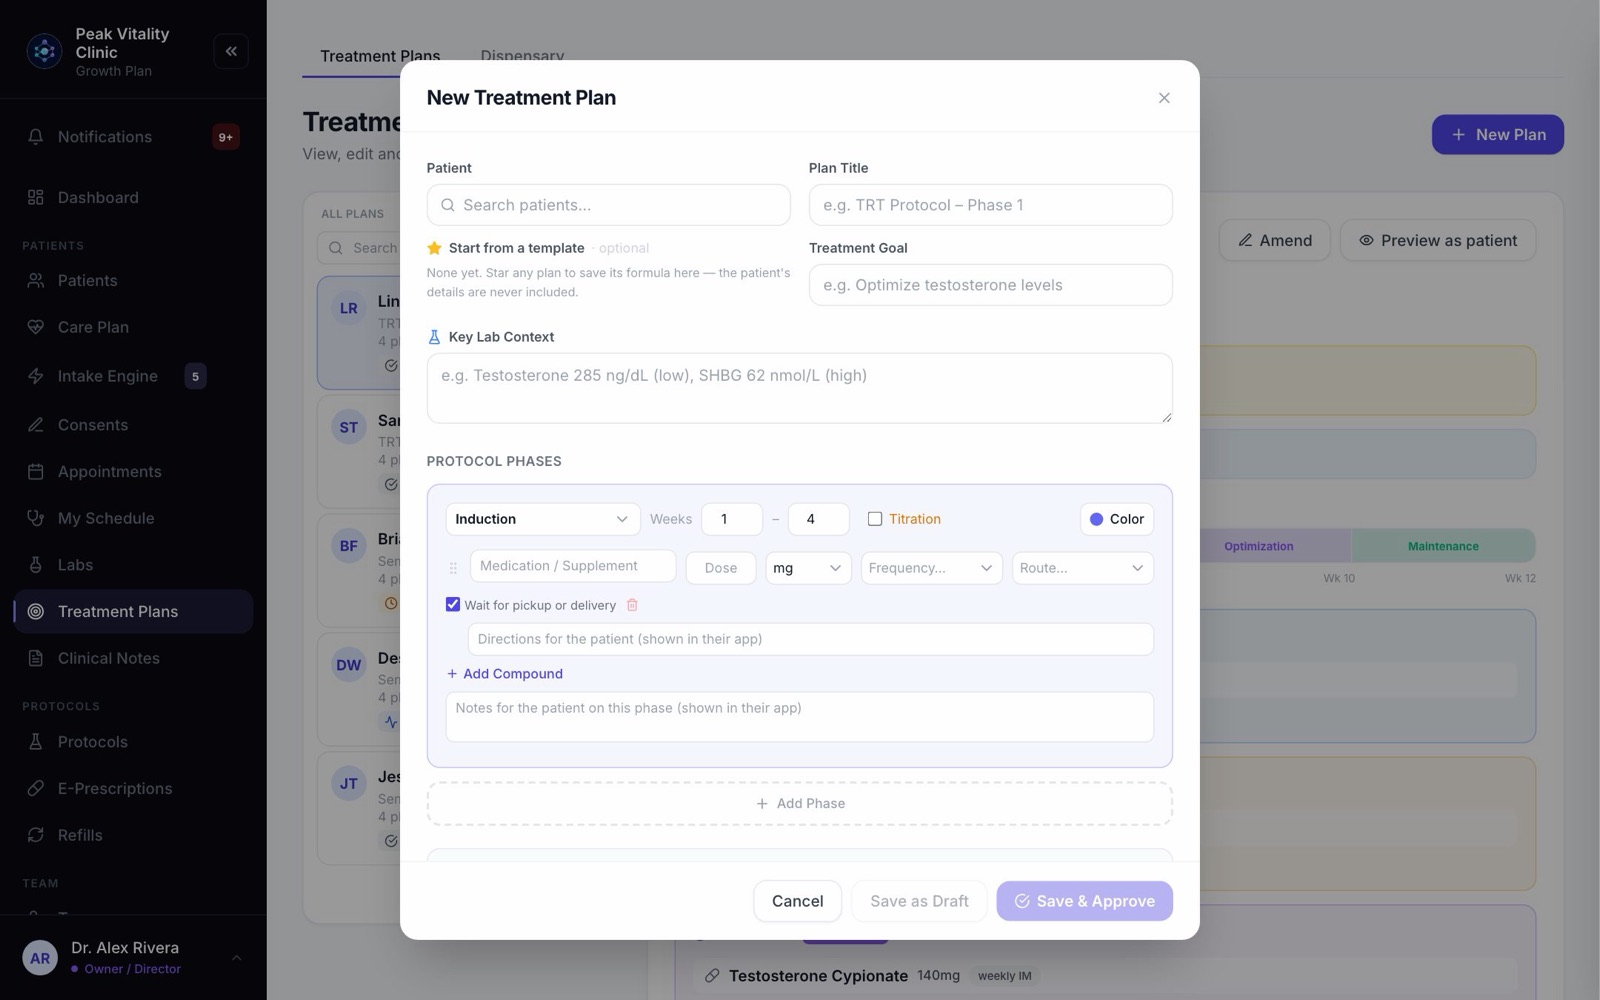
- 1Press Create plan. The plan builder opens with the patient already picked. If they already have a plan, press Refresh to load it instead.
- 2If you chose a protocol, its phases and medicines are already filled in. Change anything you like. The protocol itself is not changed.
- 3Save the plan. You come straight back to Care Plan, with the plan on screen.
- 4To change it again, press Edit in builder.
6Approve and sign the plan
- 1If the plan isn’t approved yet, press Approve & sign plan.
- 2Draw or type your signature, then press Apply Signature.
- 3The plan now says Approved & signed. It goes live for the patient when you finish the visit.
You can keep going without signing, but you can’t finish the visit until the plan is approved and signed.
7Step 4: Vitals
- 1If the patient has vitals on file, the latest ones show here. Press Edit to update them.
- 2If not, fill in what you measured and press Save Vitals.
- 3They go on the After-Visit Summary, the page the patient gets at the end.
8Step 5: Prescriptions
- 1The prescriber is filled in and locked, with their NPI and DEA numbers.
- 2Press Create prescription to write one on the E-Prescriptions page. It comes right back here. Or press Import existing to add ones already on file for this patient.
- 3On each one, check the directions, strength, amount, days supply and refills. Press Save if you change anything. The safety check below it looks for allergies and duplicates.
- 4Mark each one ready. The button says Sign & Mark Ready or Mark Ready to Send.
- 5Leave Send to pharmacy on Finish ticked to sign and send them when you finish. Untick it to keep them as drafts.
Continue stays off until every prescription is marked ready. With none at all, you are asked if you want to go on without one.
9Step 6: Visit details
- 1Fill in the Reason for visit.
- 2Pick the Check-in schedule: how often the patient is asked how they are doing. For weekly or every two weeks, you can pick the day.
- 3Add Diagnoses (ICD-10), Labs ordered and Patient instructions.
- 4Press Schedule follow-up to book the next visit. It is a real appointment on the Appointments page.
- 5Everything you type fills in the After-Visit Summary below as you go.
A patient has one check-in schedule. If they are on other plans with a different one, you are asked before it changes.
10How it’s paid, and when it starts
- 1Under How is this visit being paid?, pick one. Paid now and Send a bill open a window to take the payment or send the bill.
- 2No charge is fine too. Just write why.
- 3If the patient owes money from before, it shows here.
- 4Under When does the plan start?, pick the day. Anything the patient has to pick up or get delivered starts once they confirm they have it.
11Finish & Save Visit
- 1Press Finish & Save Visit.
- 2It saves the visit note to the chart, starts the plan on its start date, puts it in the patient’s app, and sends them the After-Visit Summary.
- 3If you left prescriptions to send, you sign them as part of finishing. The screen tells you if any didn’t go through.
- 4It won’t finish until the plan is approved and signed, and you have said how the visit is paid.
12Send, print, and start the next one
- 1Send to patient puts the summary in their app, any time. Once sent, the button says Send again.
- 2Print packet prints the summary, plus a page for each prescription.
- 3When the visit is done, press Start new care plan for the next patient, or View patient chart.
A practice patient never gets an email or text.
13Leaving and coming back
If you leave Care Plan partway, to build the plan or write a prescription, and come back in the same browser tab, it picks up on the same patient and the same step.
Keep going
Treatment Plans
Every patient’s plan: the medicines, the doses and the weeks they run. Build a plan in phases, approve it, and see it the way the patient does.
Read the guideProtocols
Your treatment programs. Build one step by step, price it, publish it, and see who is on each one and how they are doing.
Read the guideE-Prescriptions
Write, sign and send prescriptions, and see where each one really is. Pharmacy messages, the state drug check and medication history live here too.
Read the guideClinical Notes
Every note for every patient, in one place. Write a note, sign it, find it again later, and change a signed note the right way.
Read the guideE-prescribing and refills
One prescription from start to finish: written, signed, sent electronically or by fax, then refilled when the patient asks. Approving a refill is not sending it.
Read the guideRather be shown?
Inside Aminova, the tutorial walks you through every page, and the Getting started checklist shows you each task click by click. Or book a live training session with our team.